AlmalinuxOS LXC Installation
On the Proxmox web interface, click on the  button to create a new LXC (Linux container).
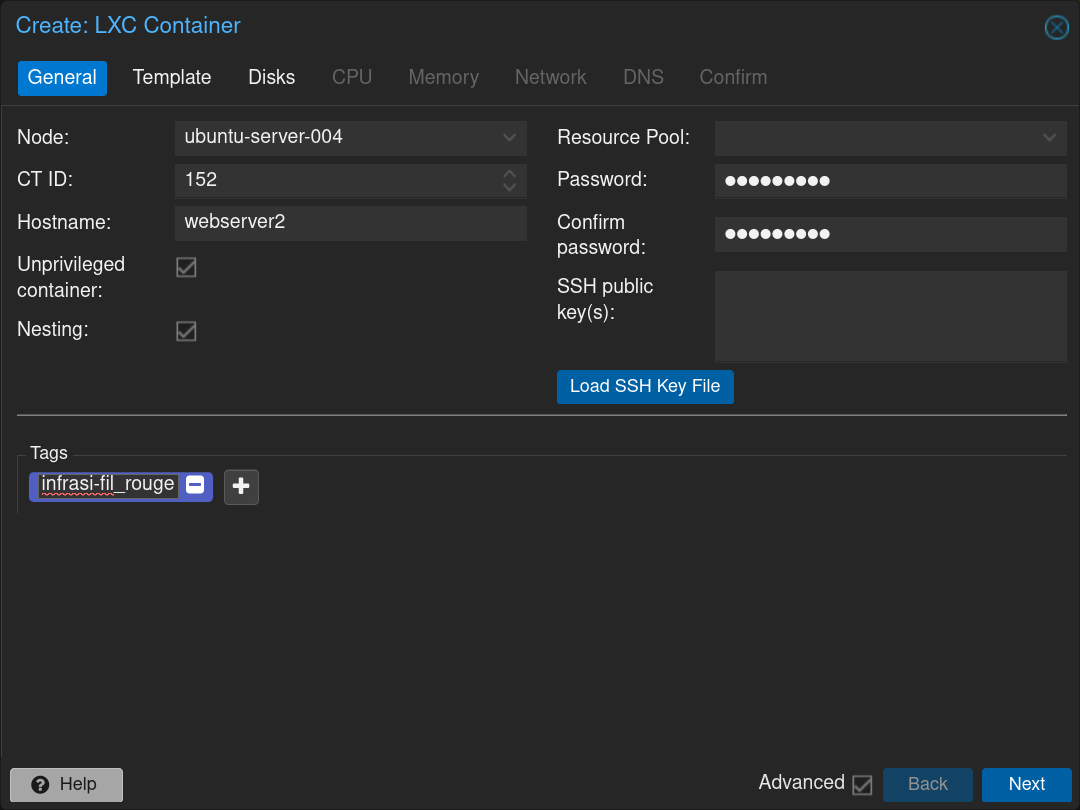
Fill the form with the hostname, passwords and the tag, then click on Next
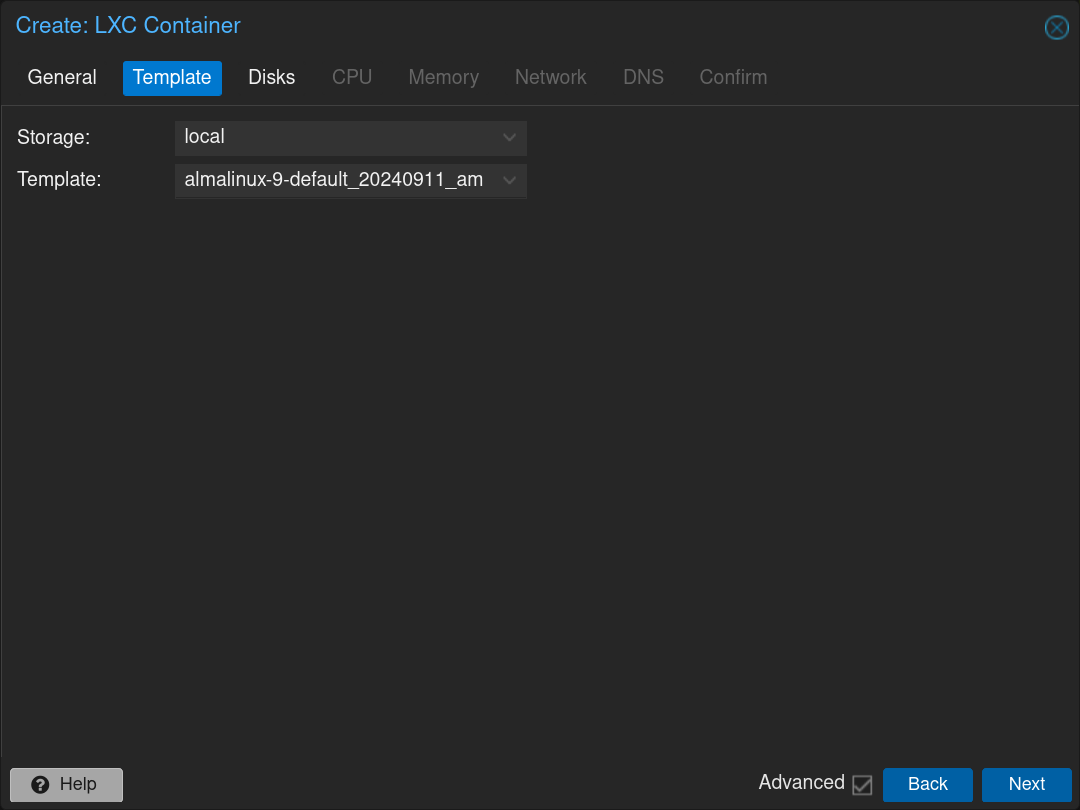
Then choose the almalinux image and click on Next
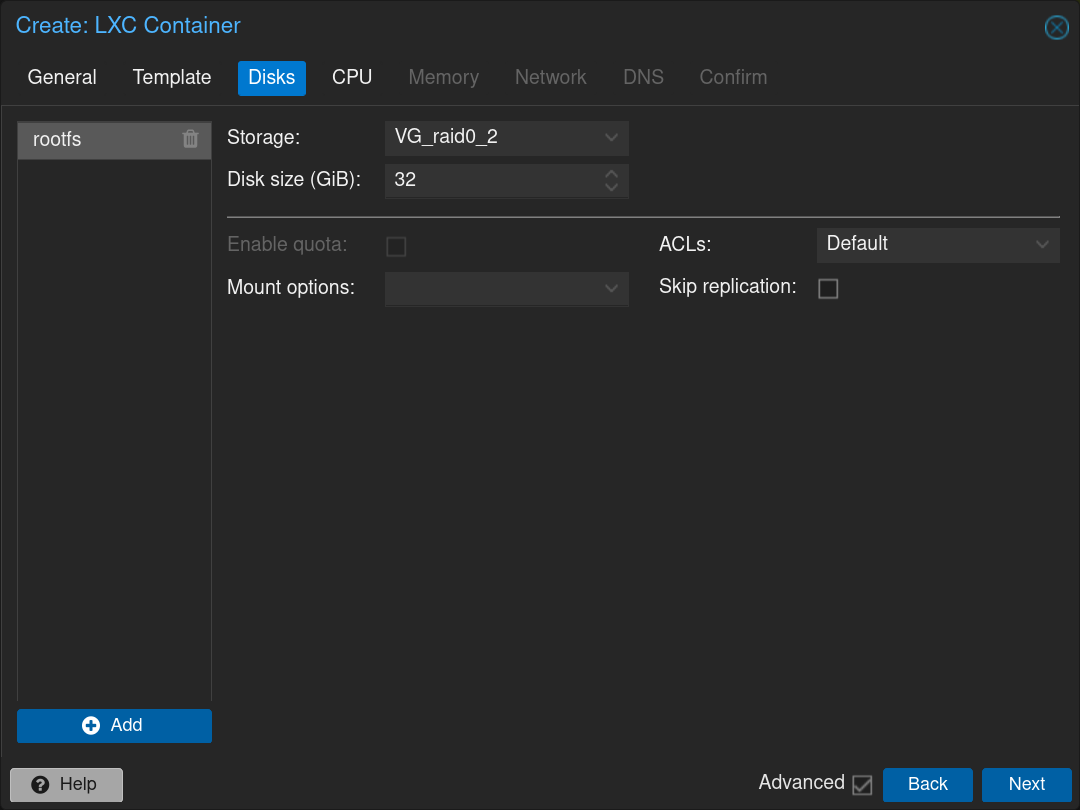
Set the disk configuration and click on Next
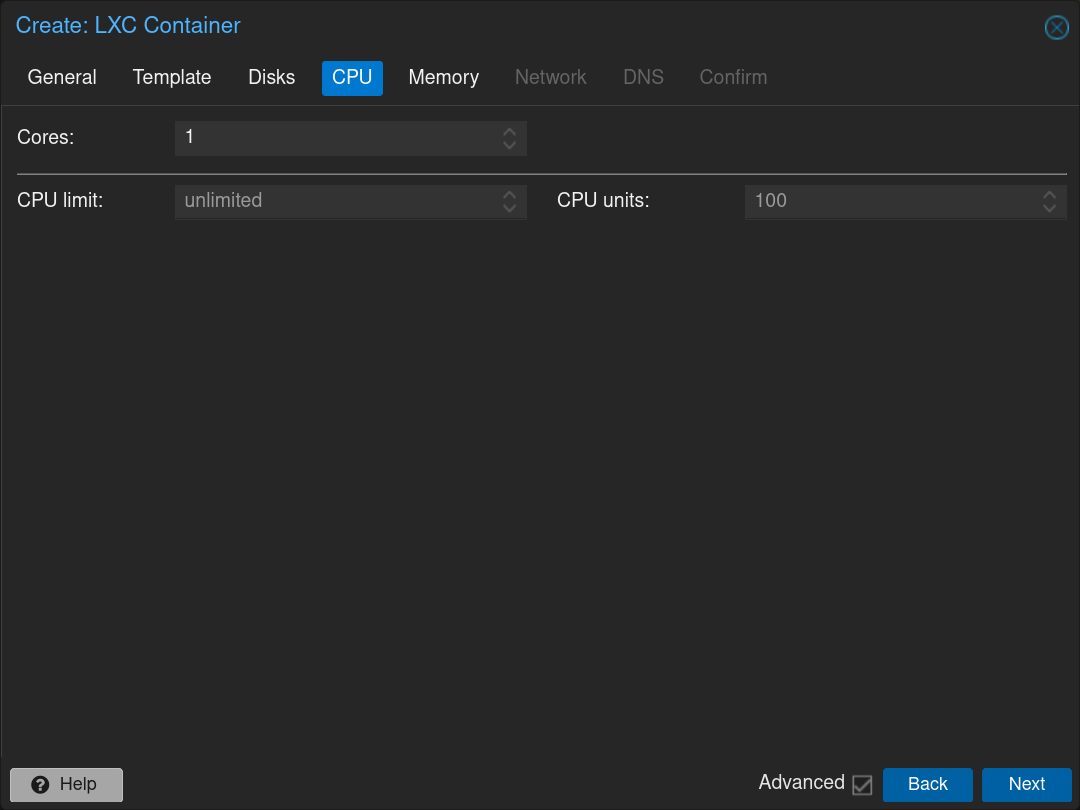
Keep a single CPU and click on Next
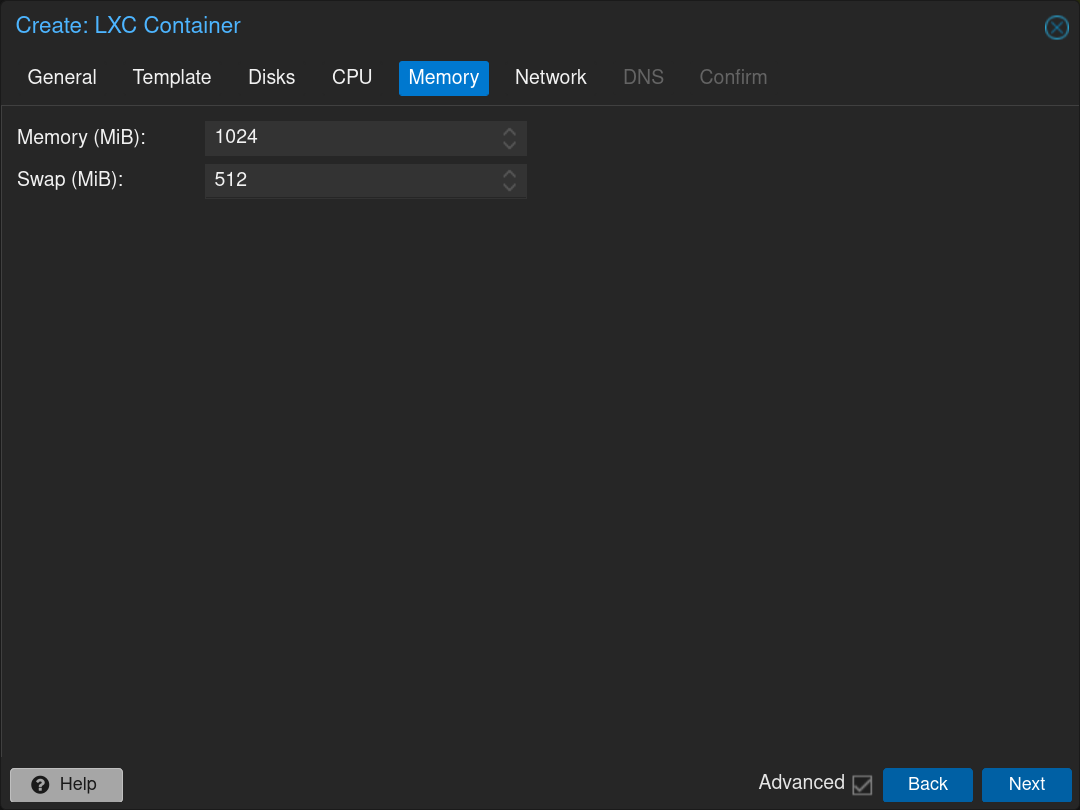
Set the RAM at 1024MB and the SWAP at 512MB and click on Next
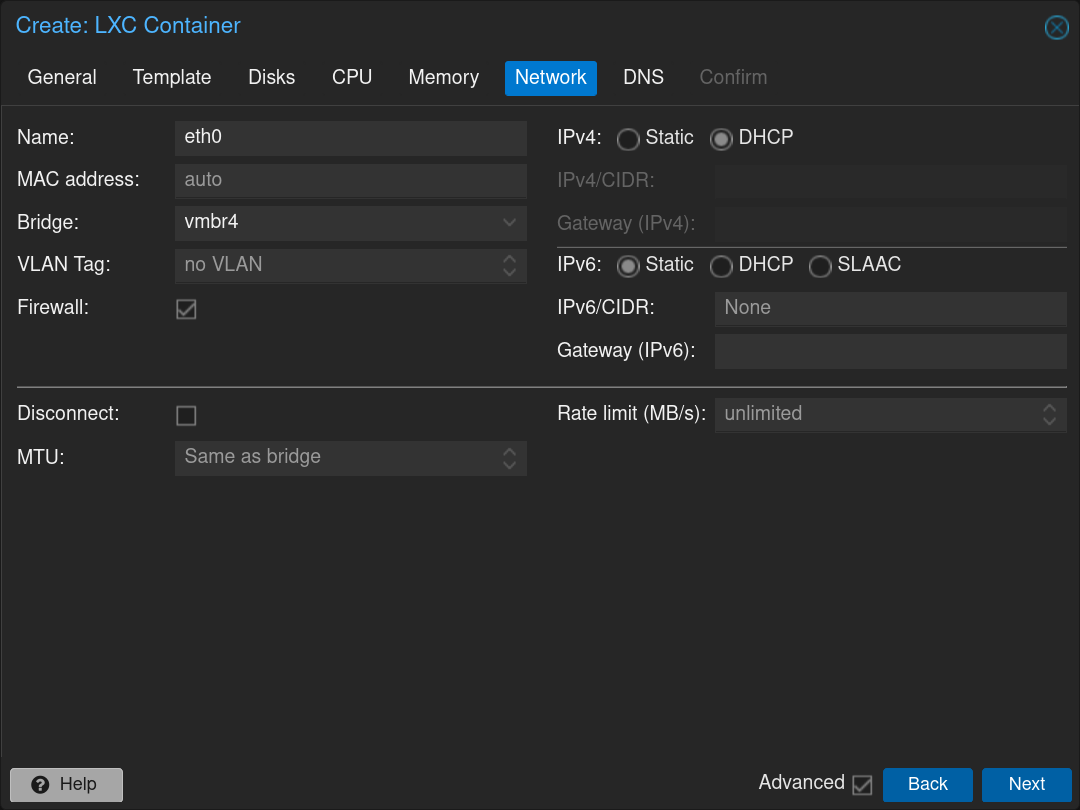
Set the network at vmbr4 corresponding to the DMZ interface and check DHCP on IPv4, then click on Next
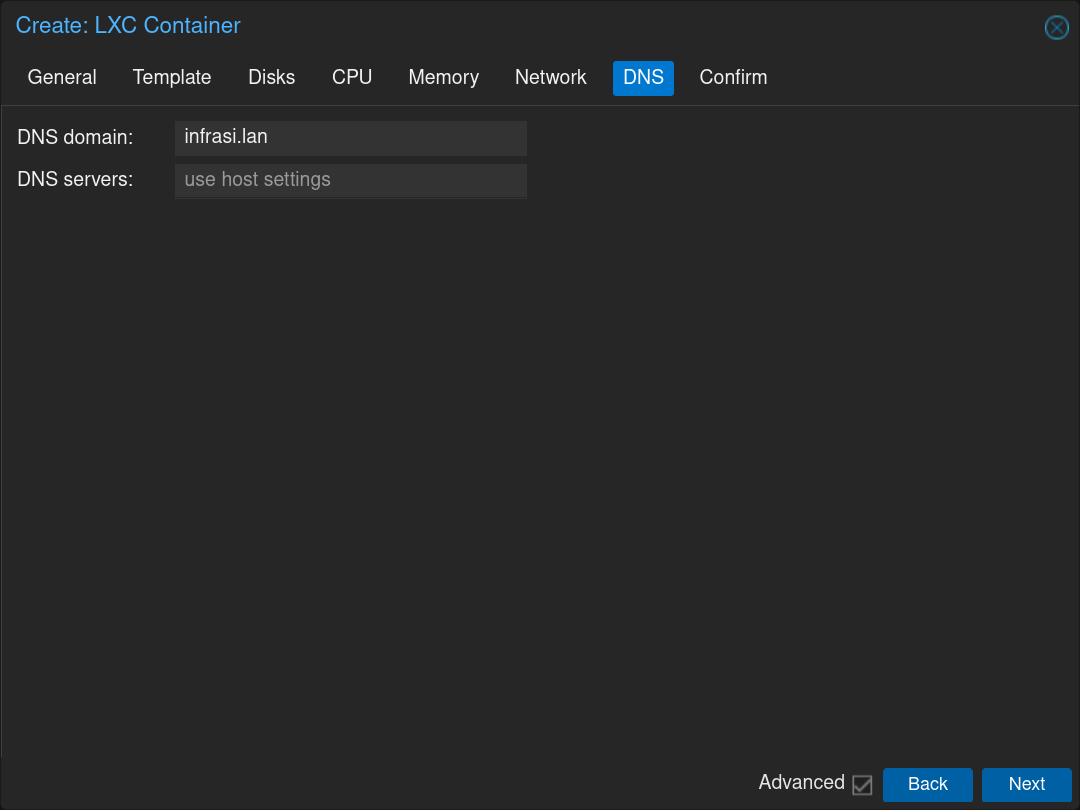
Set the Domain to infrasi.lan and keep the DNS to the default value, then click on Next
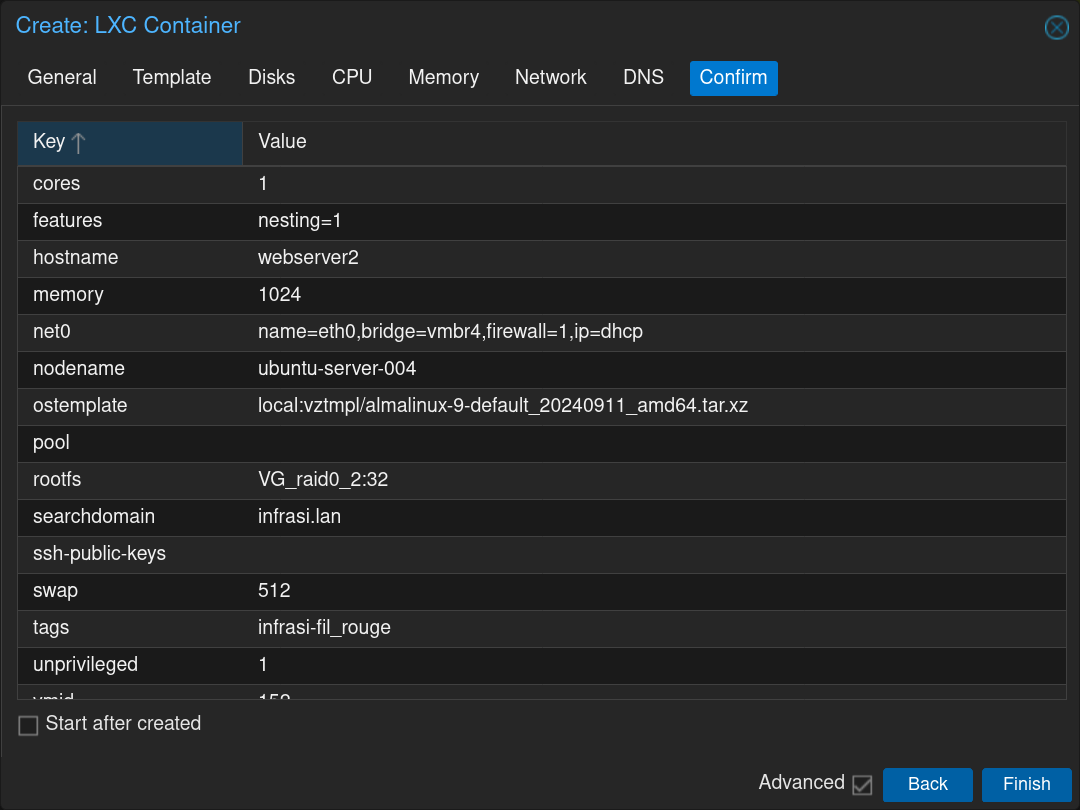
Click on Finish to validate the configurations and create the LXC
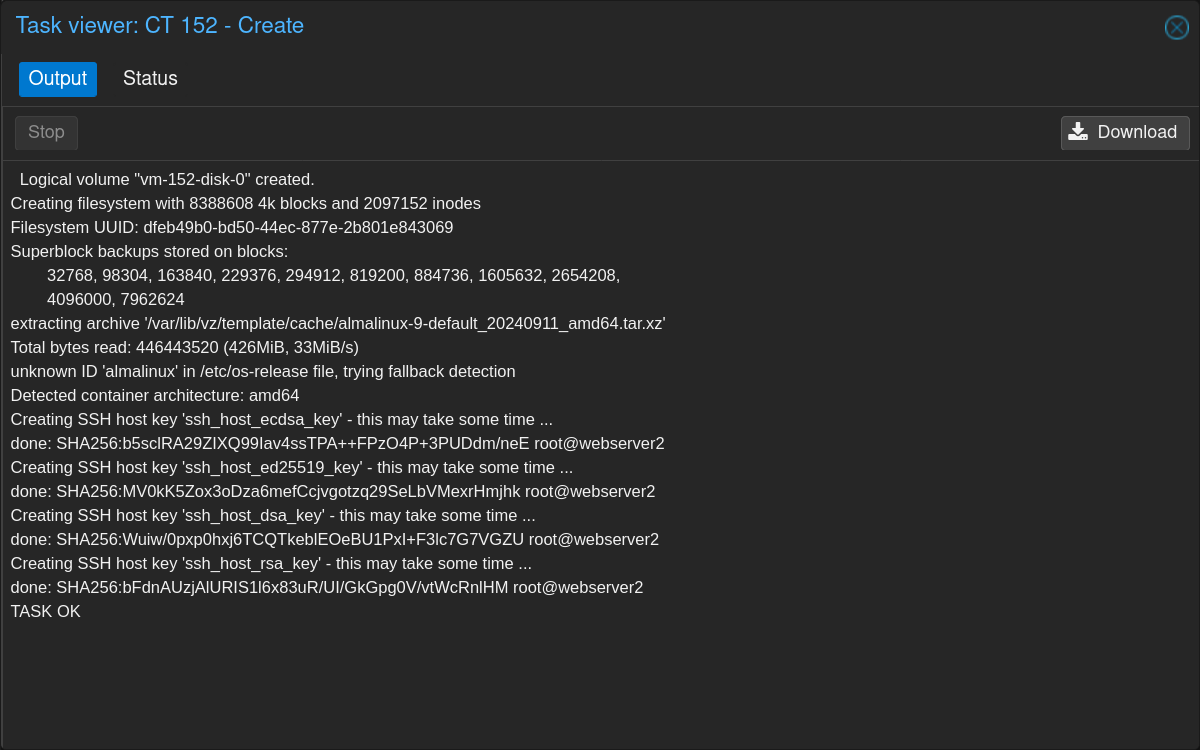
When it is finished, you can close the window
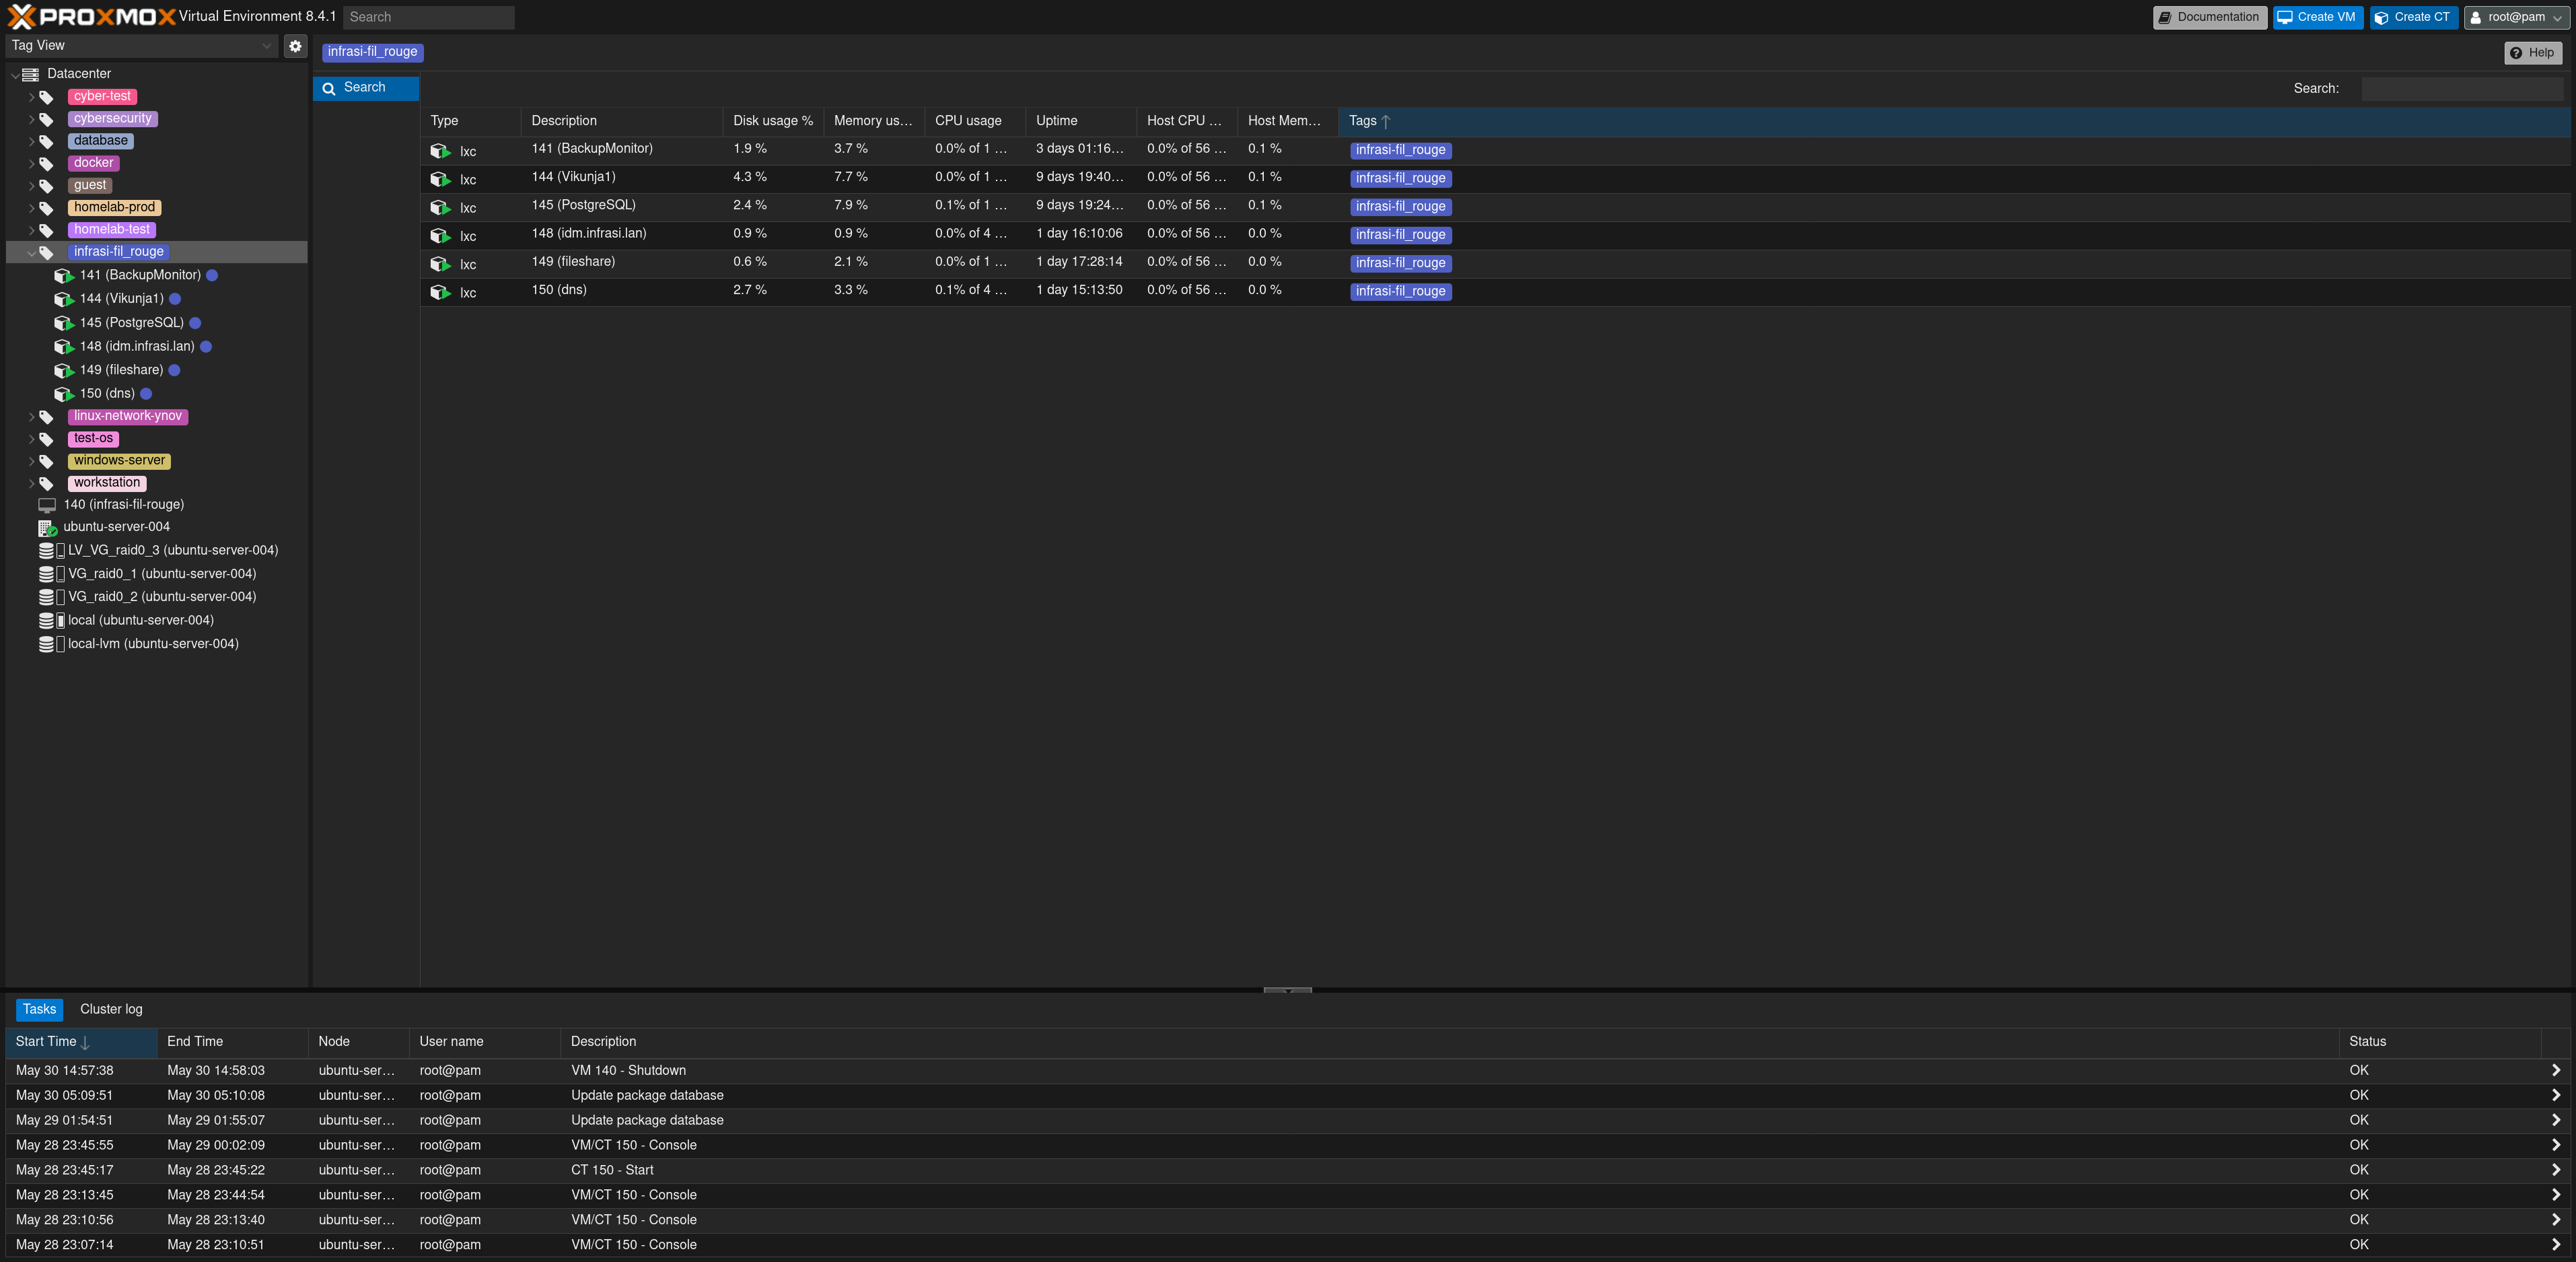
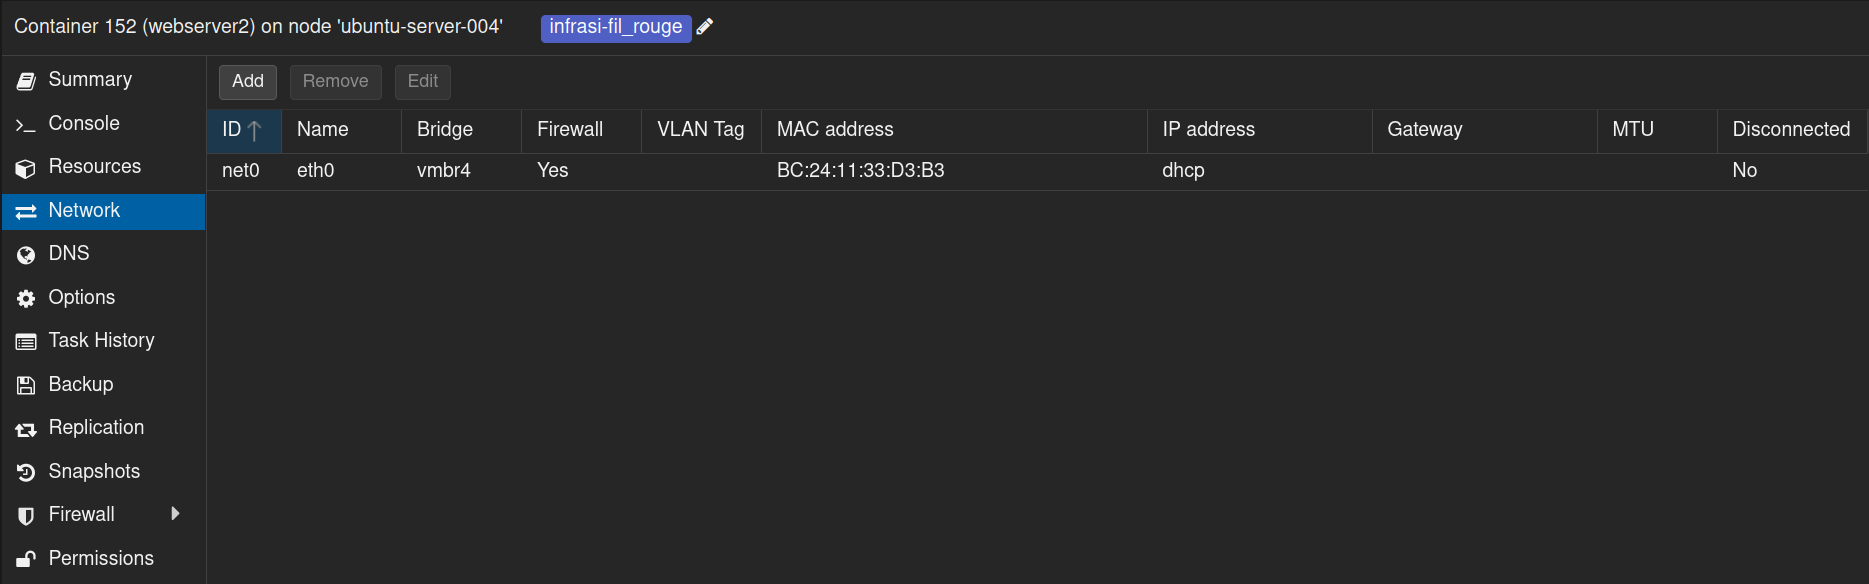
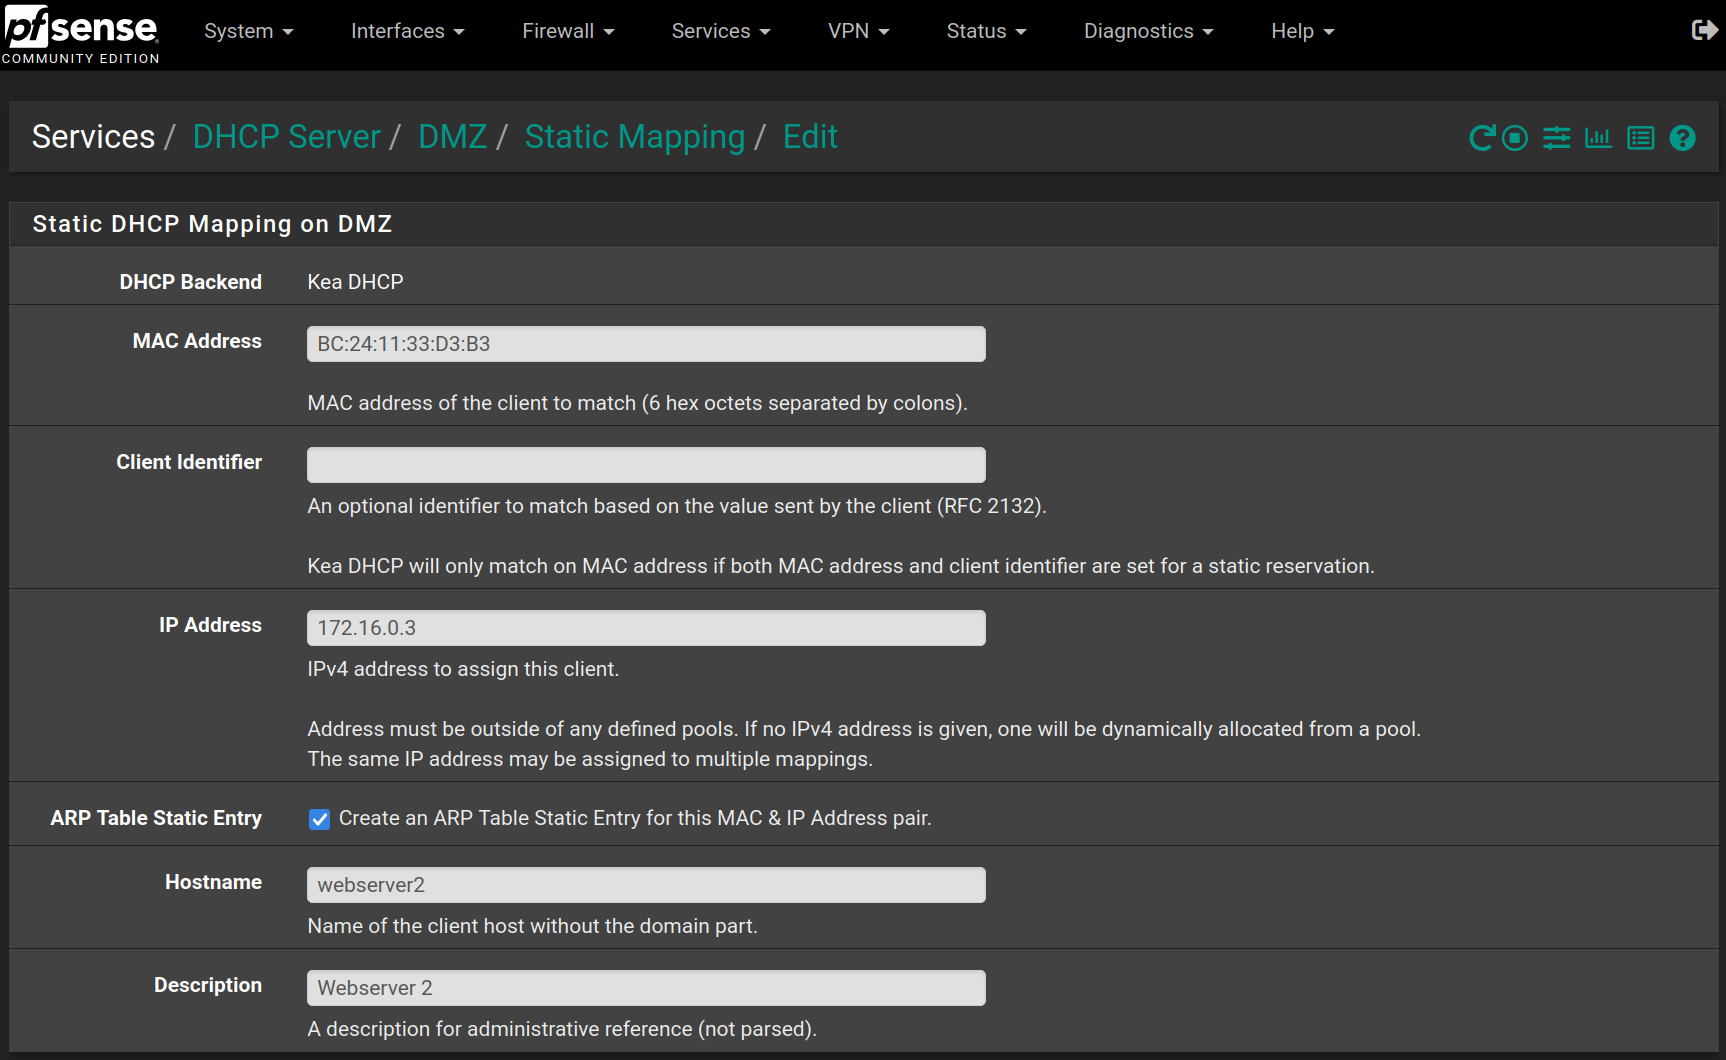
Now we can see our newly created LXC appear, and going to Network, we can take note of its MAC address to add it to the static leases in the DMZ DHCP on pfSense
To add it to the static leases, go to Services > DHCP Server > DMZ and click on Add at the bottom of the page, then fill the form like the following image
Then you can click on  and then on
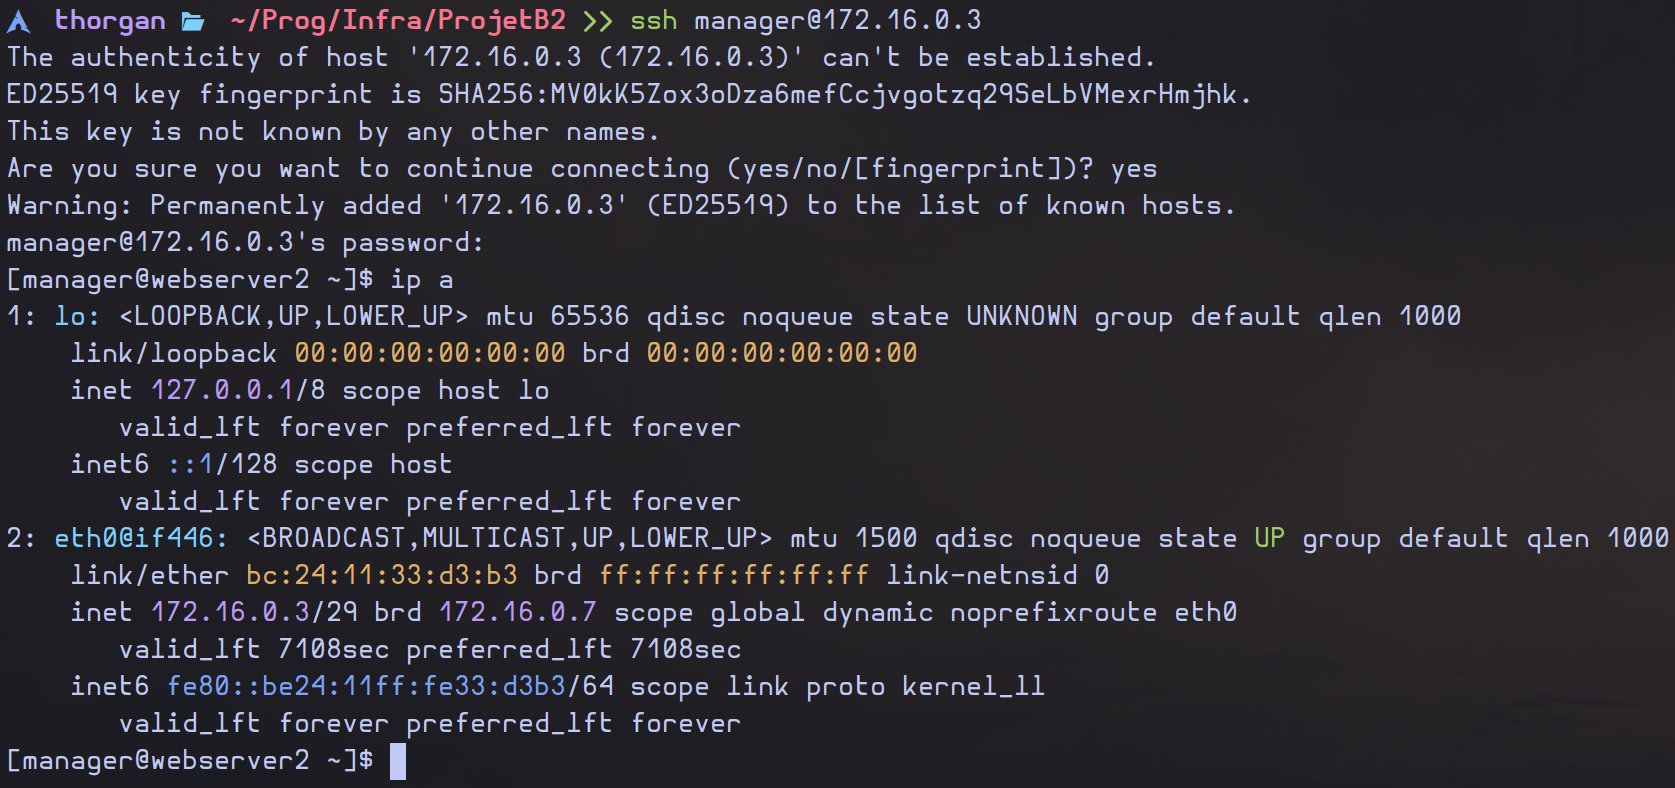
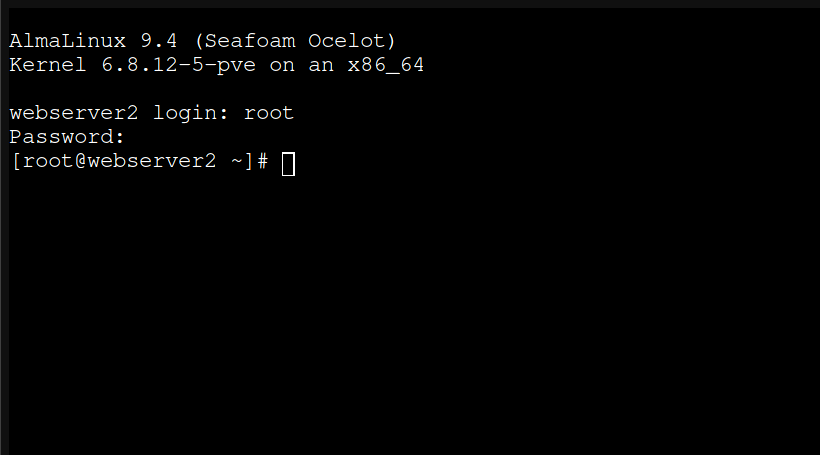
  to start the LXC. When the system has booted, log in as
 root with the password provided in the creation form.
Now that we are logged in, we can run the initial setup script:
#!/bin/bash

# update all packages and upgrade system
dnf update -y && dnf upgrade -y
# install basic and usefull packages
dnf install -y vim git wget bind-utils net-tools openssh-server

# add manager user with sudo privileges and modify the password
adduser manager
usermod -aG wheel manager
passwd manager

# start SSH server and enable it at boot
service sshd start && systemctl enable sshd
The only thing to do will be to type the manager's password when asked. All the rest is automatic.
After the upgrade from Almalinux 9.4 to Almalinux 9.6, reboot the LXC with the reboot command.
Now the LXC is setup and accessible via SSH using the IP address specified in pfSense.