# InfraSI B2
# Reverse Proxy Installation
Antoine de Barbarin
---
## Certificate
In the **pfSense** web configurator, go to **System > Certificates > Authorities** and click on `Add`, then fill it with the following values and click on `Save`

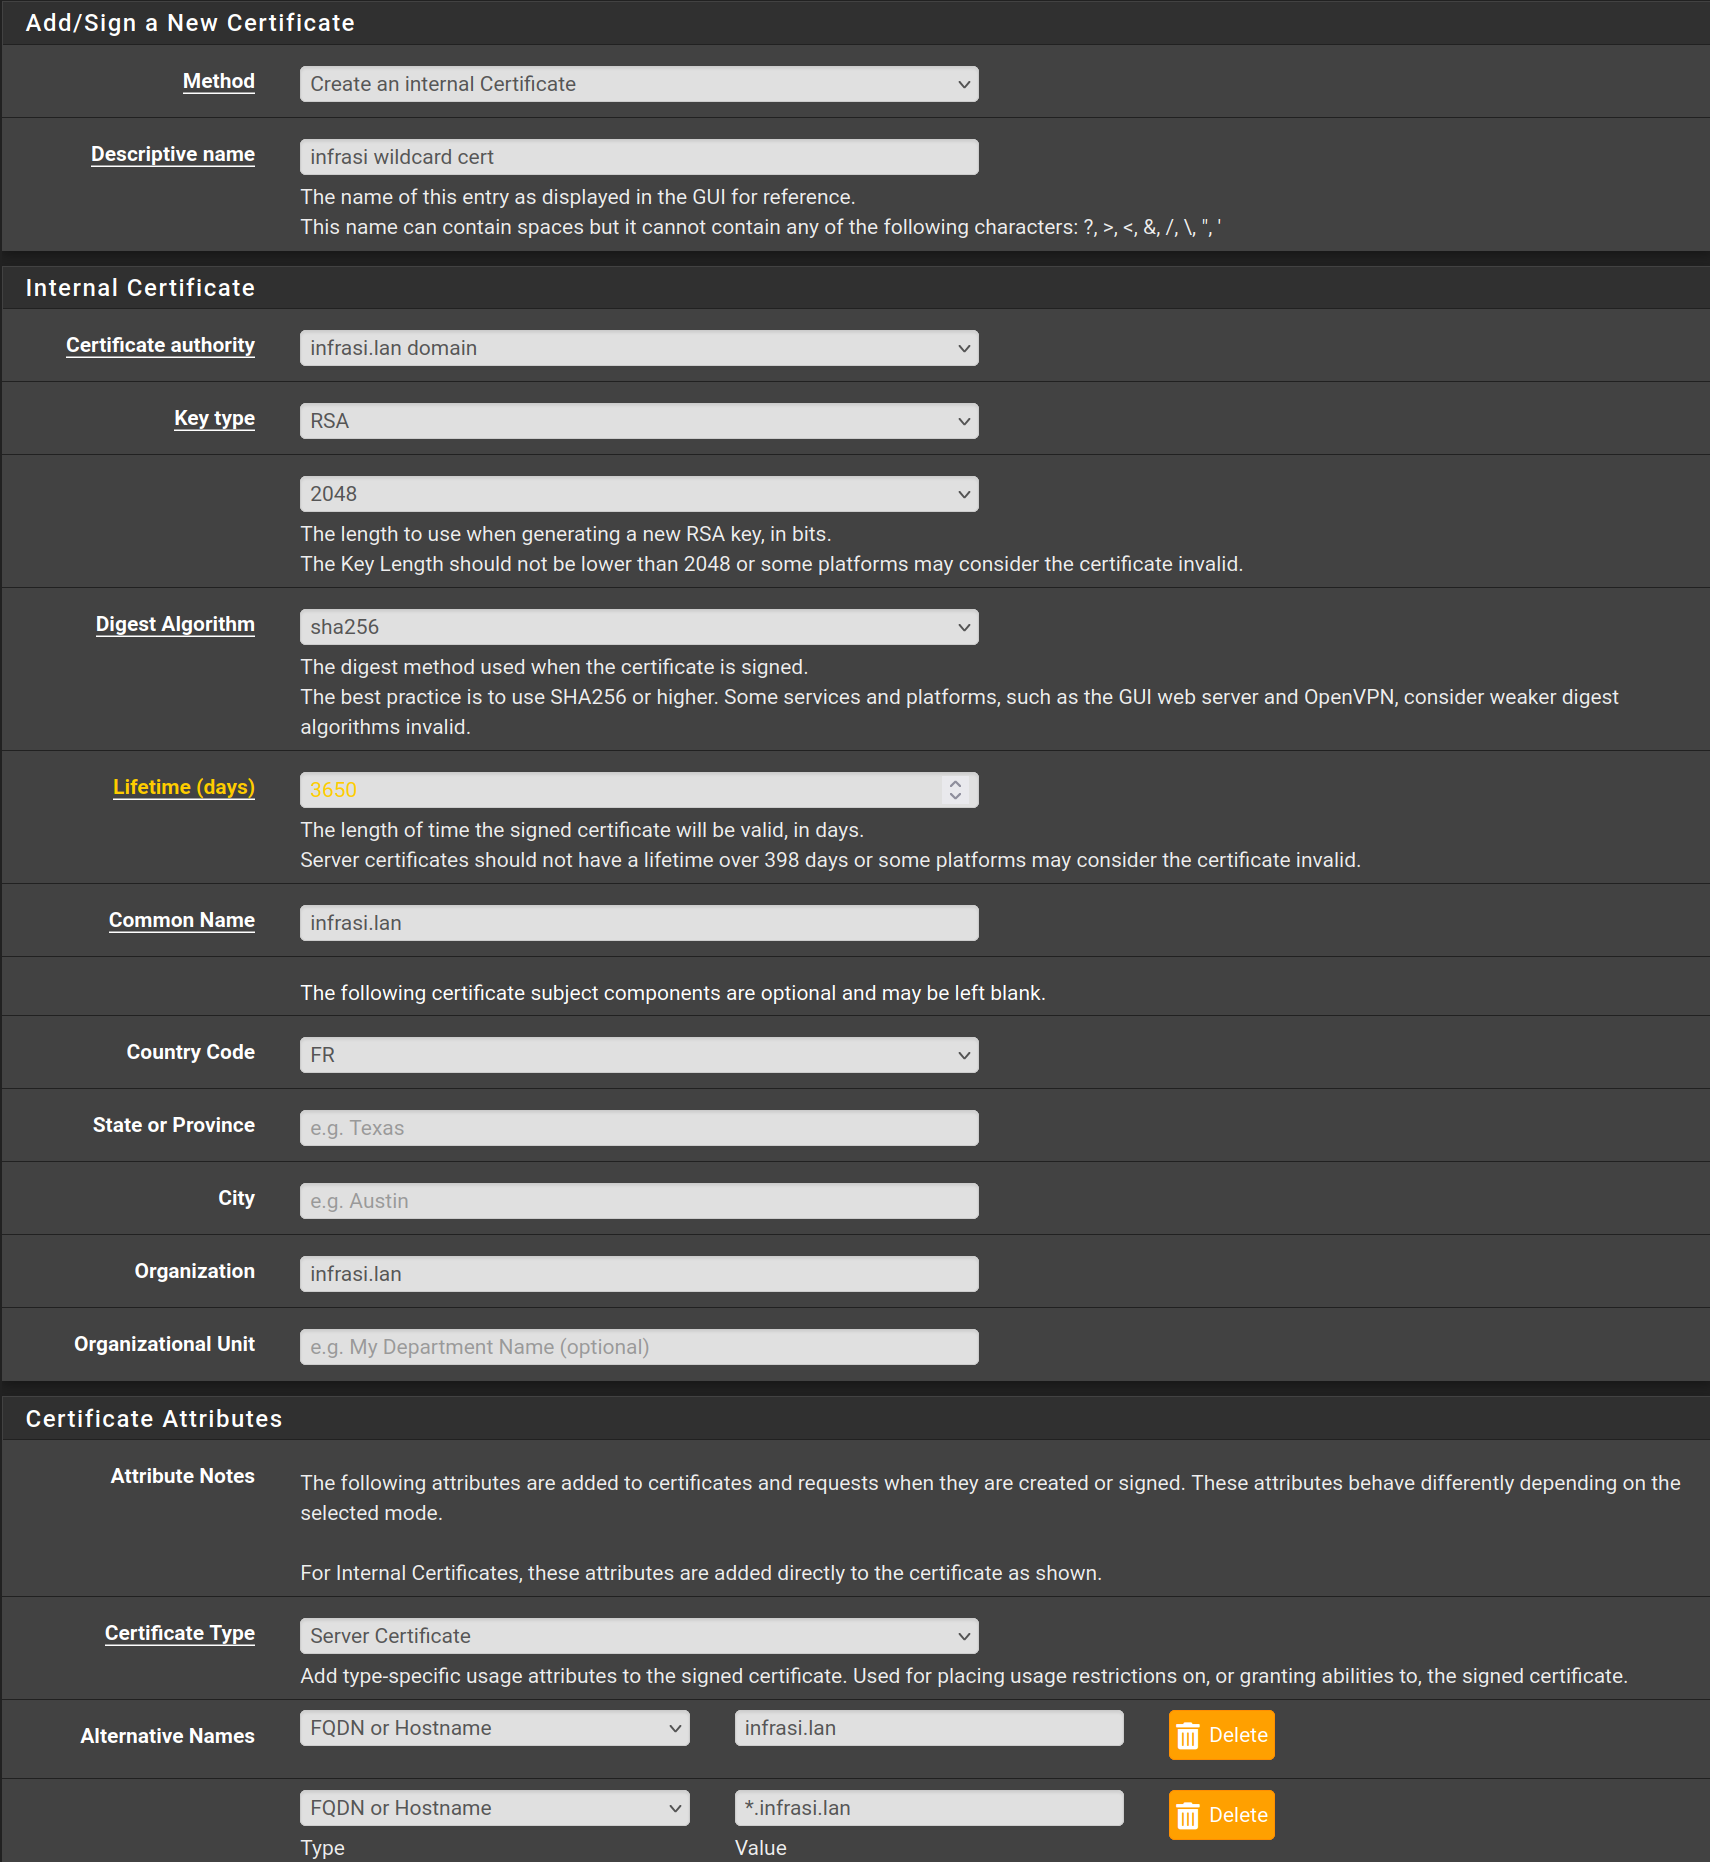
Then go to **Certificates** and click on `Add/Sign` then fill the form with the following values and click on `Save`
---
## HAProxy
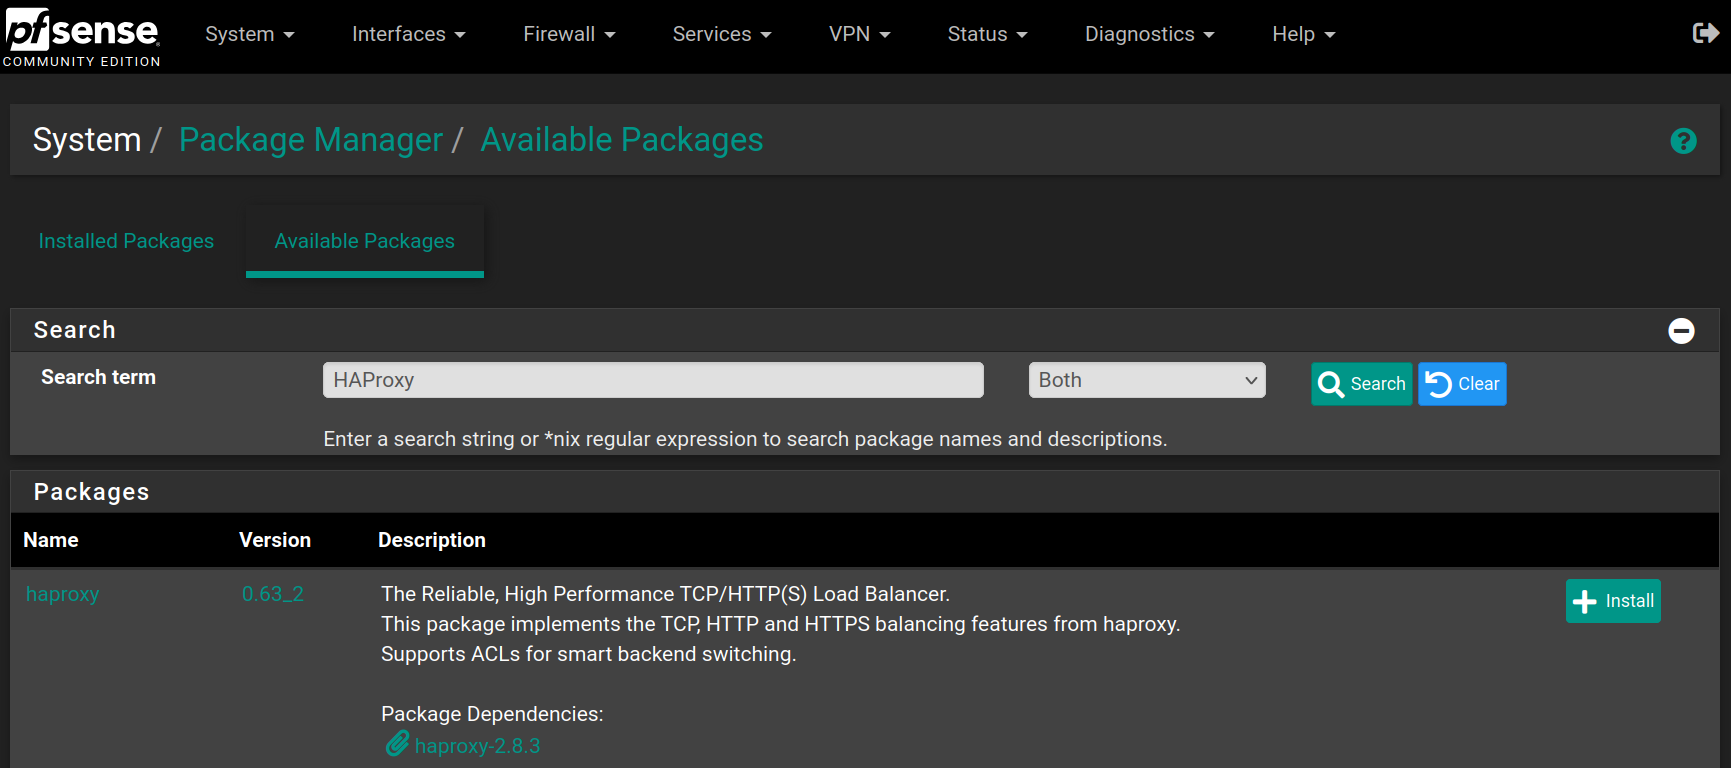
Go to **System > Package Manager > Available Packages** and search for `HAProxy` and click on `Install`
Click on `Confirm` to begin the installation

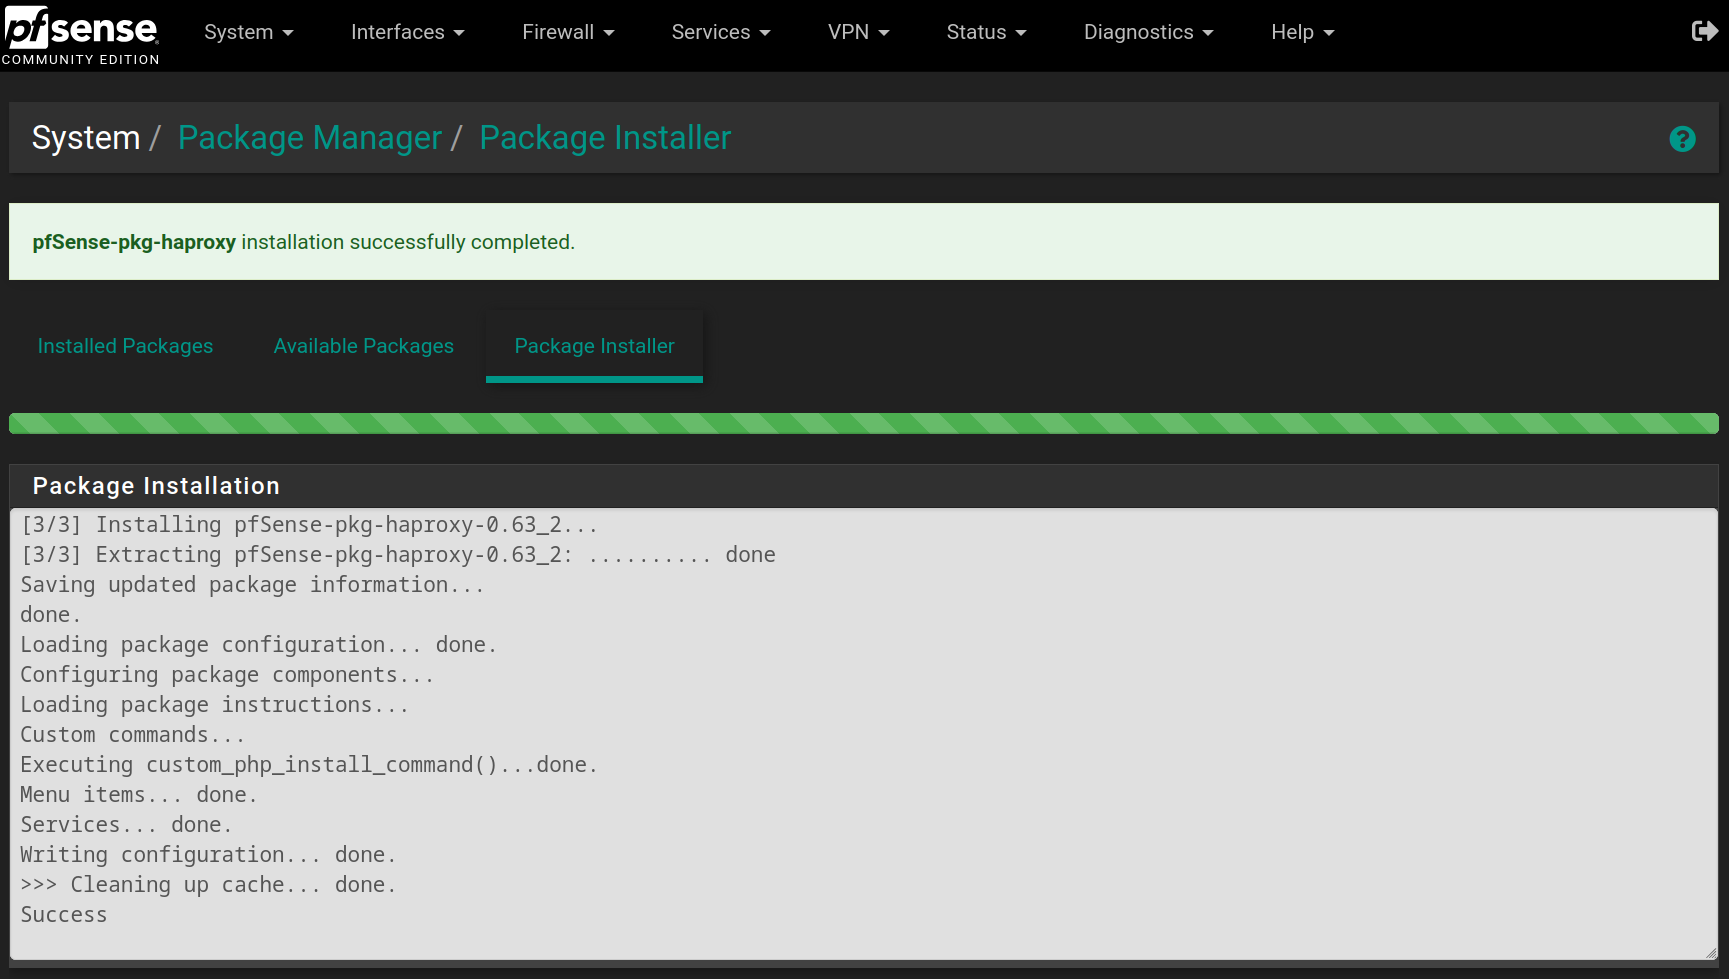
When the installation is complete, you will have the following result
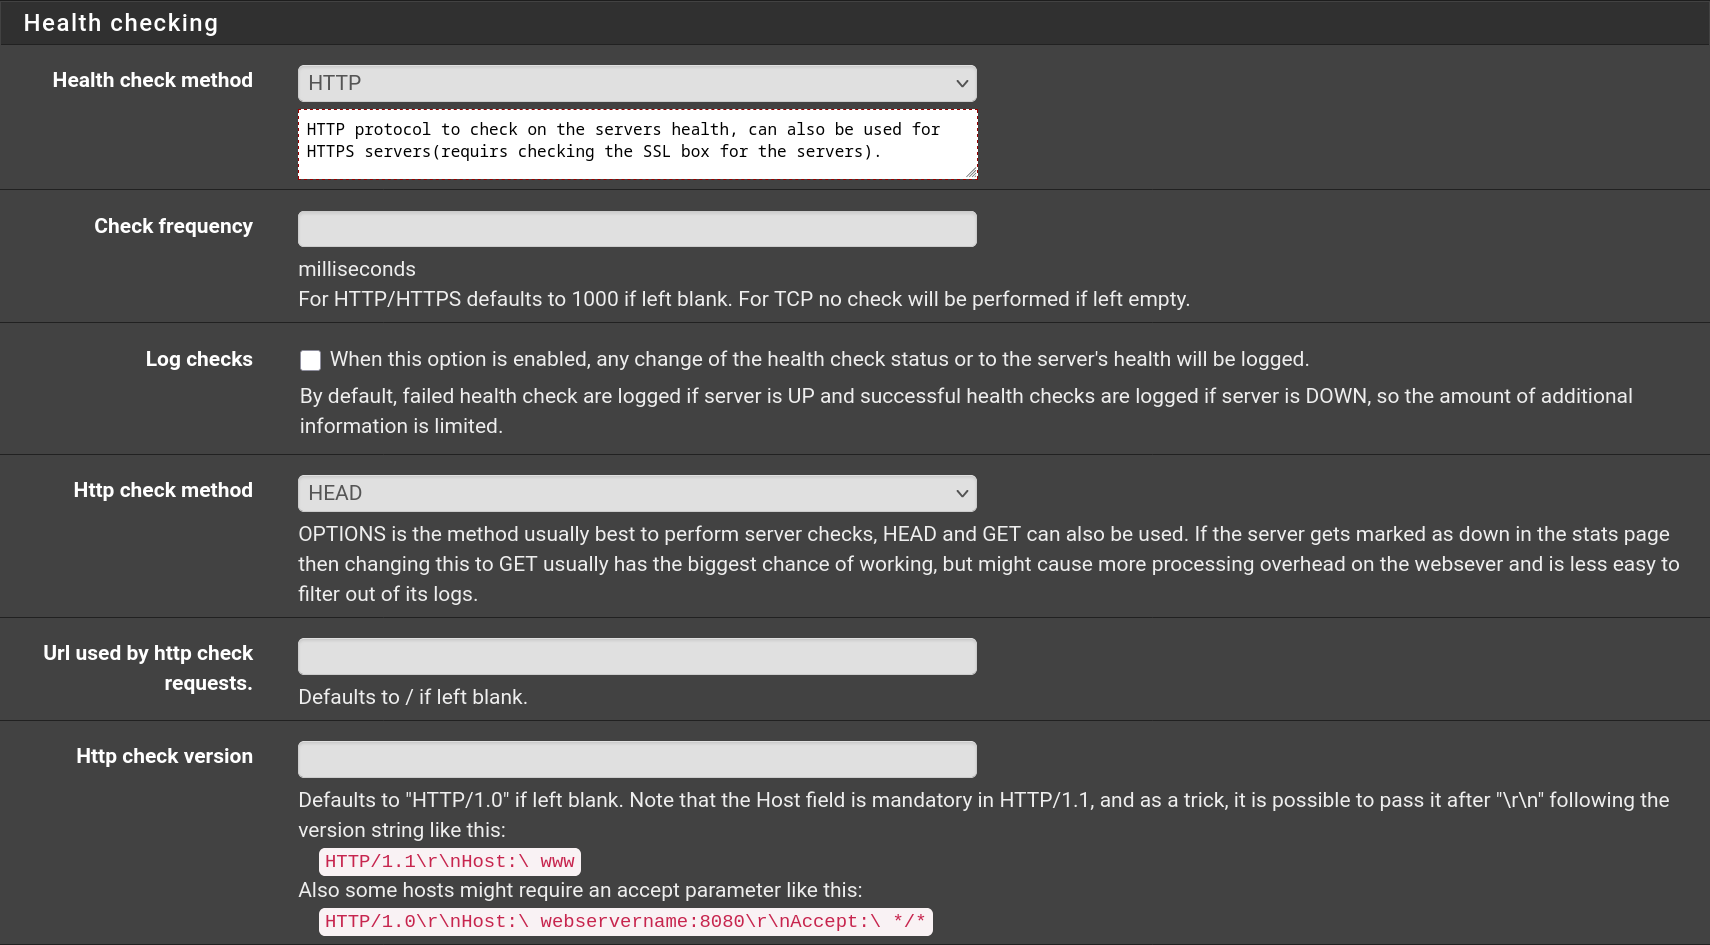
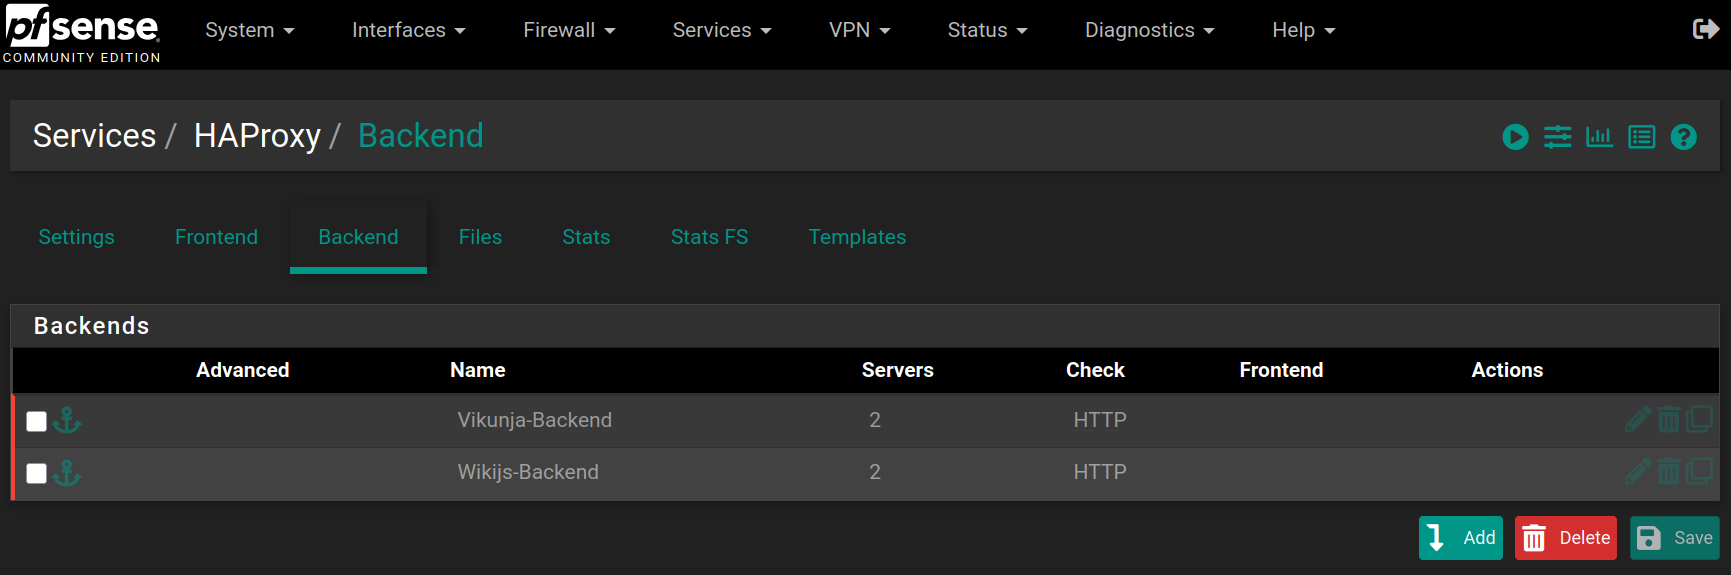
Go to **Services > HAProxy > Backend** and click on , then fill the form with the following values and click on `Save`
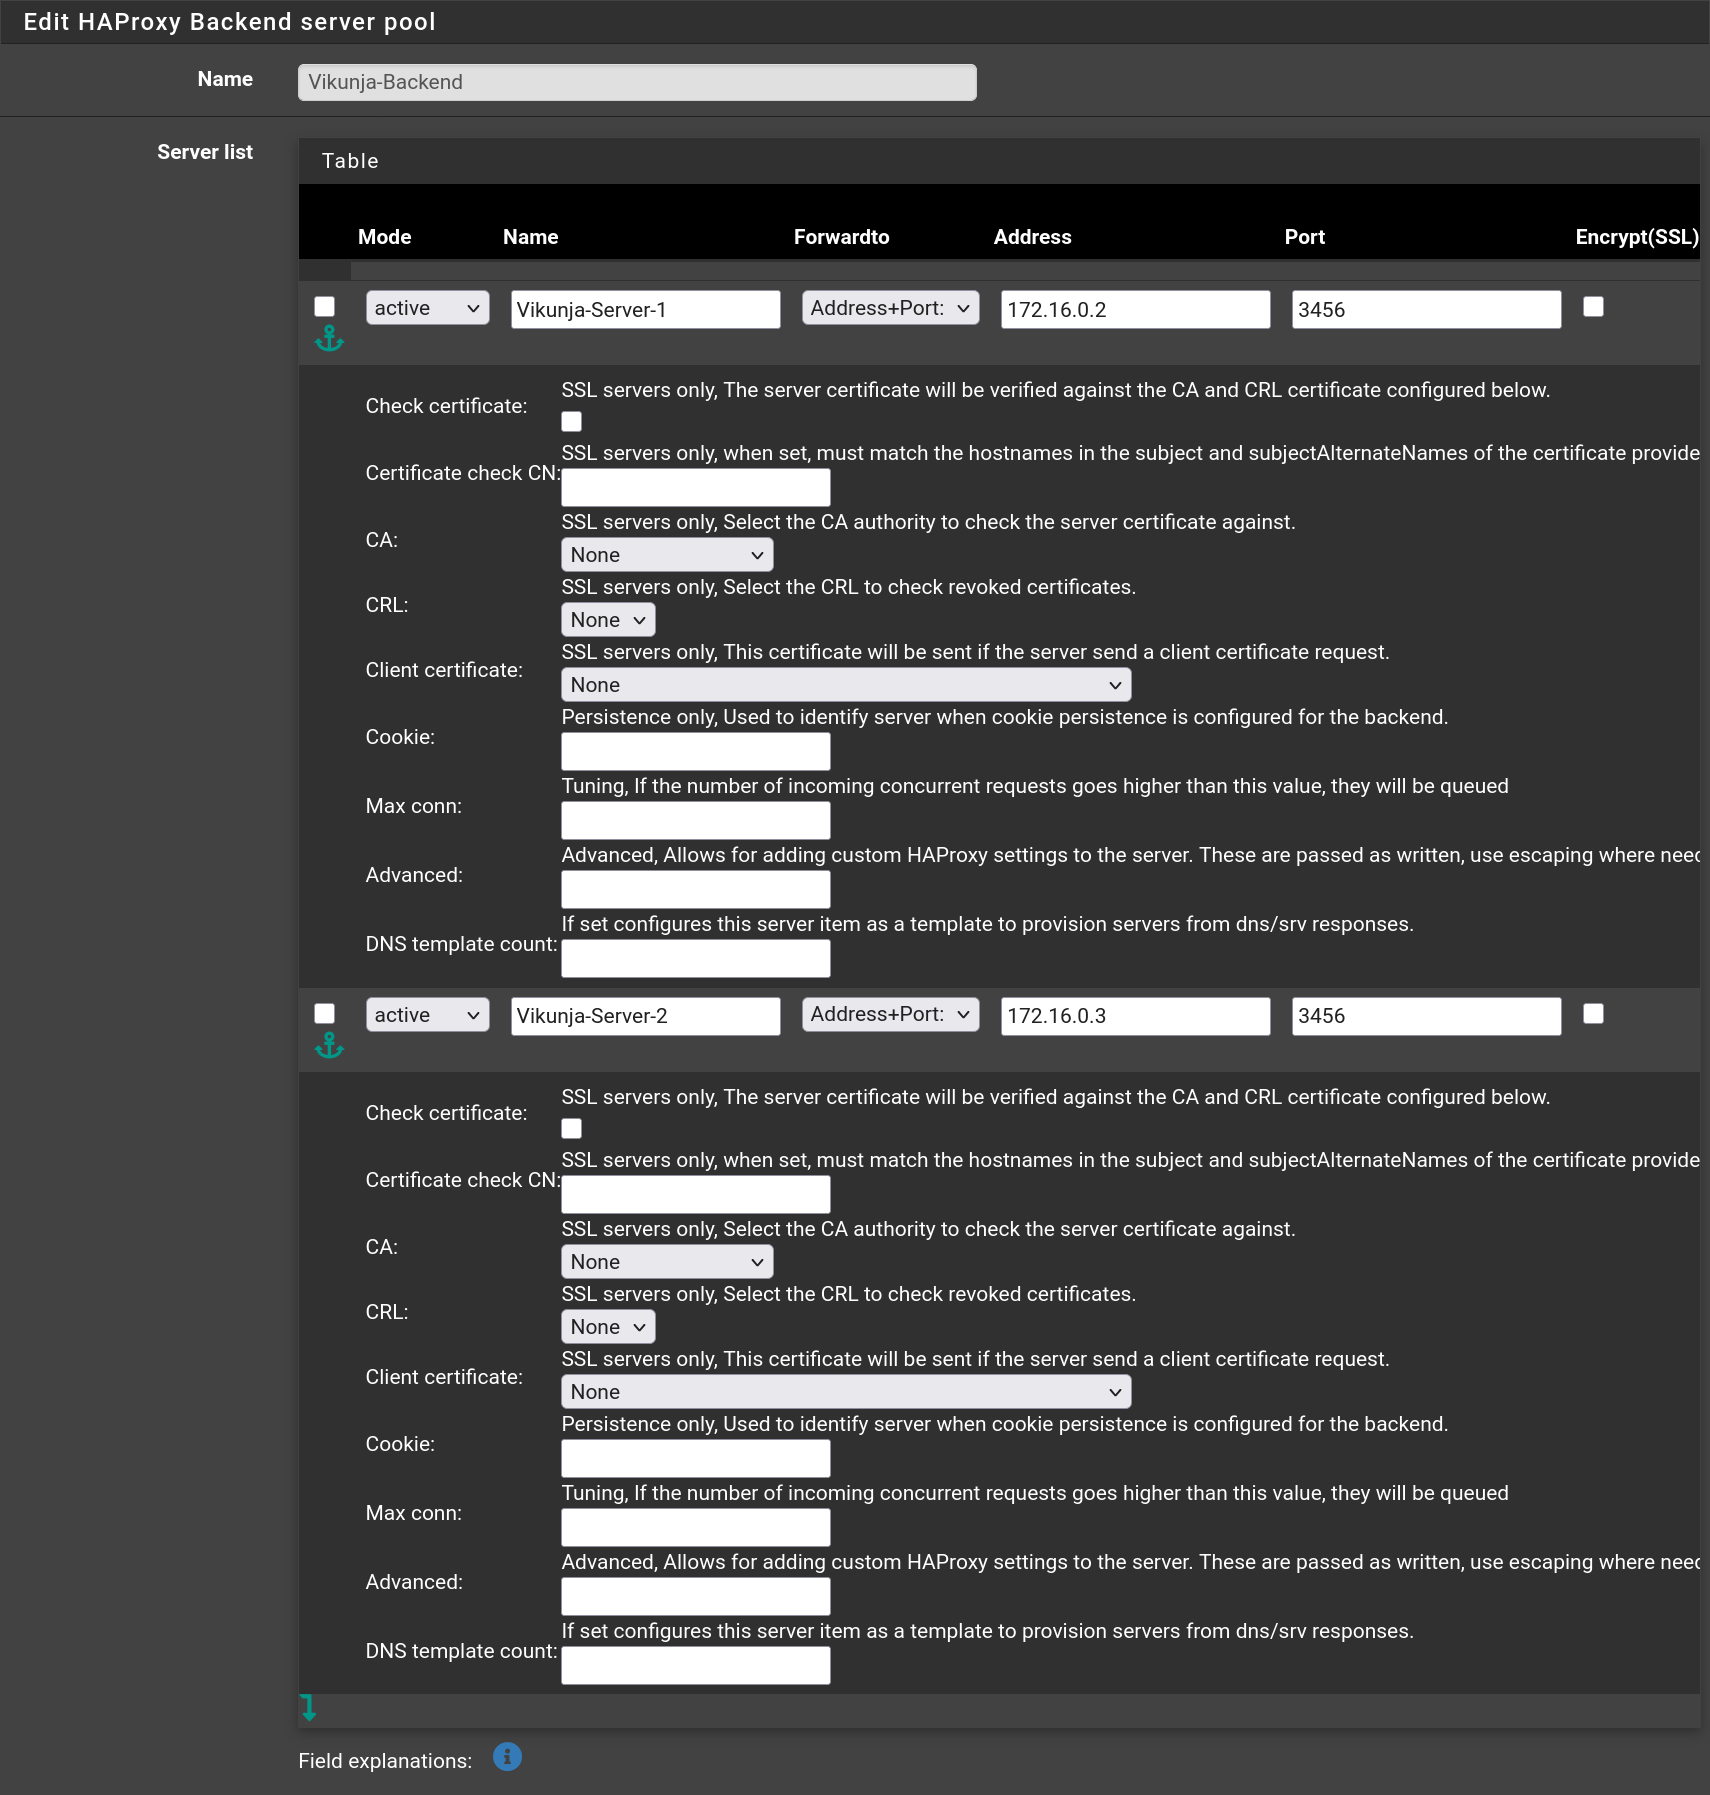
Do the same for **Wiki.js** with the port being `3000` instead of `3456`.
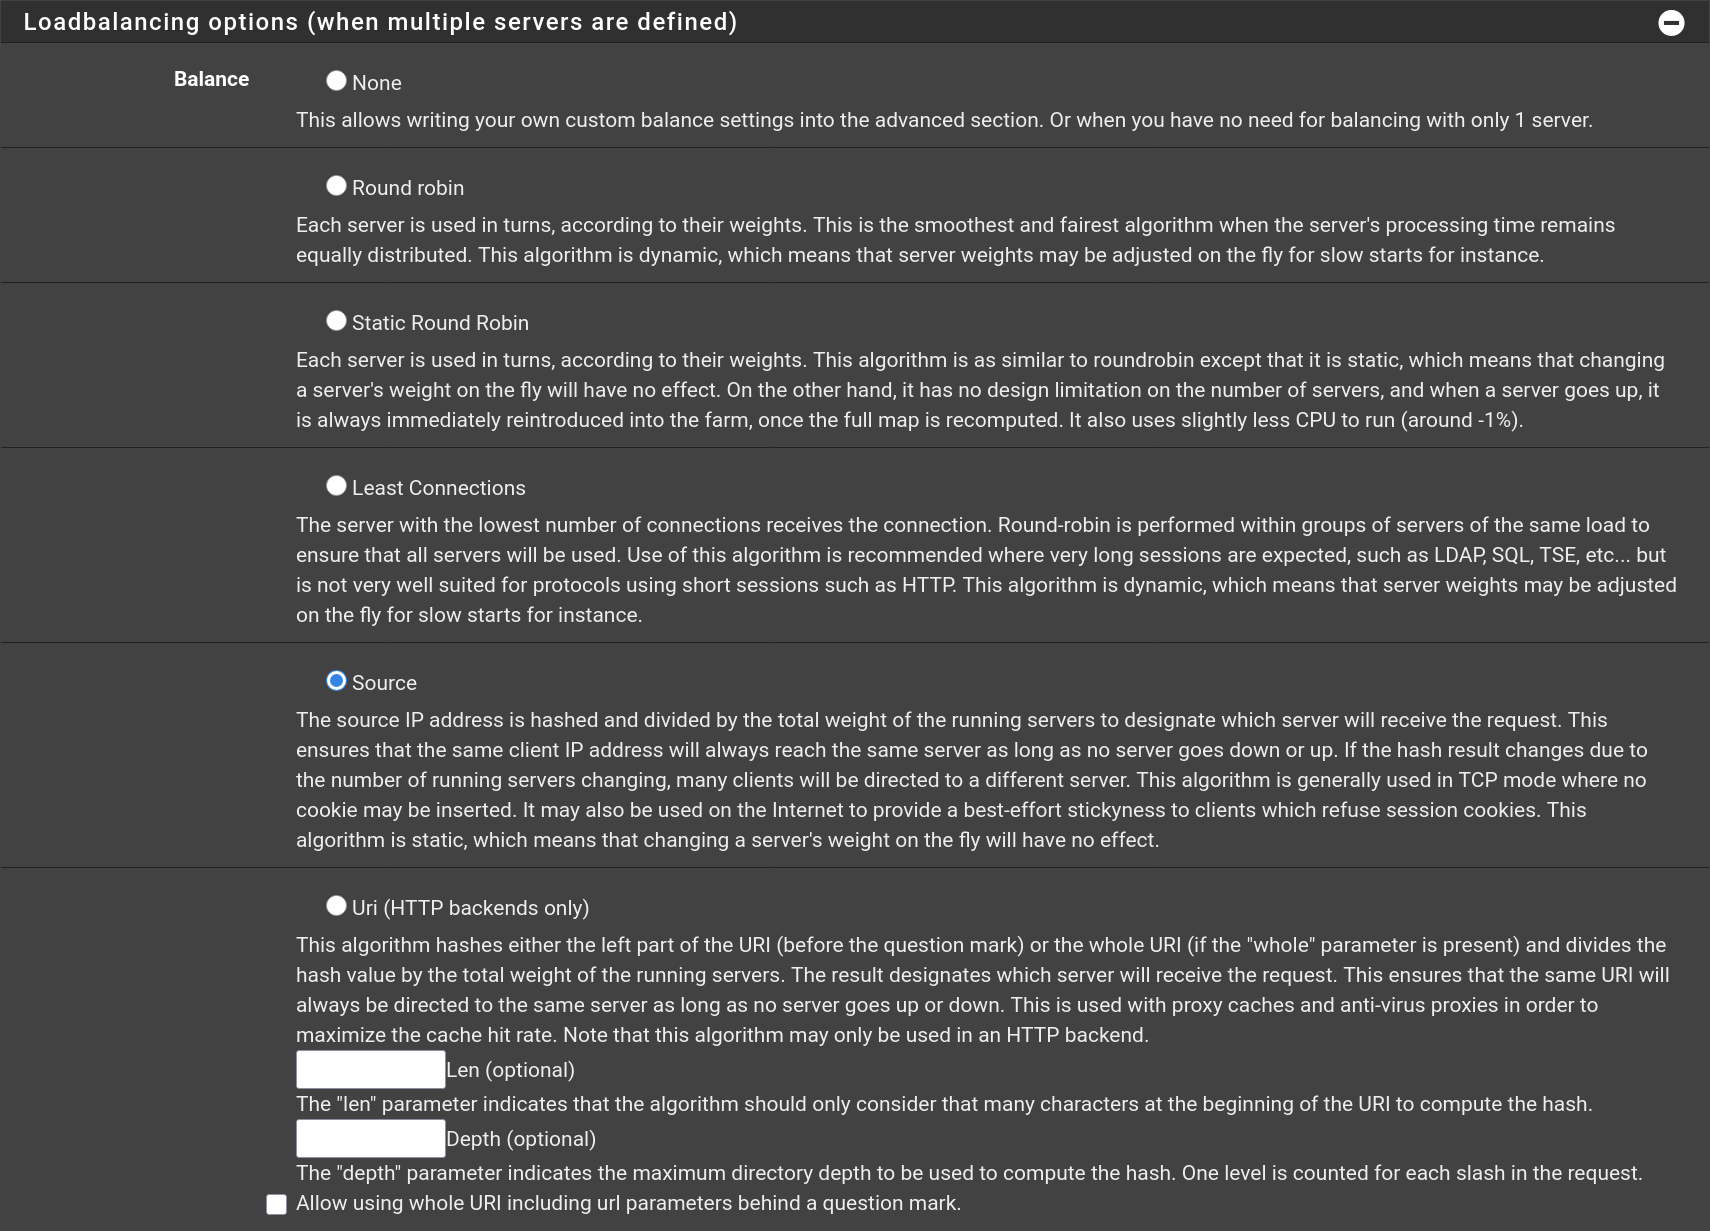
Then go to **Frontend** and click on , then fill the form with the following values and click on `Save`
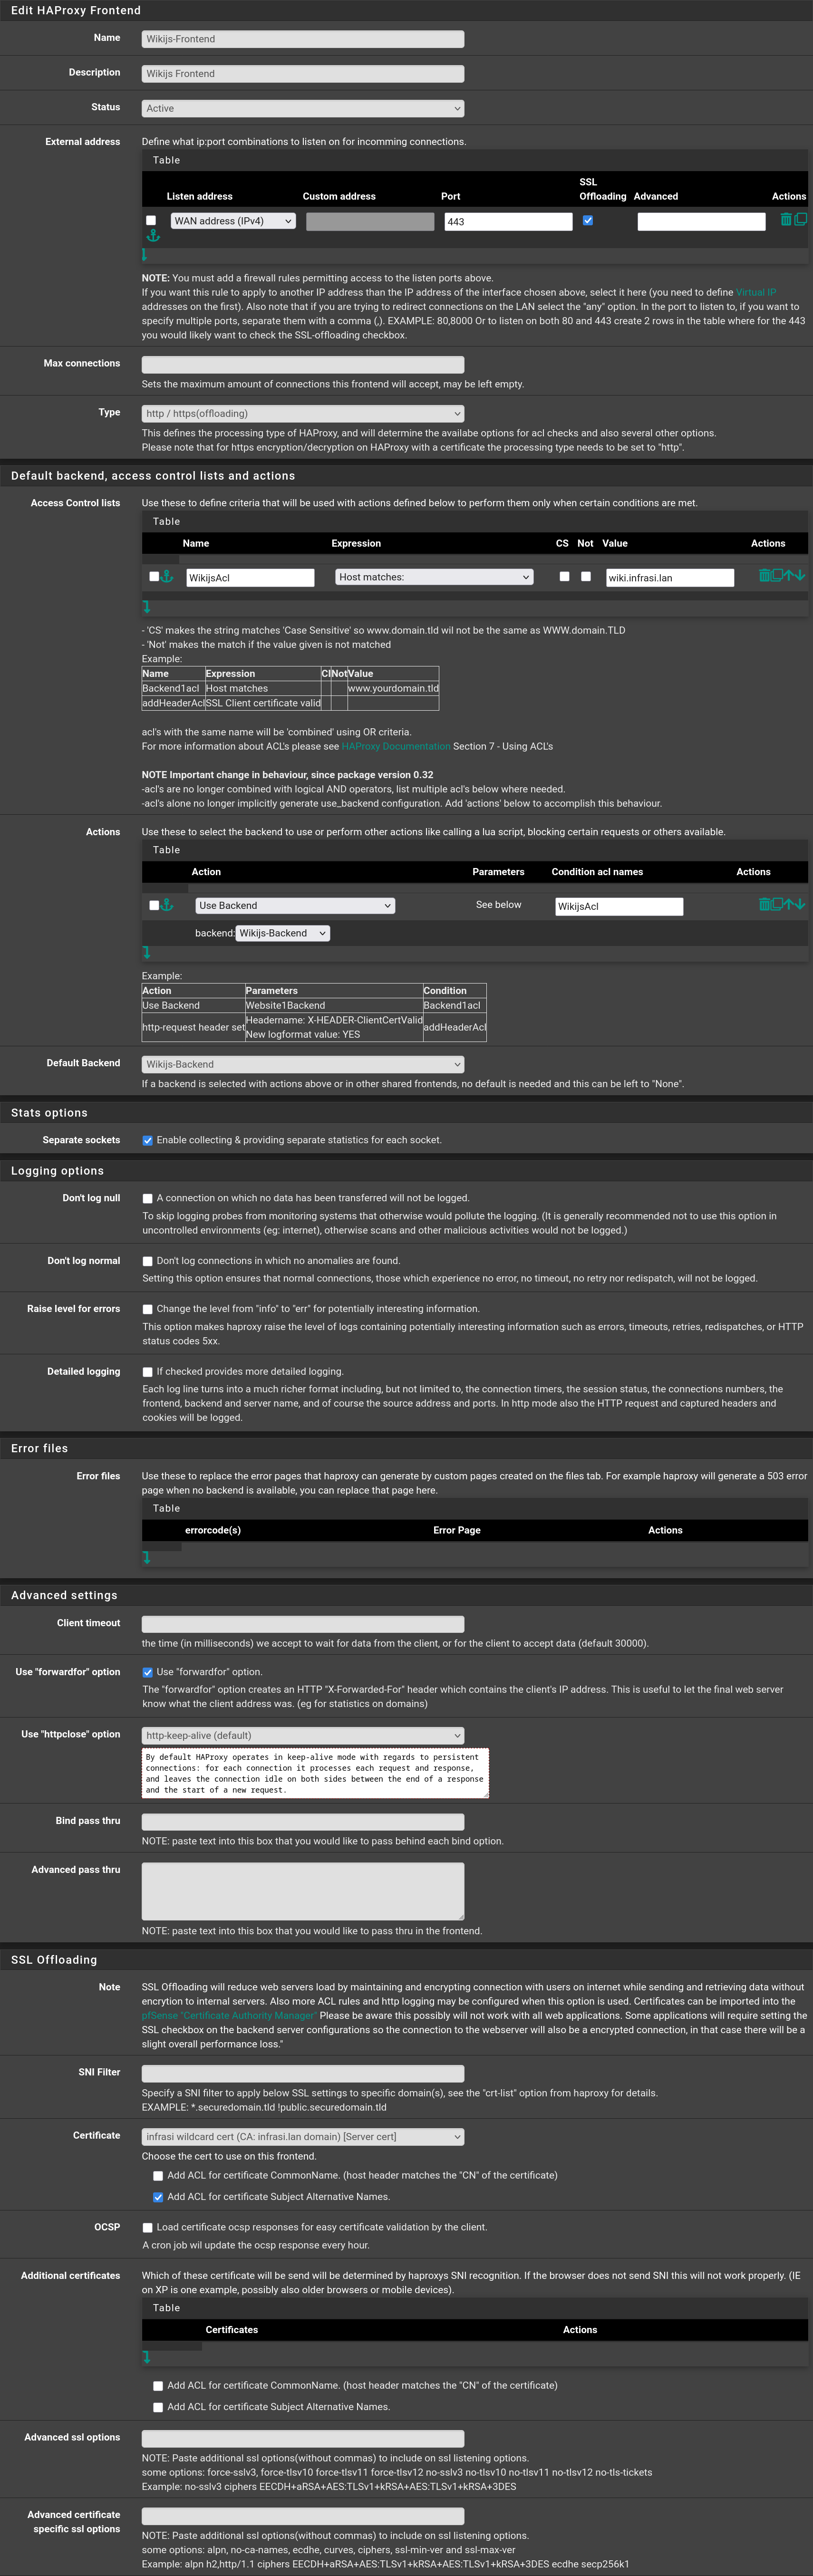
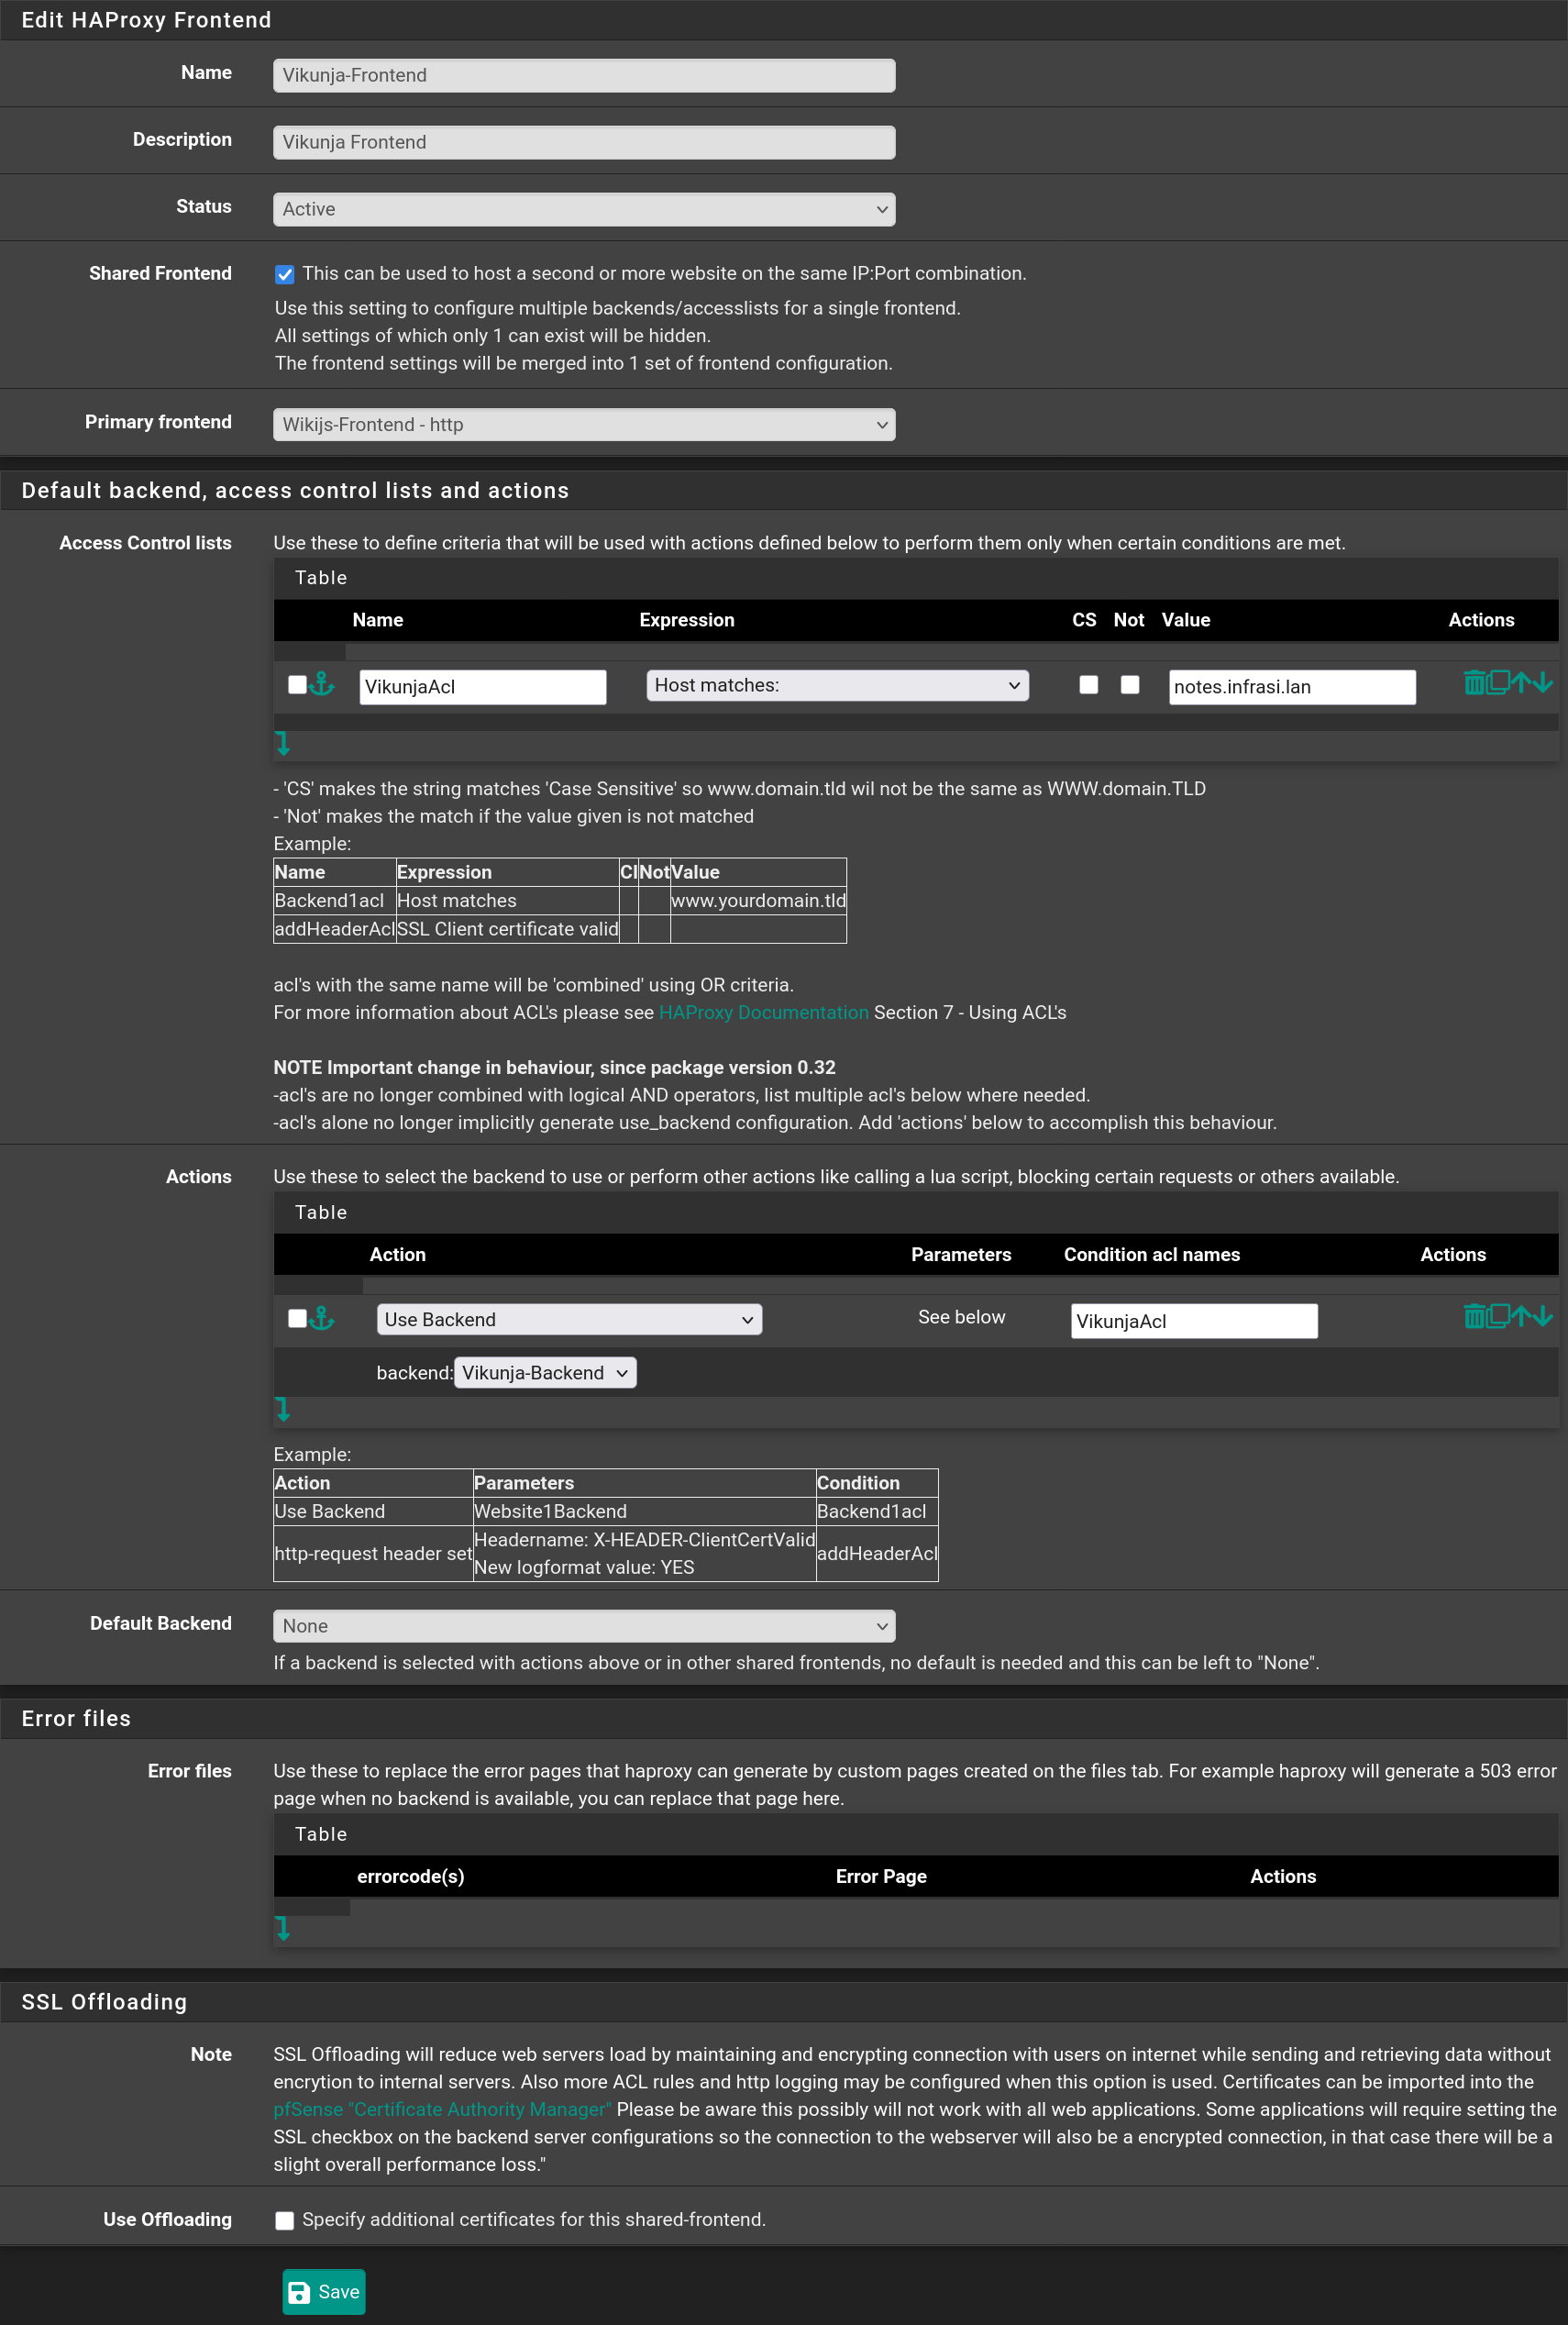
Repeat the process with `Vikunja` checking the option `Shared Frontend` selecting the `Wikijs-Frontend` and click on `Save`
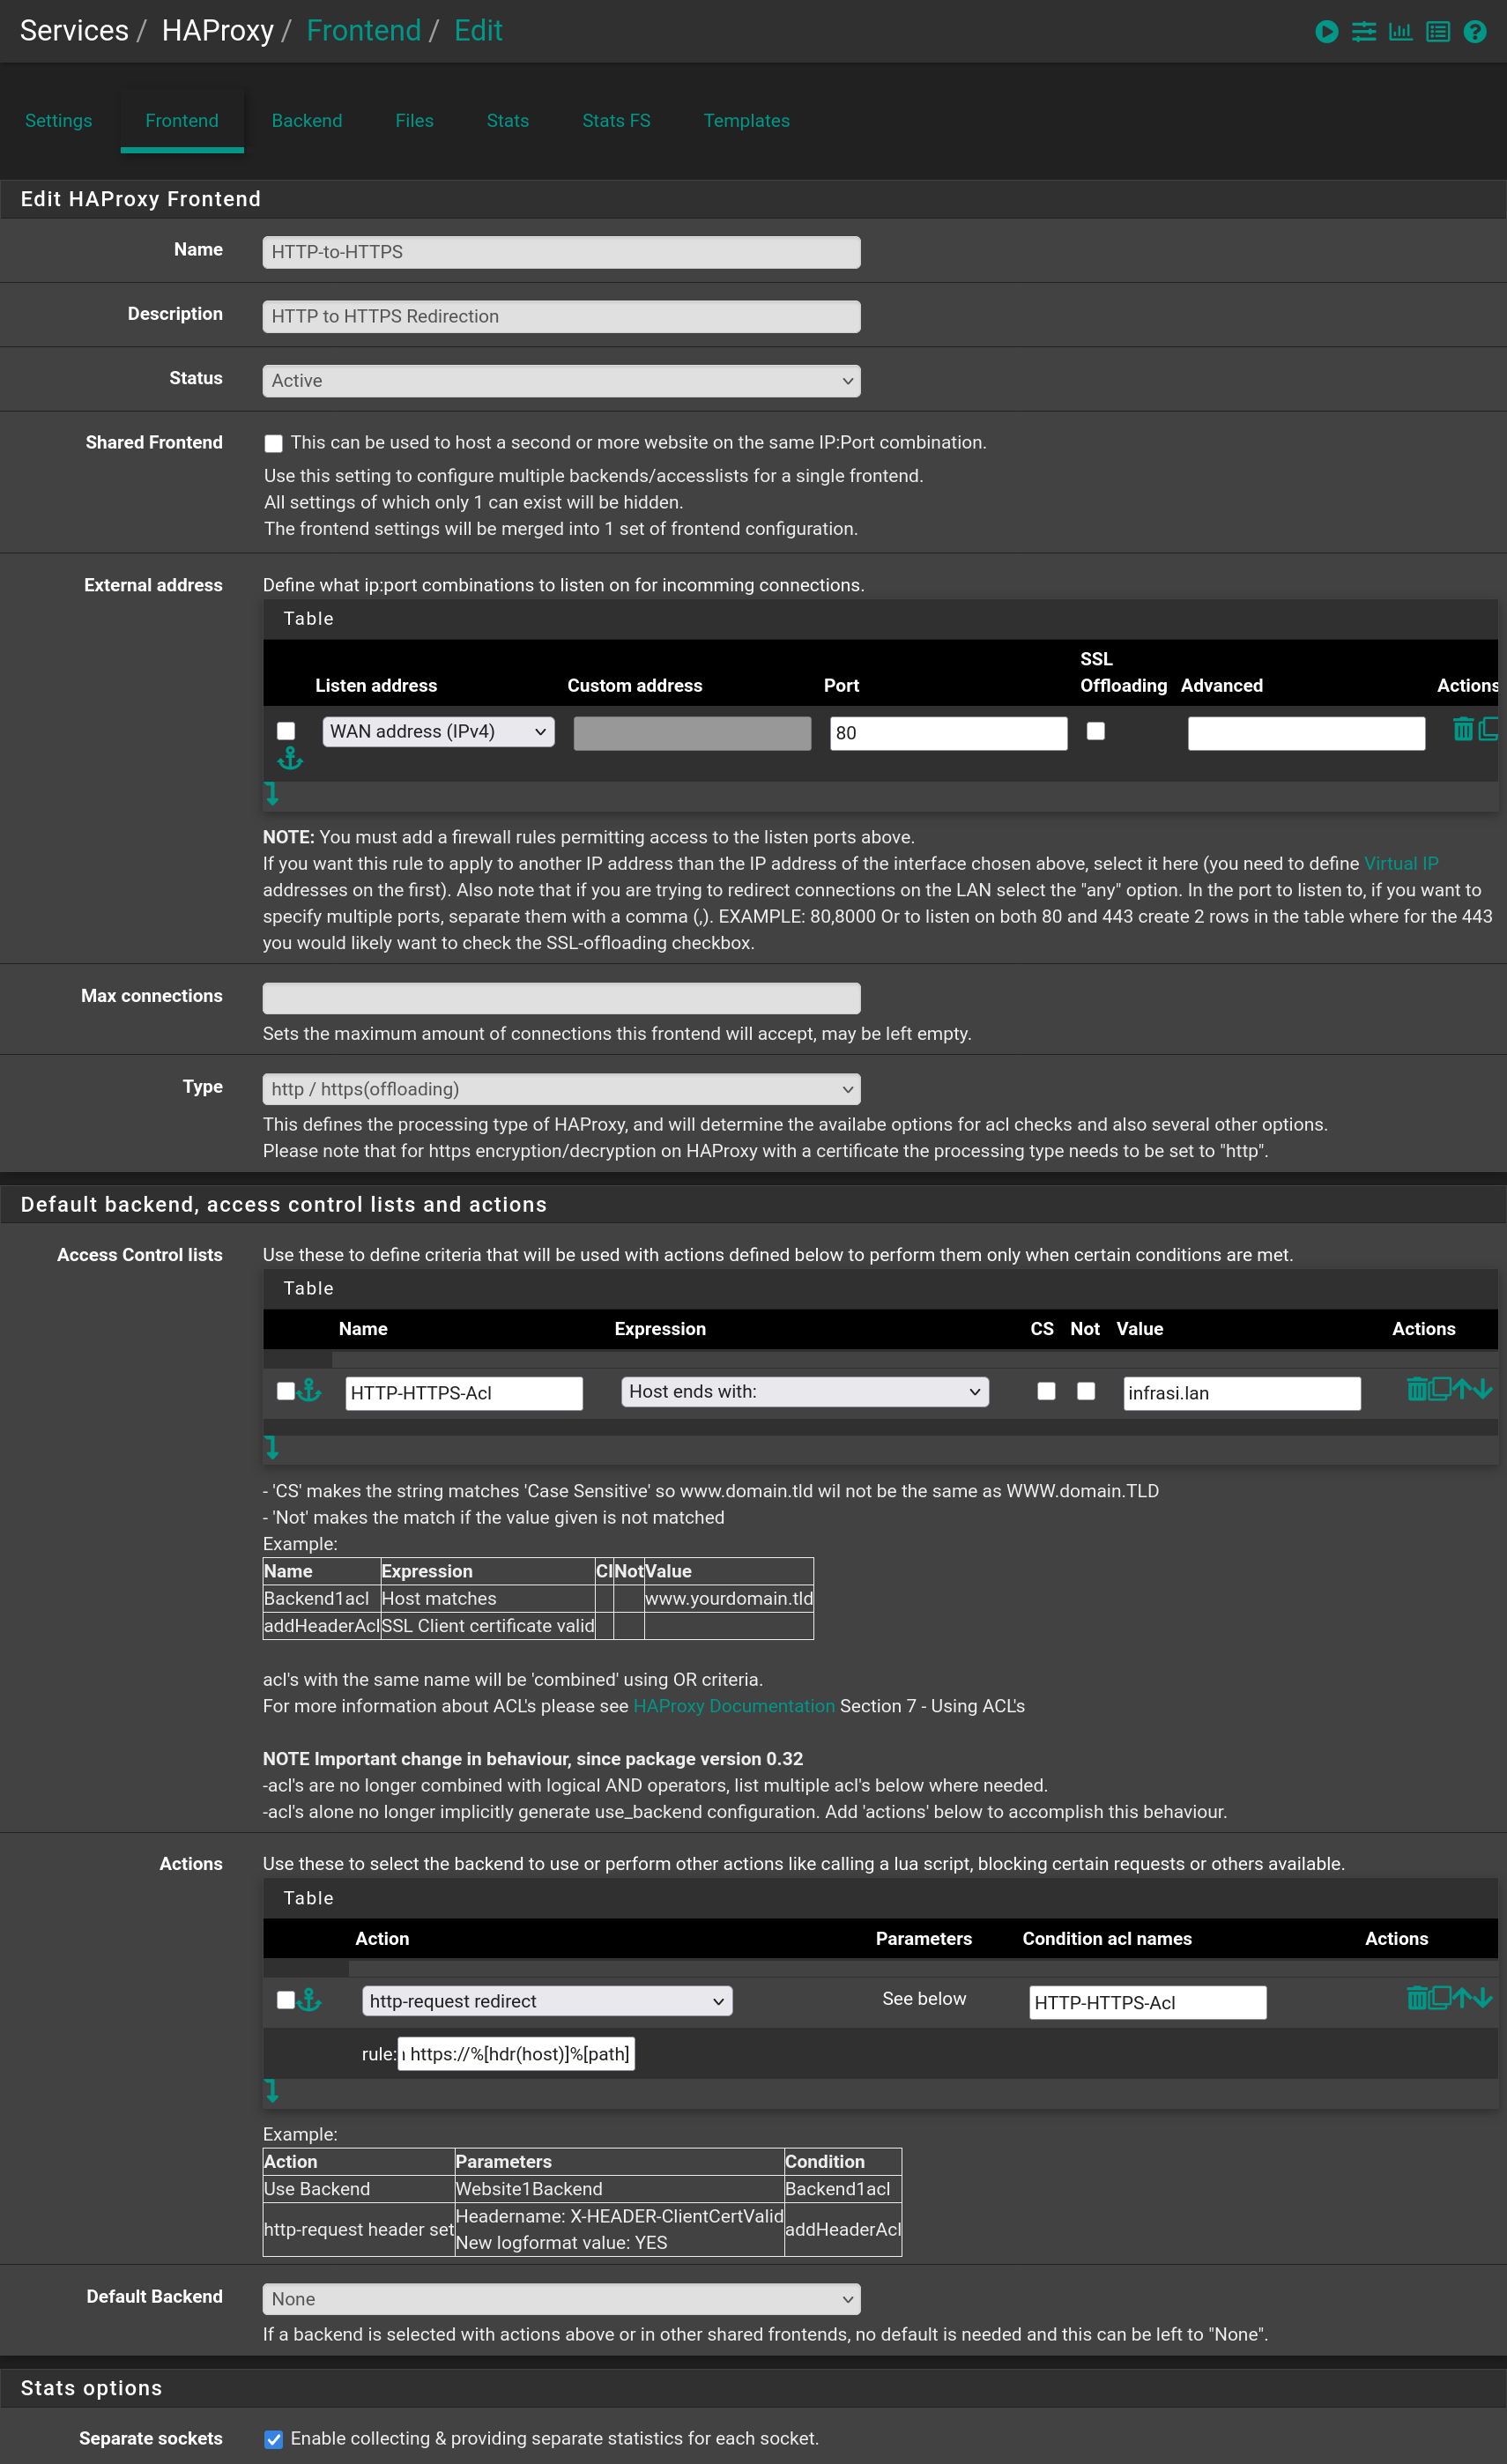
Then add a third frontend to redirect requests from **HTTP** to **HTTPS** when in the `infrasi.lan` domain
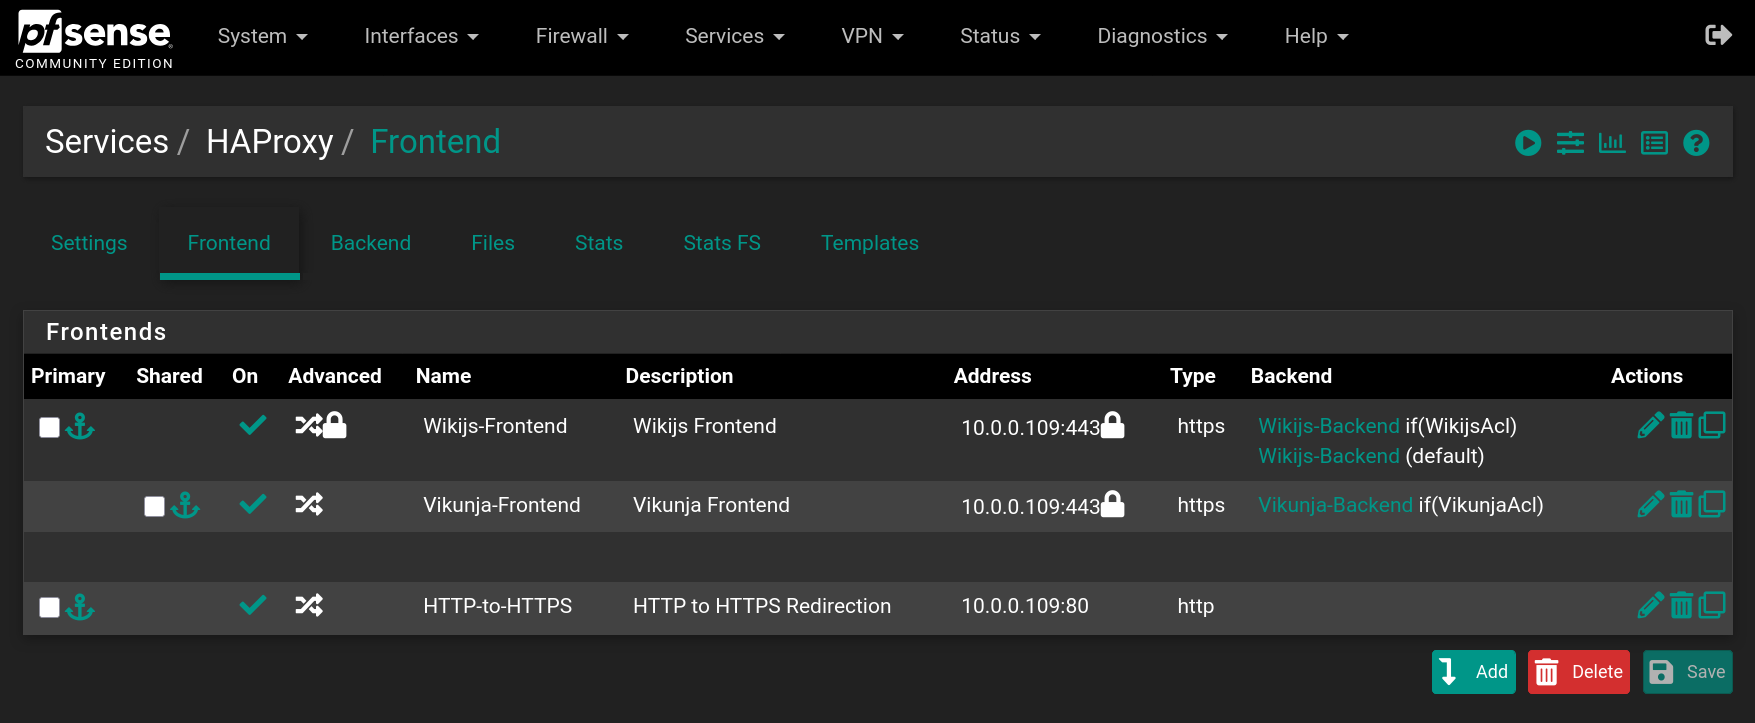
You should have the following frontends
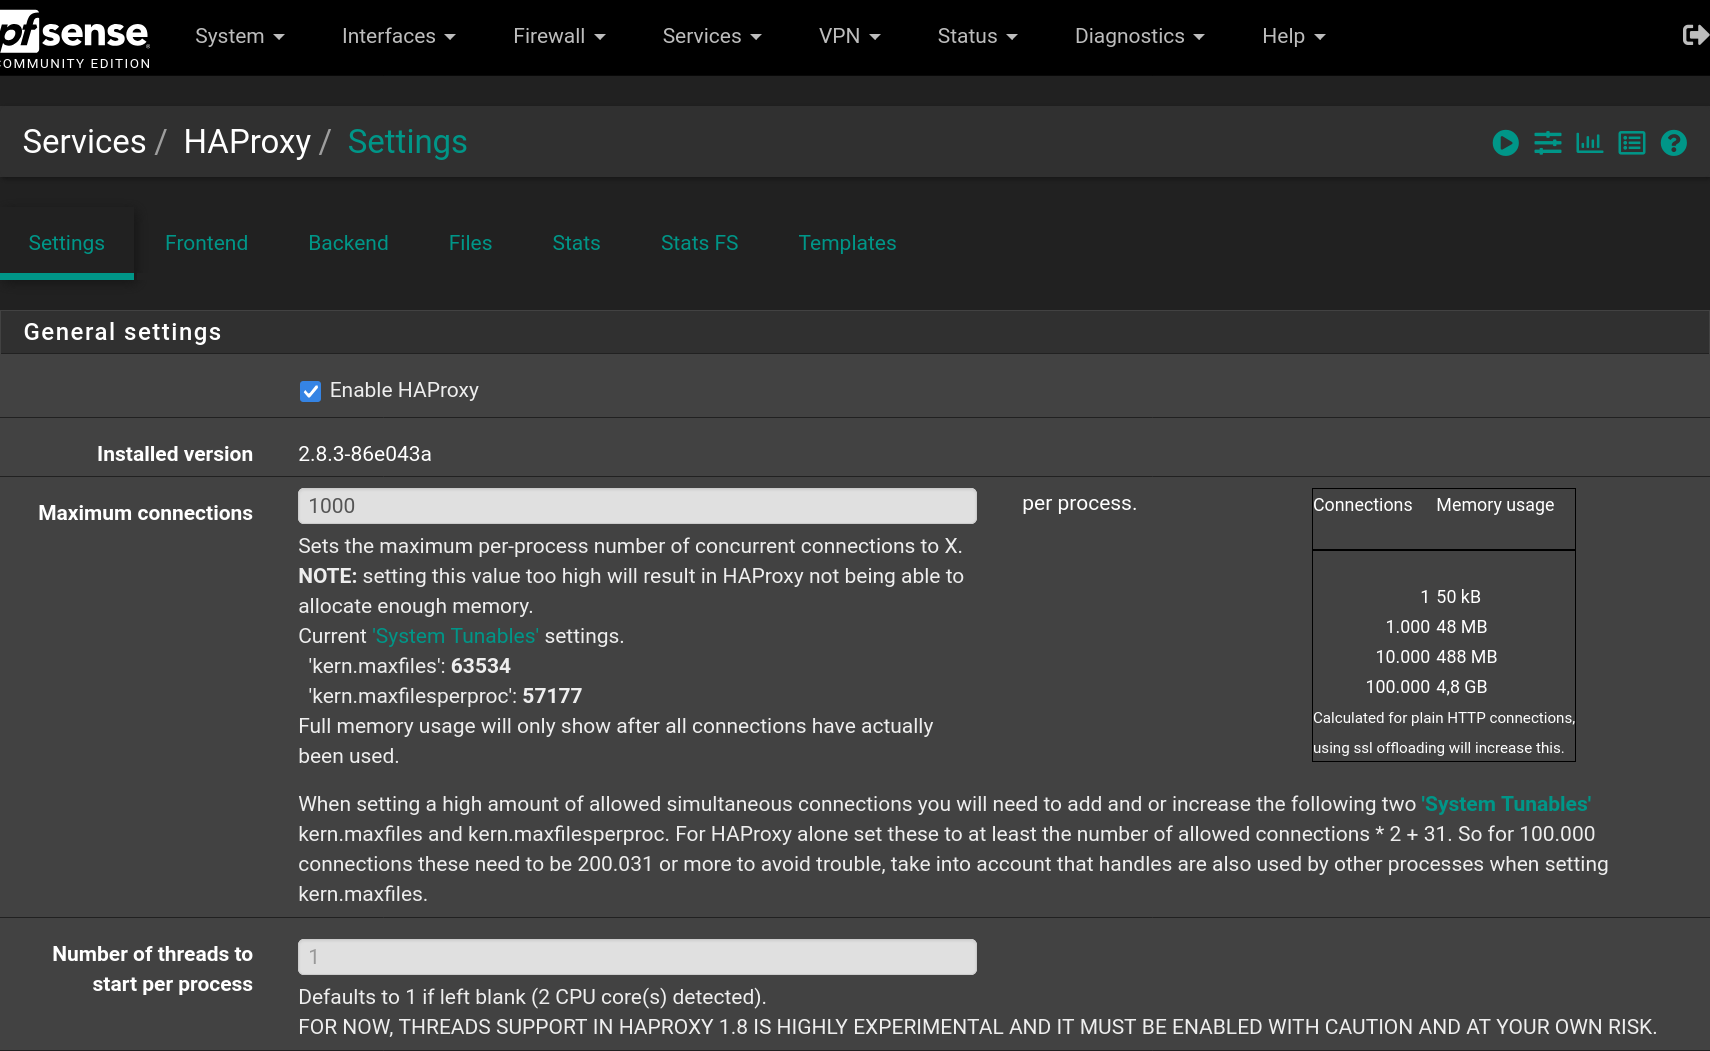
Go to **Settings** to enable **HAProxy** filling the form with the following values and click on `Save`
Go to **Firewall > Rules > WAN** and add a rule to accept `IPv4 TCP` requests on `HTTP` and `HTTPS` ports
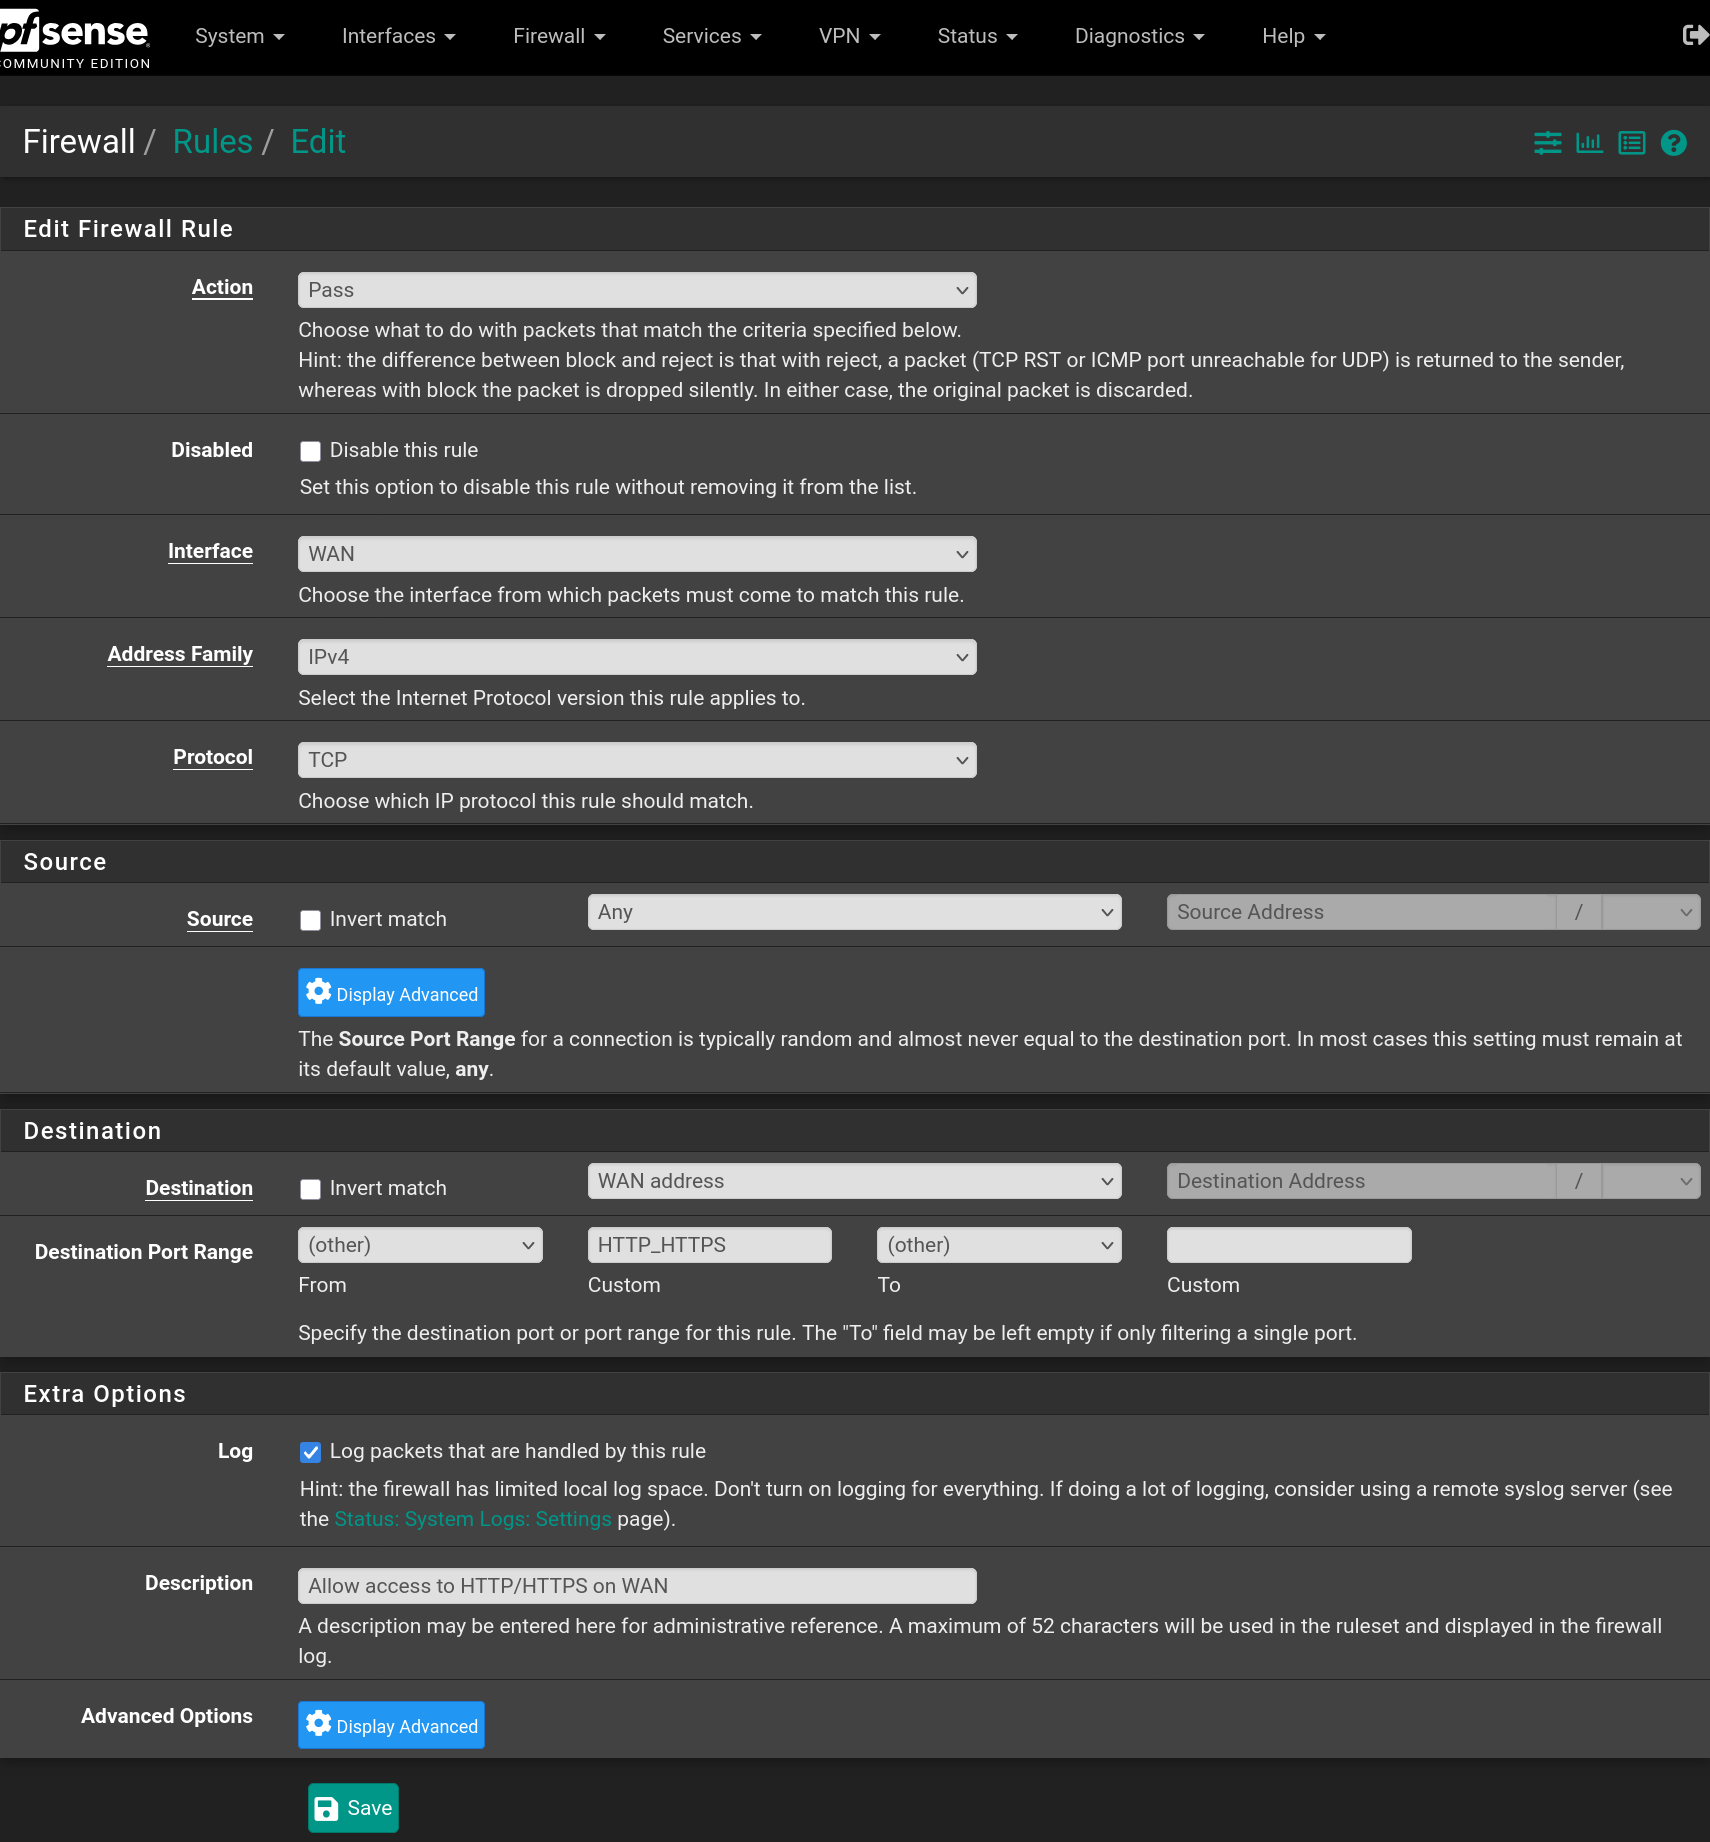
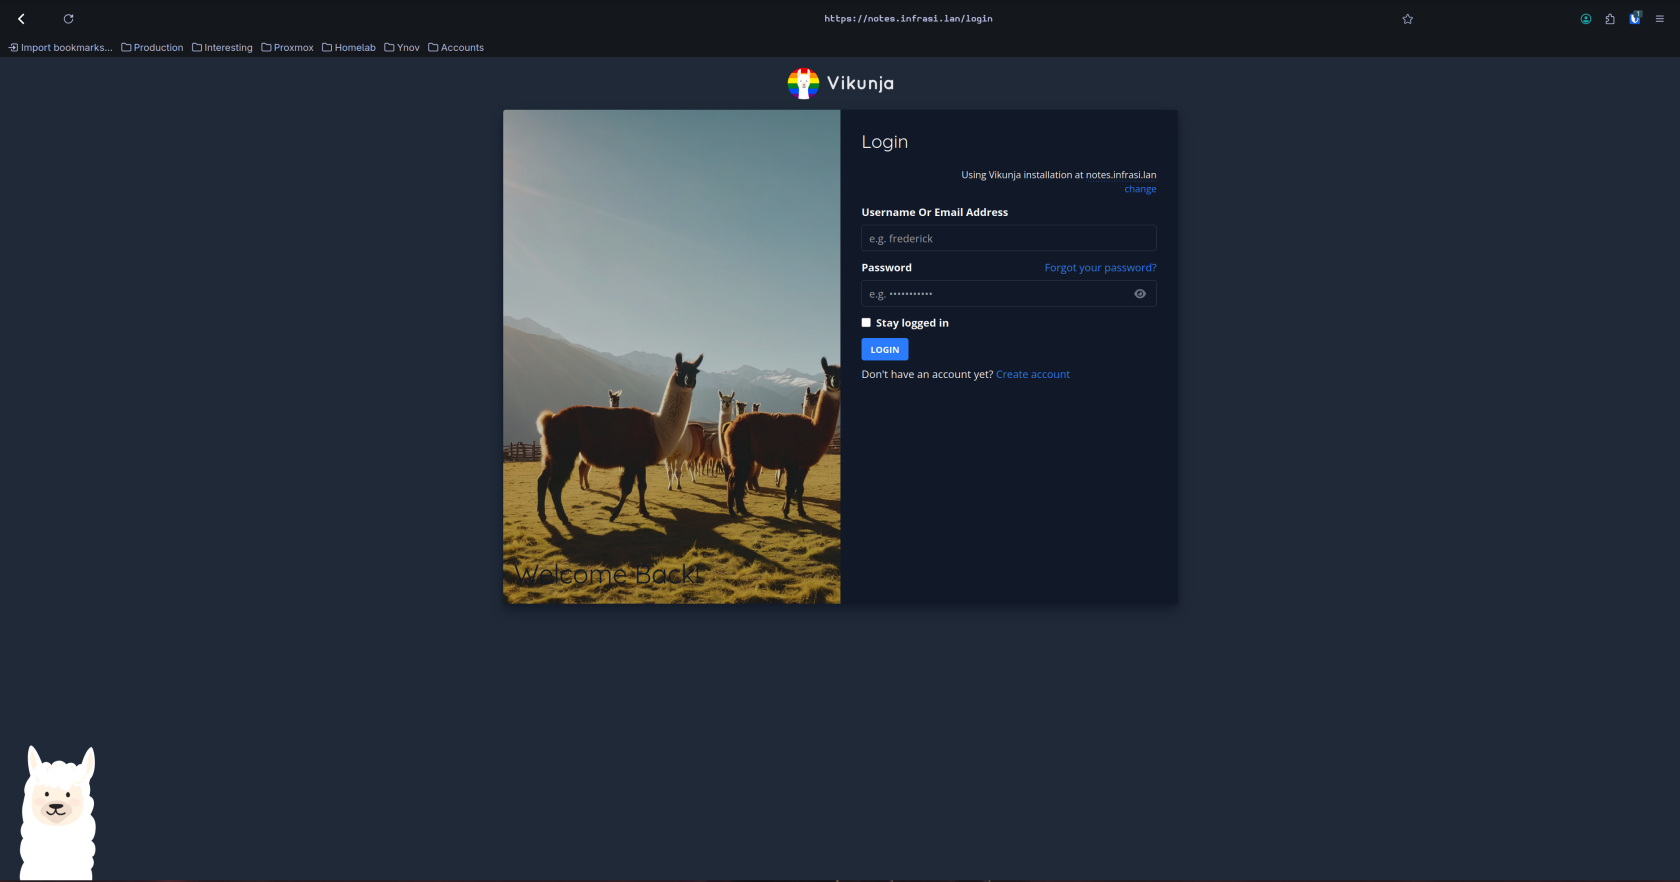
Now the websites are available from the outside using **HTTPS** and the domain name `infrasi.lan`
> ⓘ You need to have **DNS** entries in the **WAN network** that points to your **WAN address** for the `infrasi.lan` domain and the `notes.infrasi.lan` and `wiki.infrasi.lan` sub-domains.
# pfSense Installation
Antoine de Barbarin
---
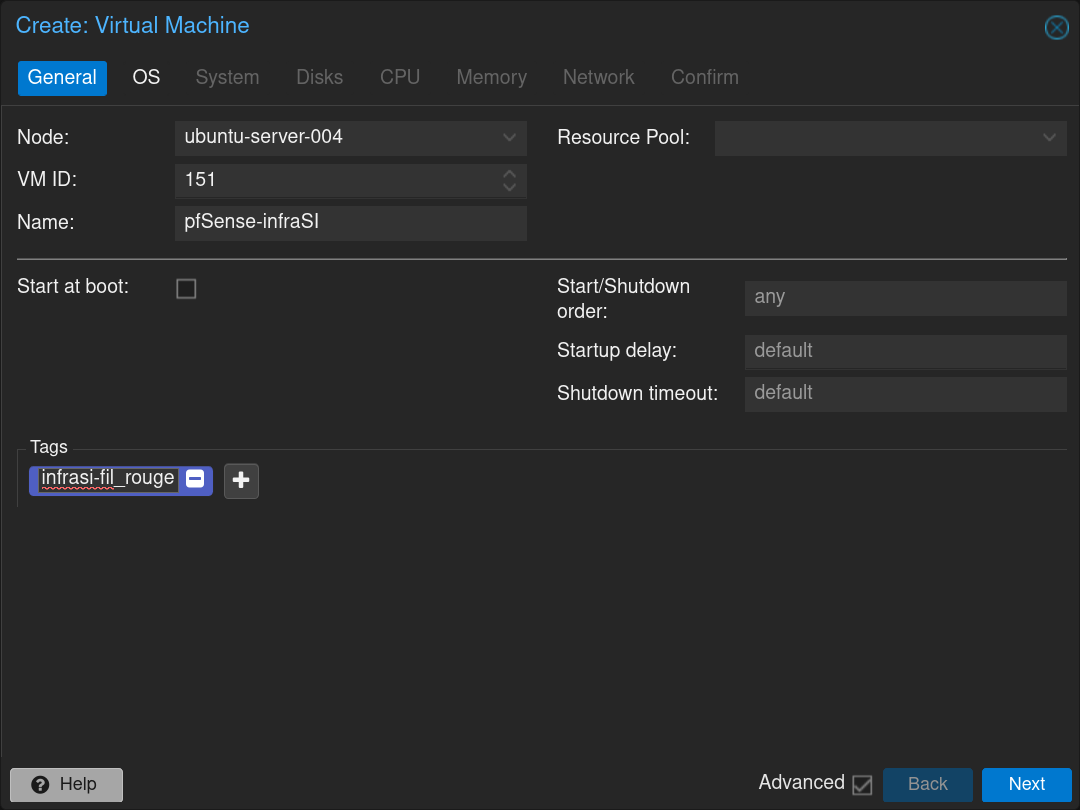
Click on  on the top right of the screen
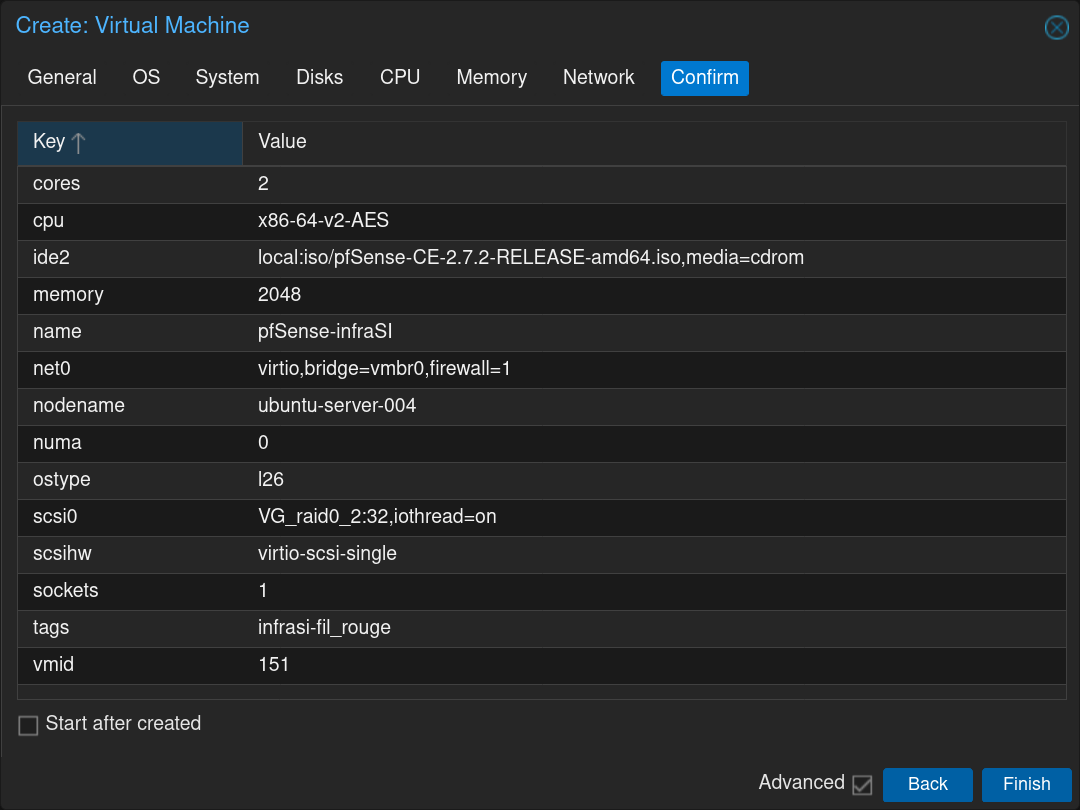
Fill the form with the name of the VM `pfSense-infraSI` and click Next
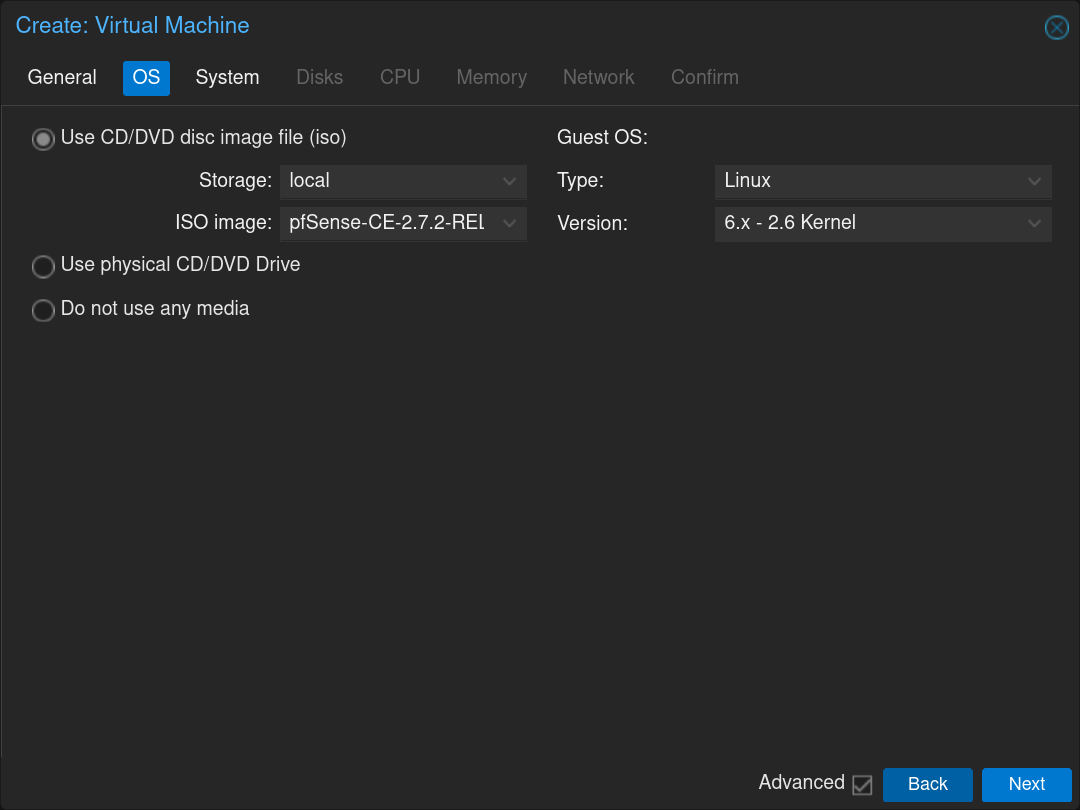
Select the pfSense `.iso` image and click Next
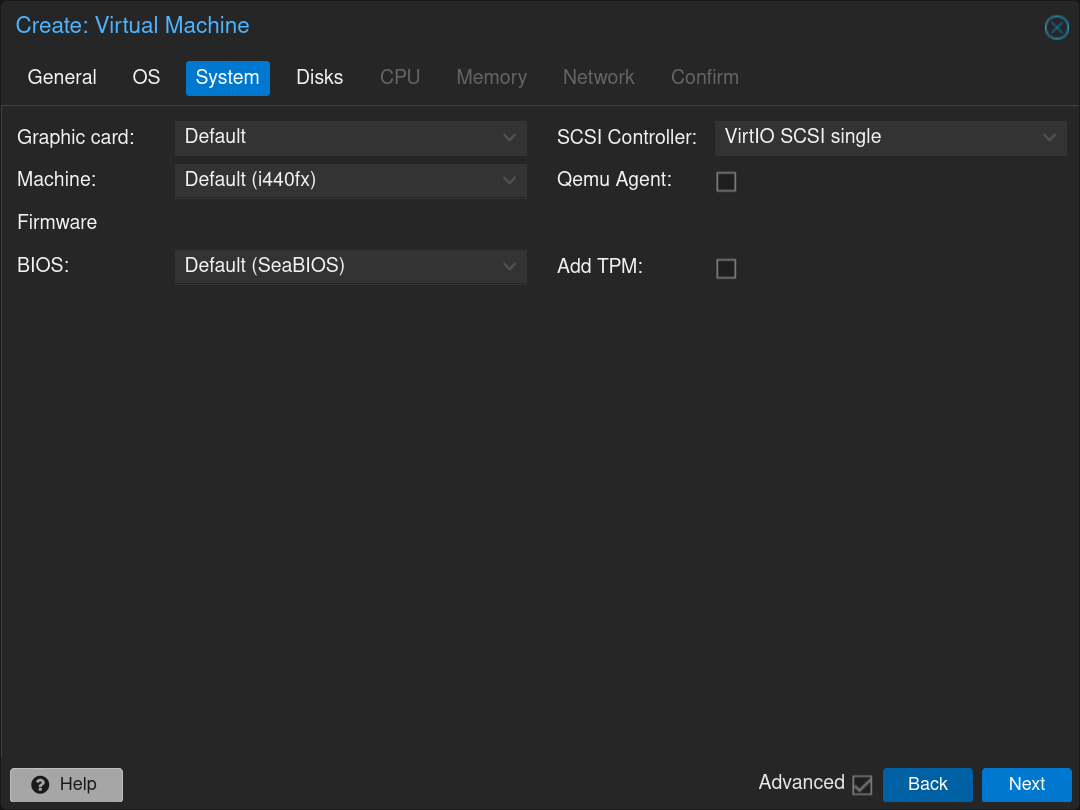
Click Next
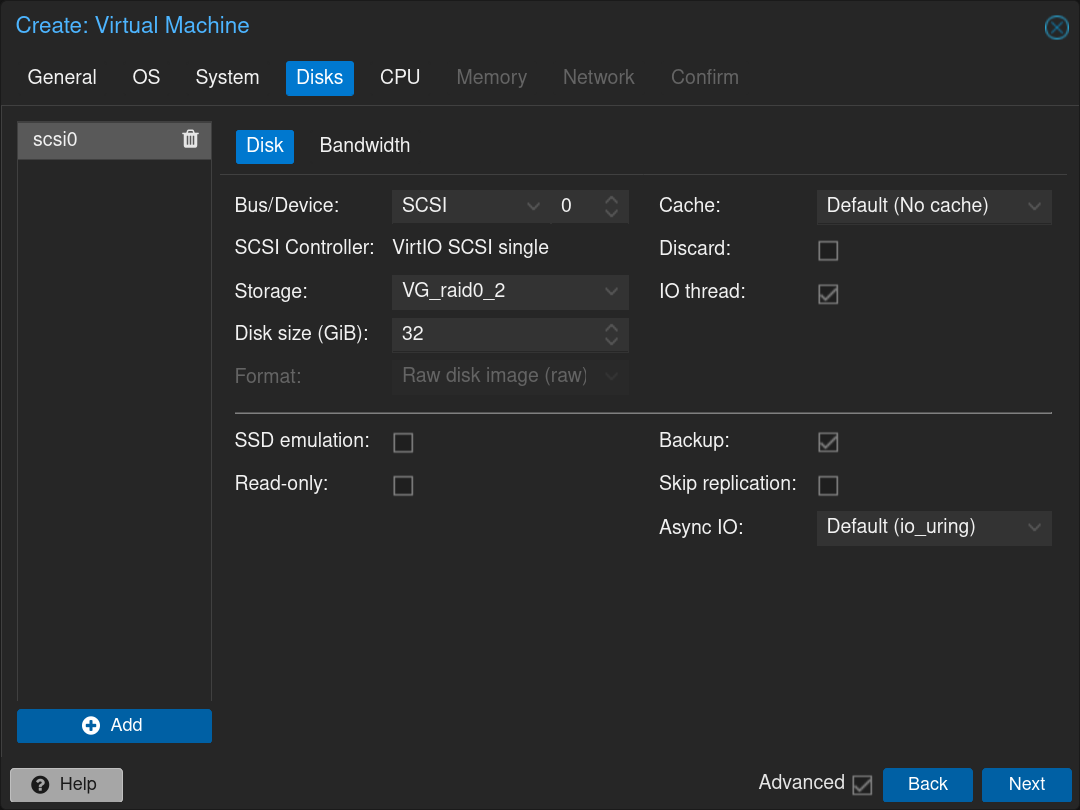
Select the disk in which install it and the size of the partition `32GiB` and click Next
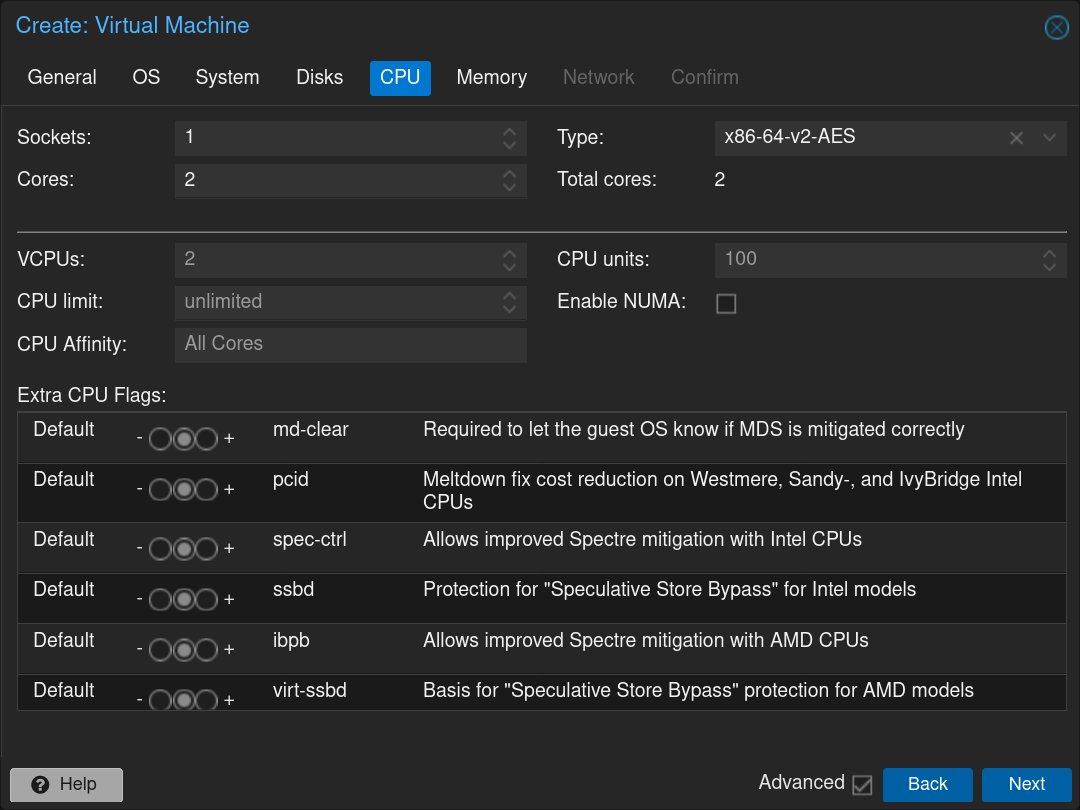
Select the number of CPUs to allocate: 1 CPU with 2 cores and click Next
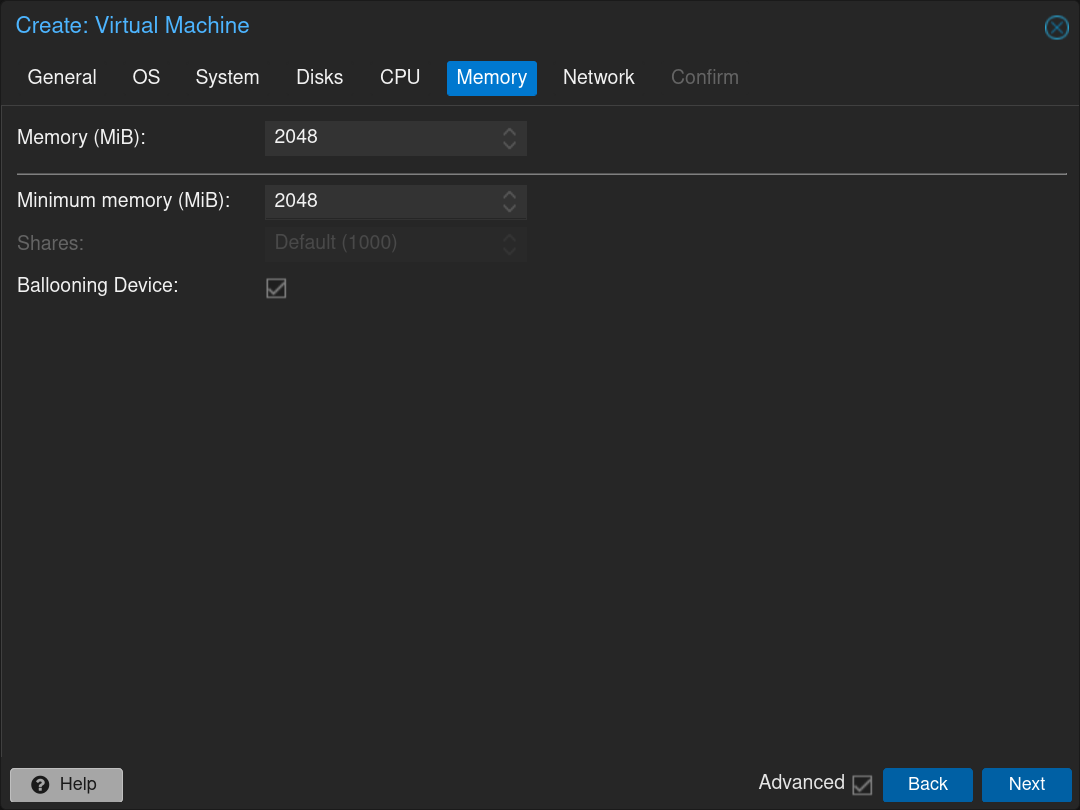
Select the RAM to allocate: `2048MB` and click Next
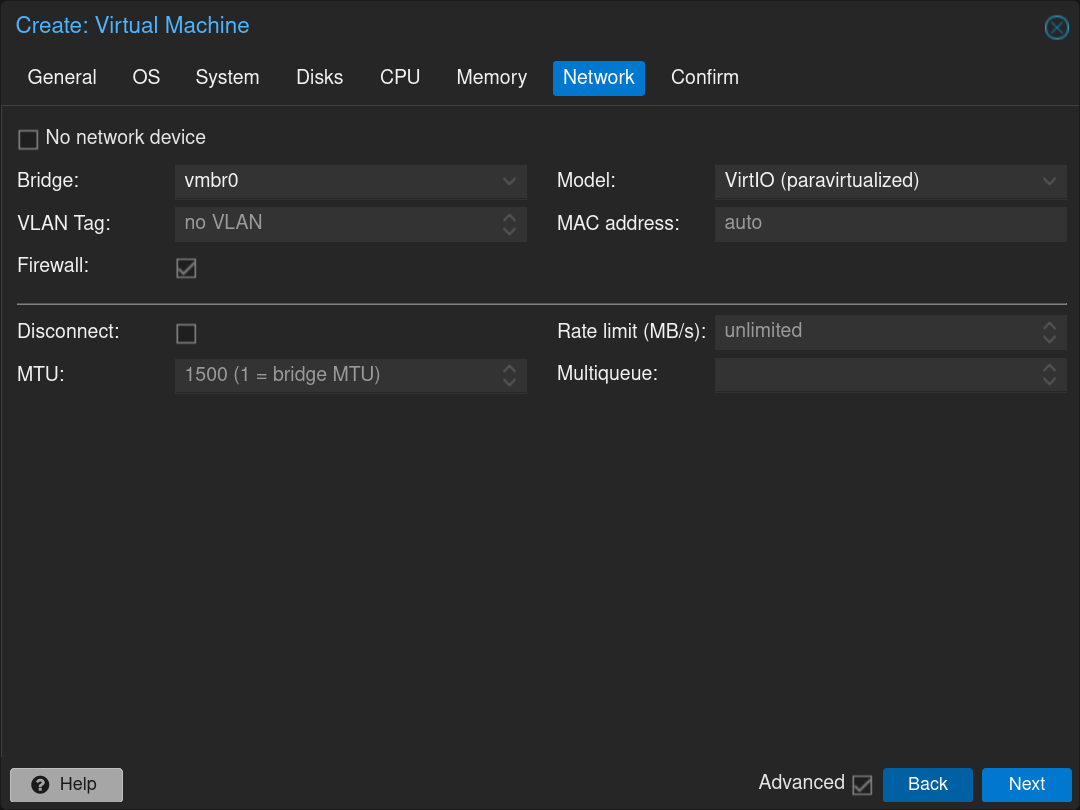
Select the first network interface: `vmbr0` (WAN interface) and click Next
Confirm the creation of the pfSense VM
Click on the newly created VM and then click on the tab **Hardware**
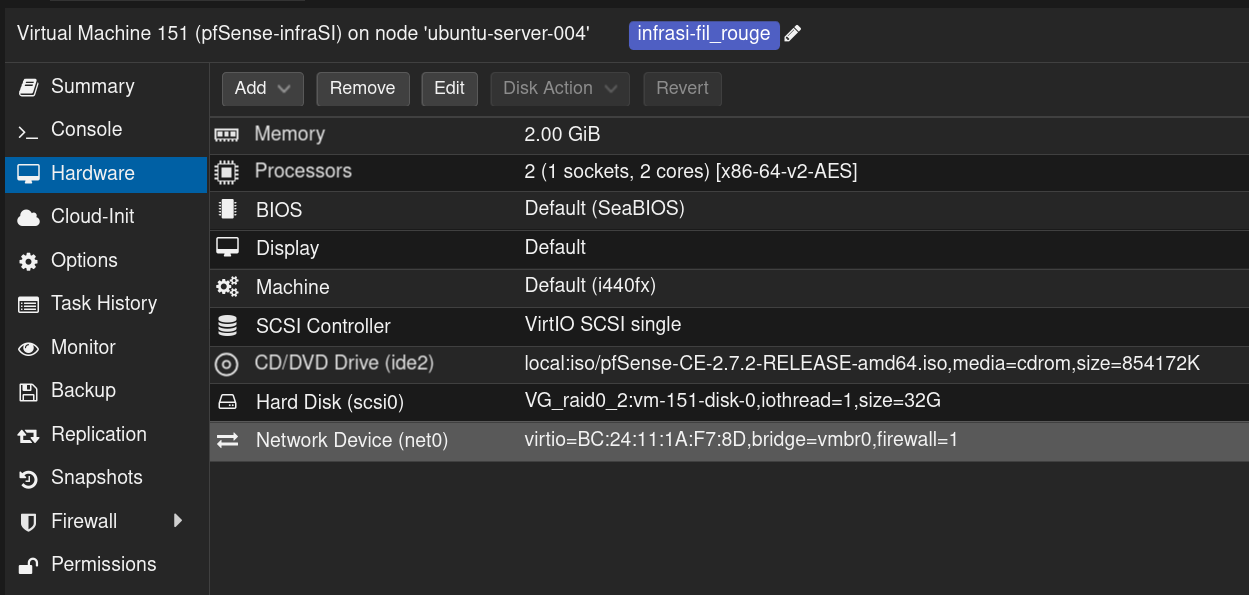
Click on **Add** and then on **Network Device** and select the Bridge `vmbr4` dedicated to the **DMZ** network then click on the **Add** button
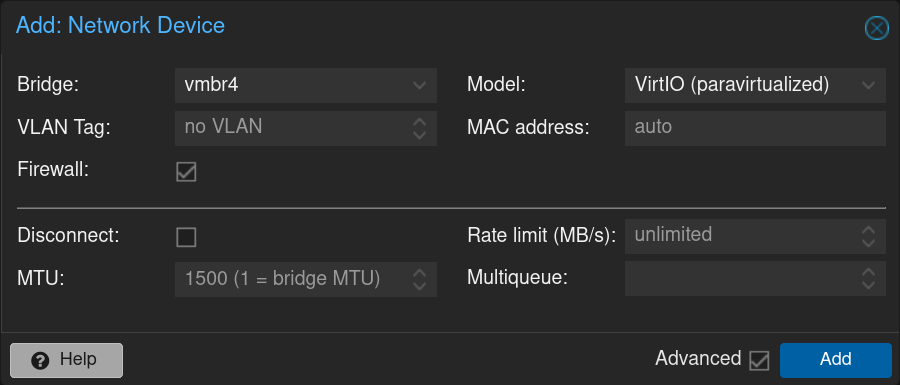
Repeat the process with the Bridge `vmbr5` dedicated to the **LAN** network with the VLANs

Here is the result

Click on  and then on 
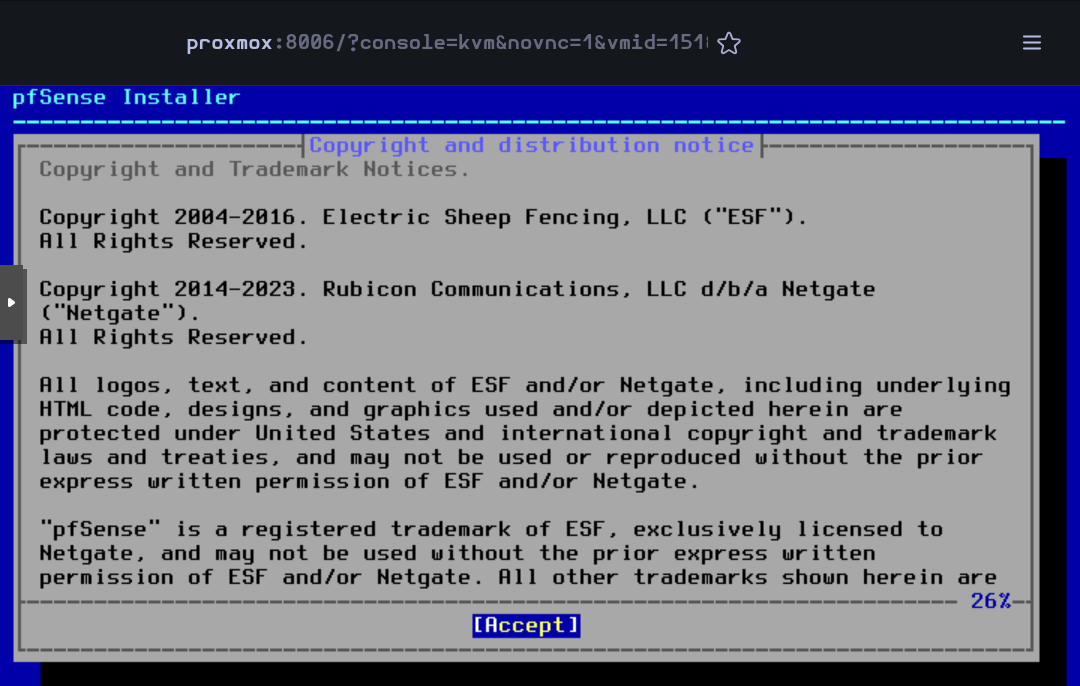
Then the VM will boot and the installer will start. Accept the license and rights
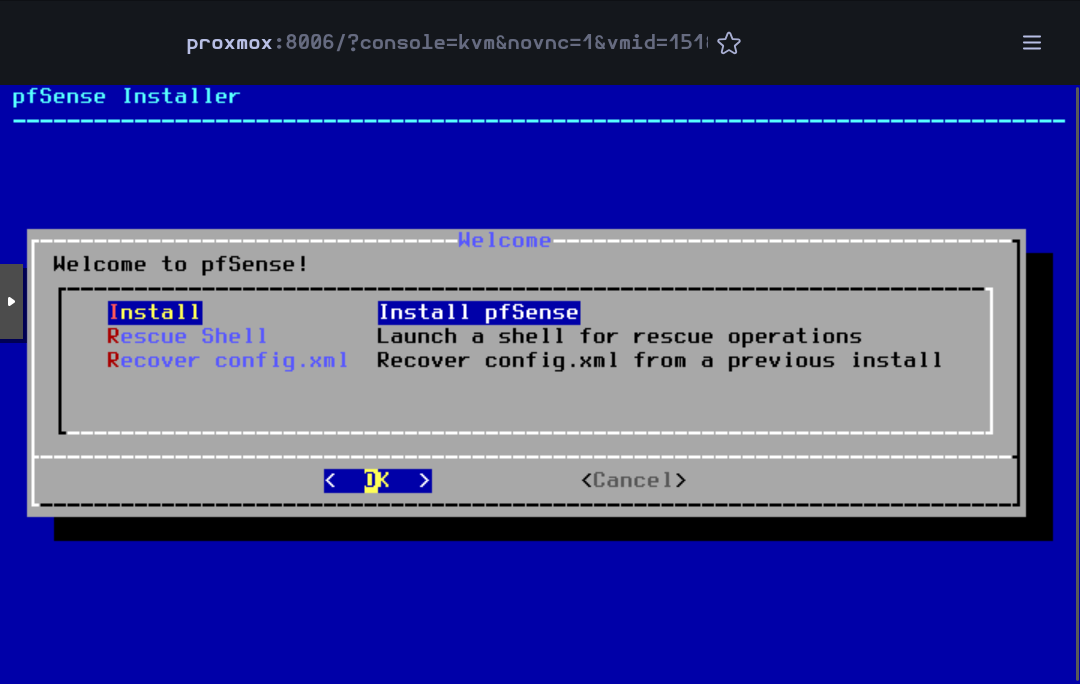
Press on `Enter` to begin the installation
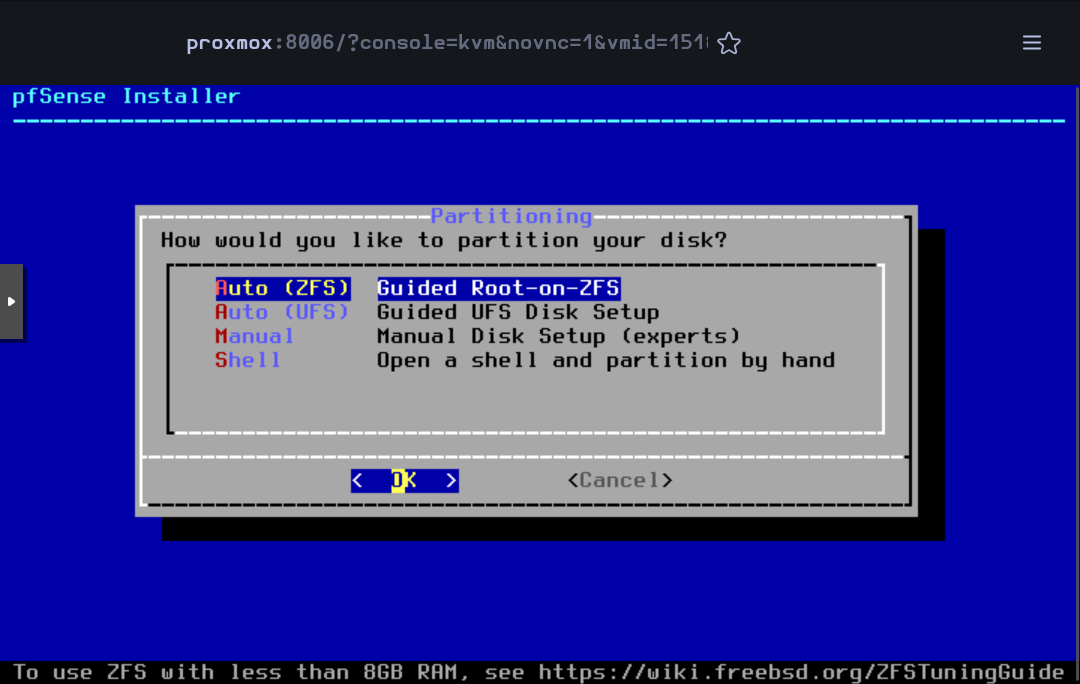
Accept the default partitioning option `Auto (ZFS)`
Press `Enter` to begin the installation

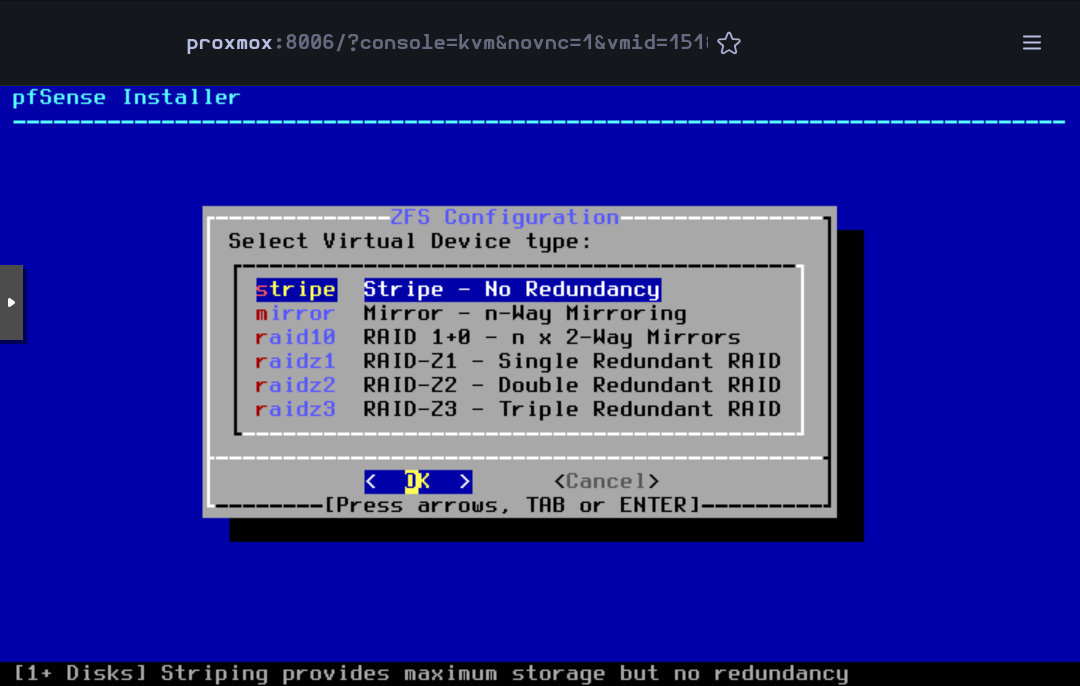
Press `Enter` to accept the default `Stripe` mode
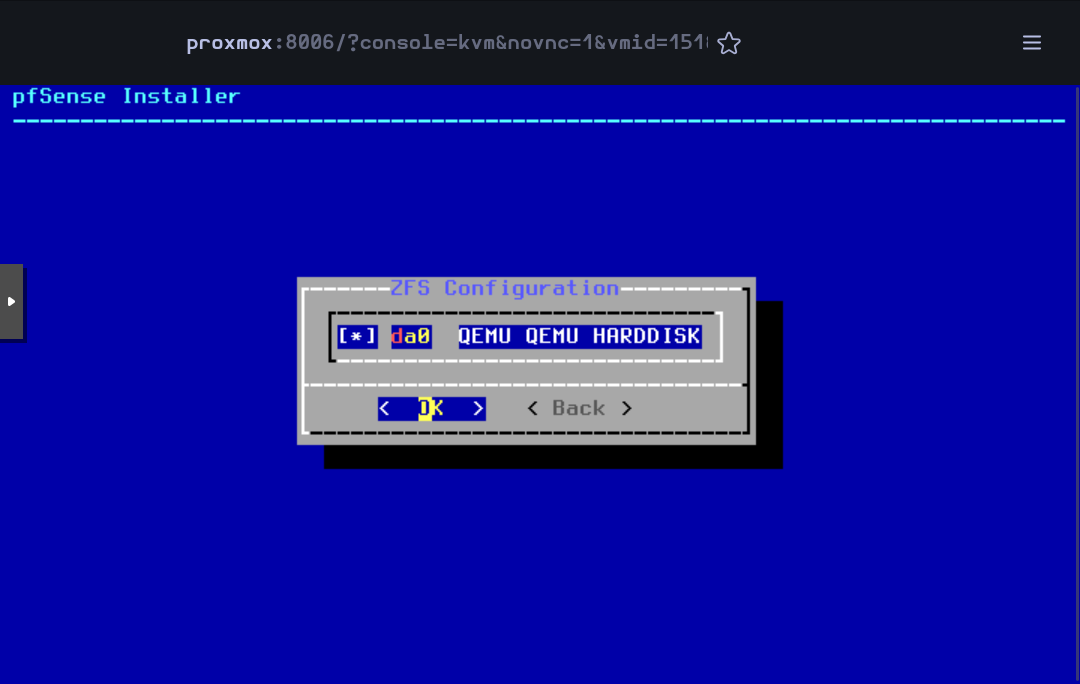
Press `Space` to select the disk and then `Enter` to go on
Select `Yes` and press `Enter`

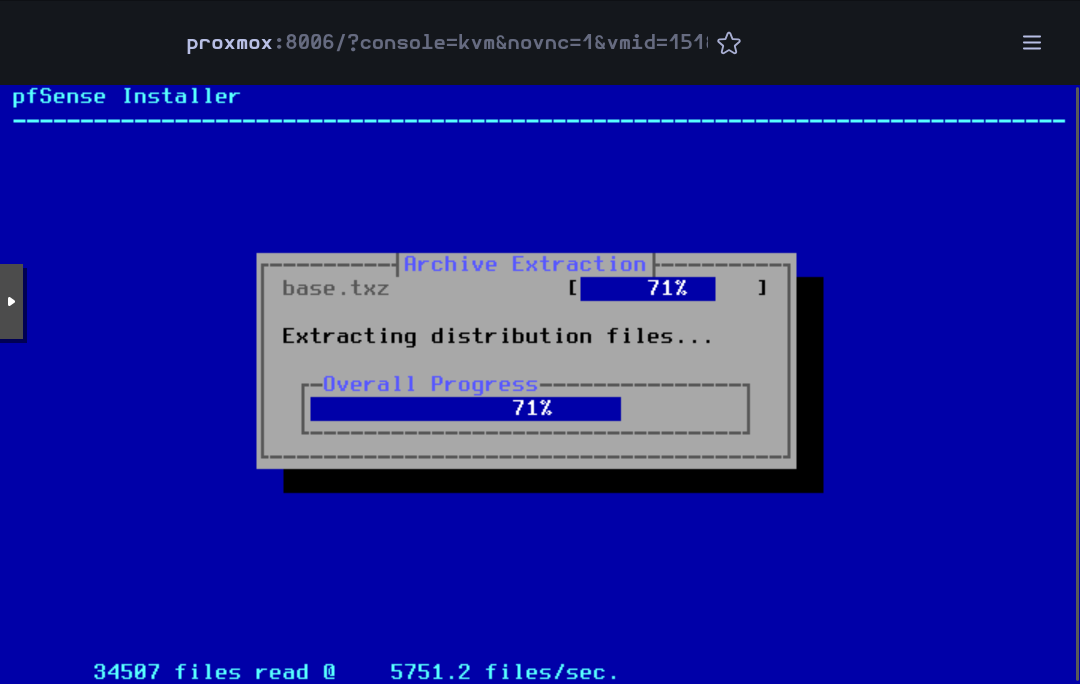
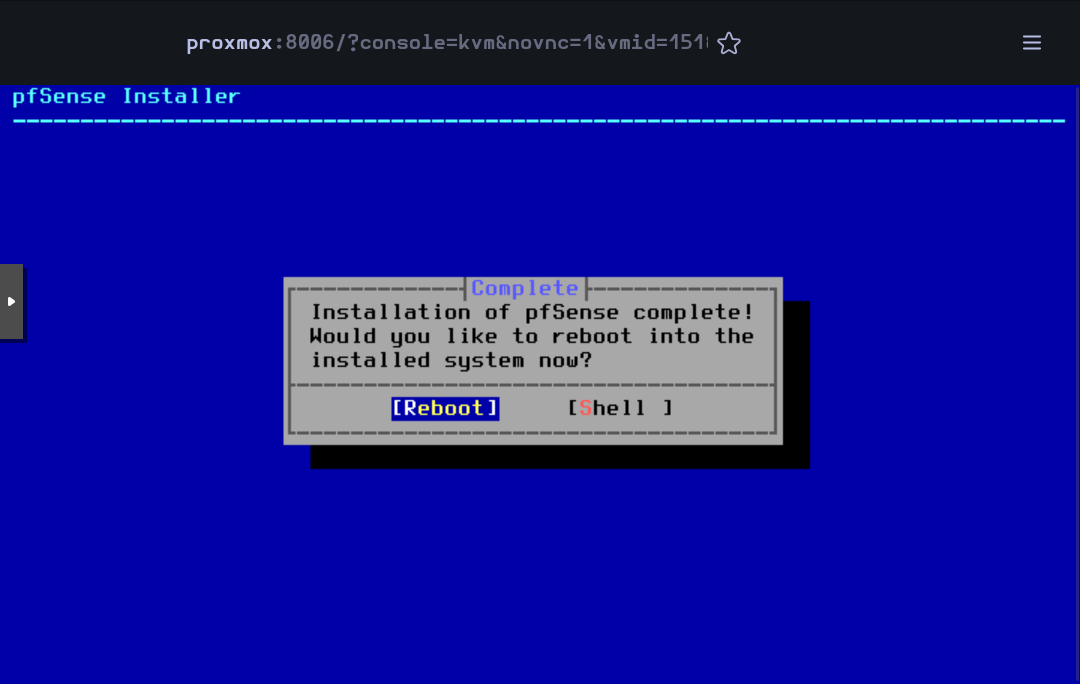
Then, the installation will begin
When finished, accept to reboot the VM
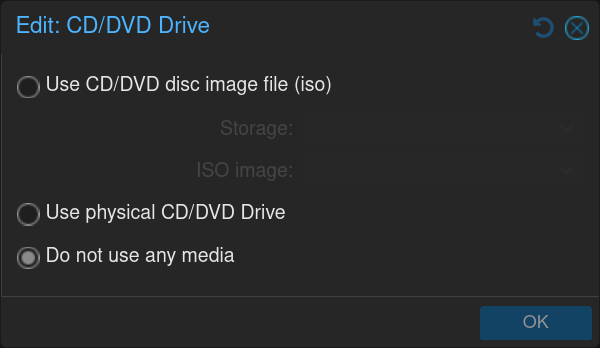
While rebooting, you can remove the `.iso` image editing the **CD/DVD Drive** in the **Hardware** section
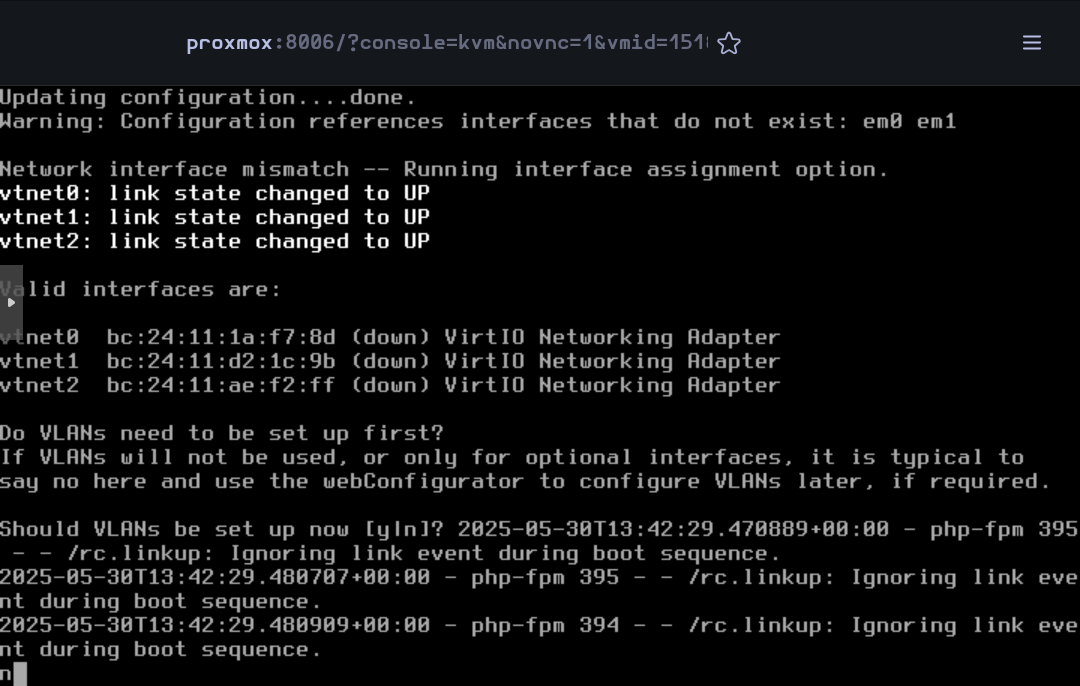
When the VM has rebooted, some basic configuration will be done in the command line interface.
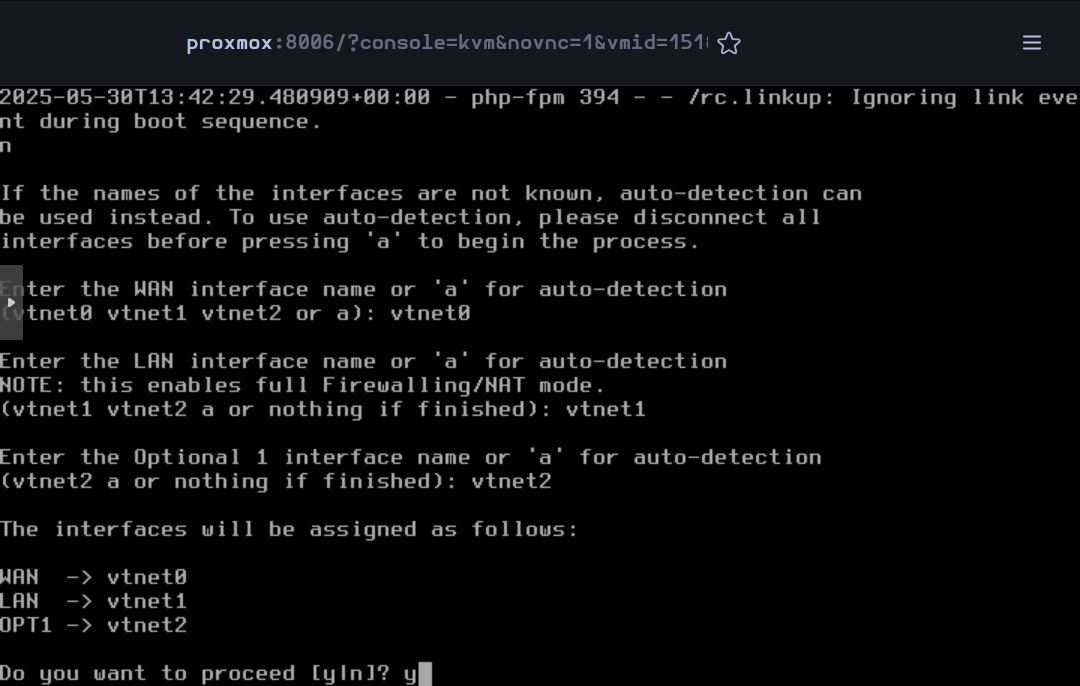
For the VLANs, type `n` for the moment (they will be created in the web interface)
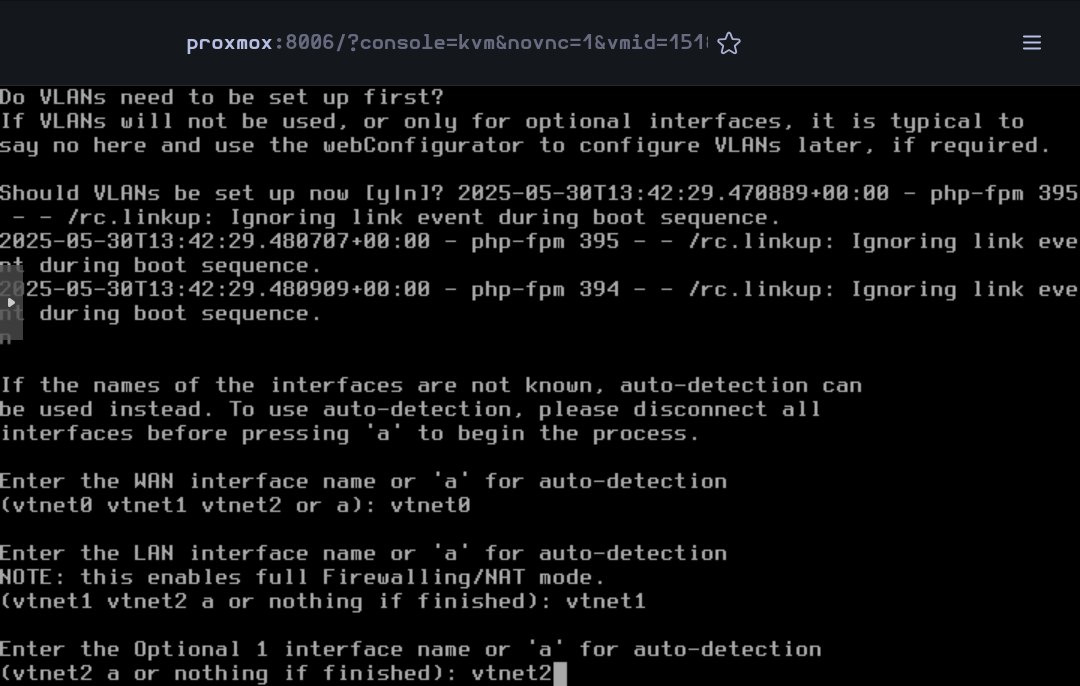
Type `vtnet0` for the **WAN** interface, `vtnet1` for the **LAN** and `vtnet2` for the **OPT1**
Confirm the network interface configuration
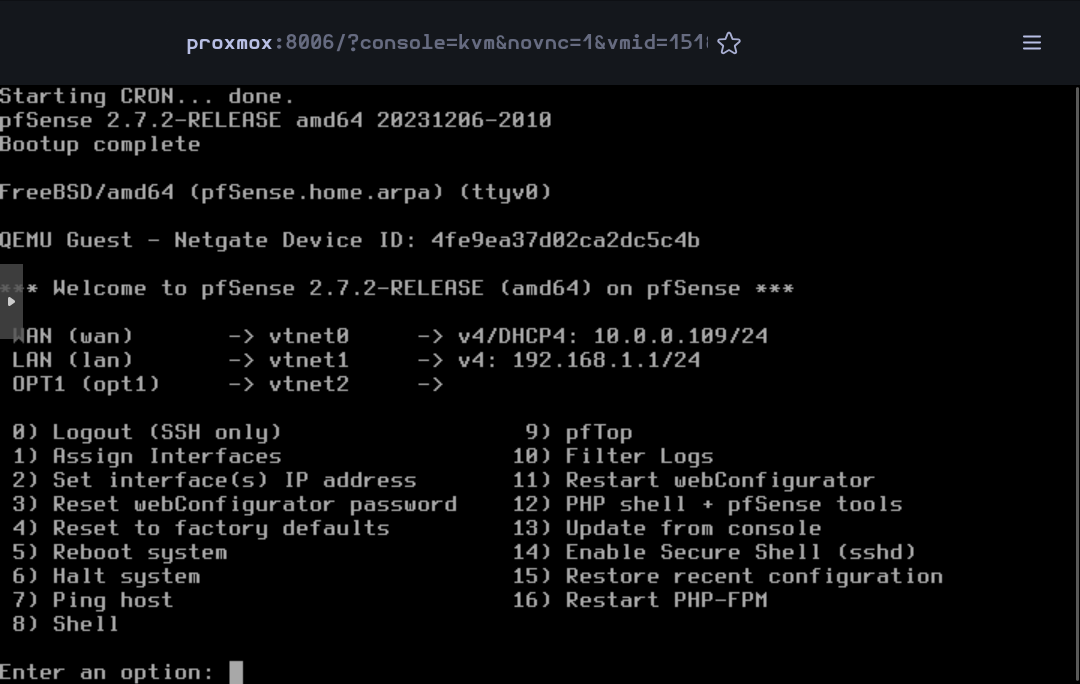
Now the installation is complete. The rest of the configuration will be done on the web interface.
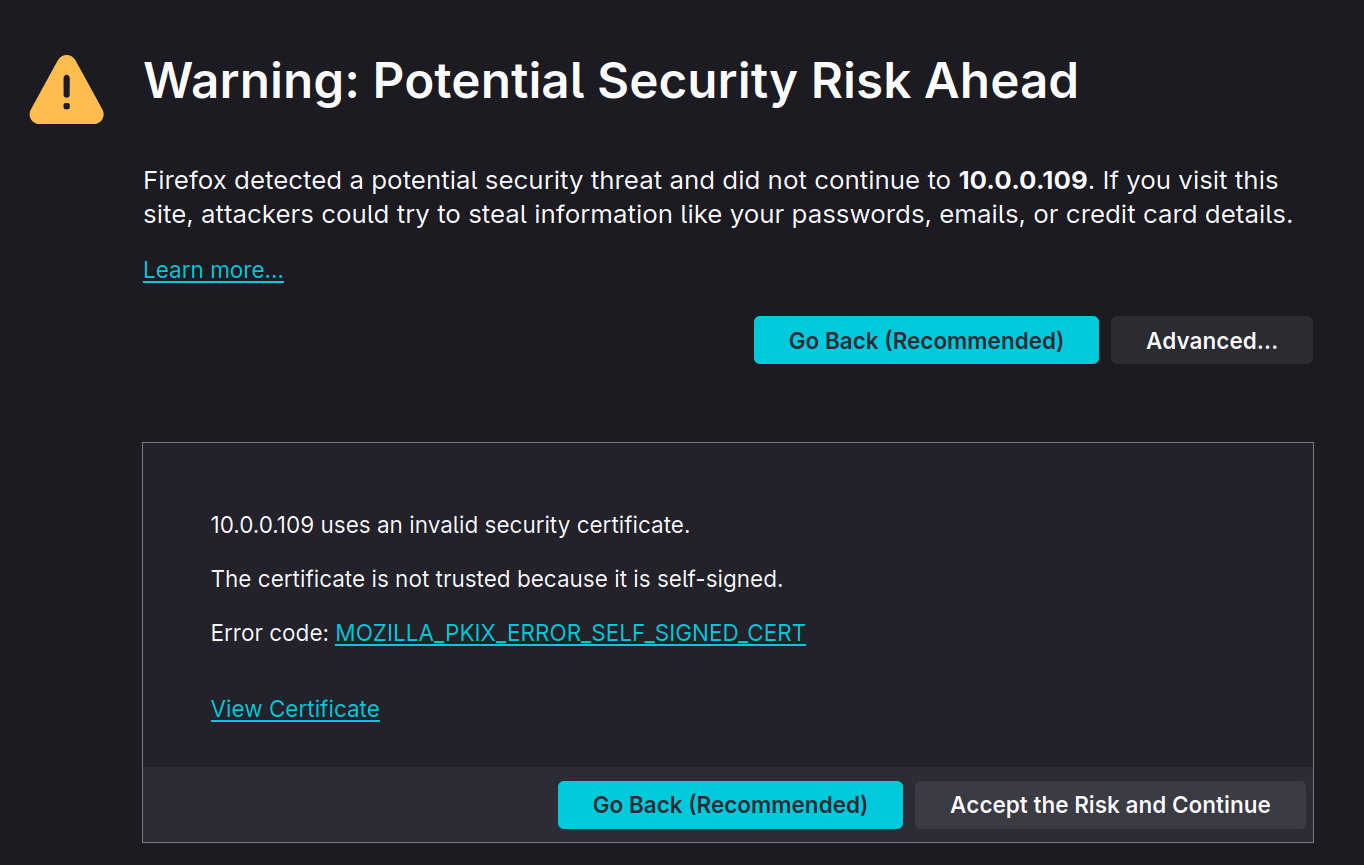
Open the browser and go to pfSense's web interface. Accept the warning to continue.
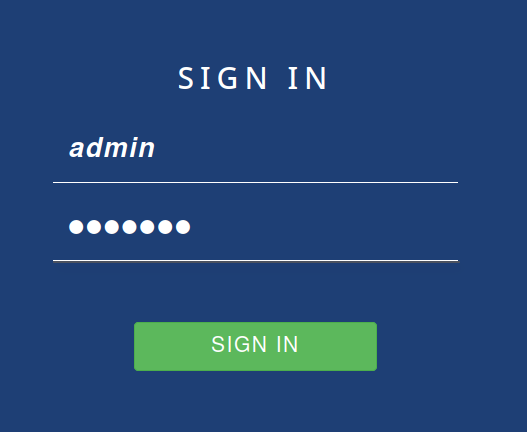
Then log in the web configurator with the default credentials (`admin` - `pfsense`)
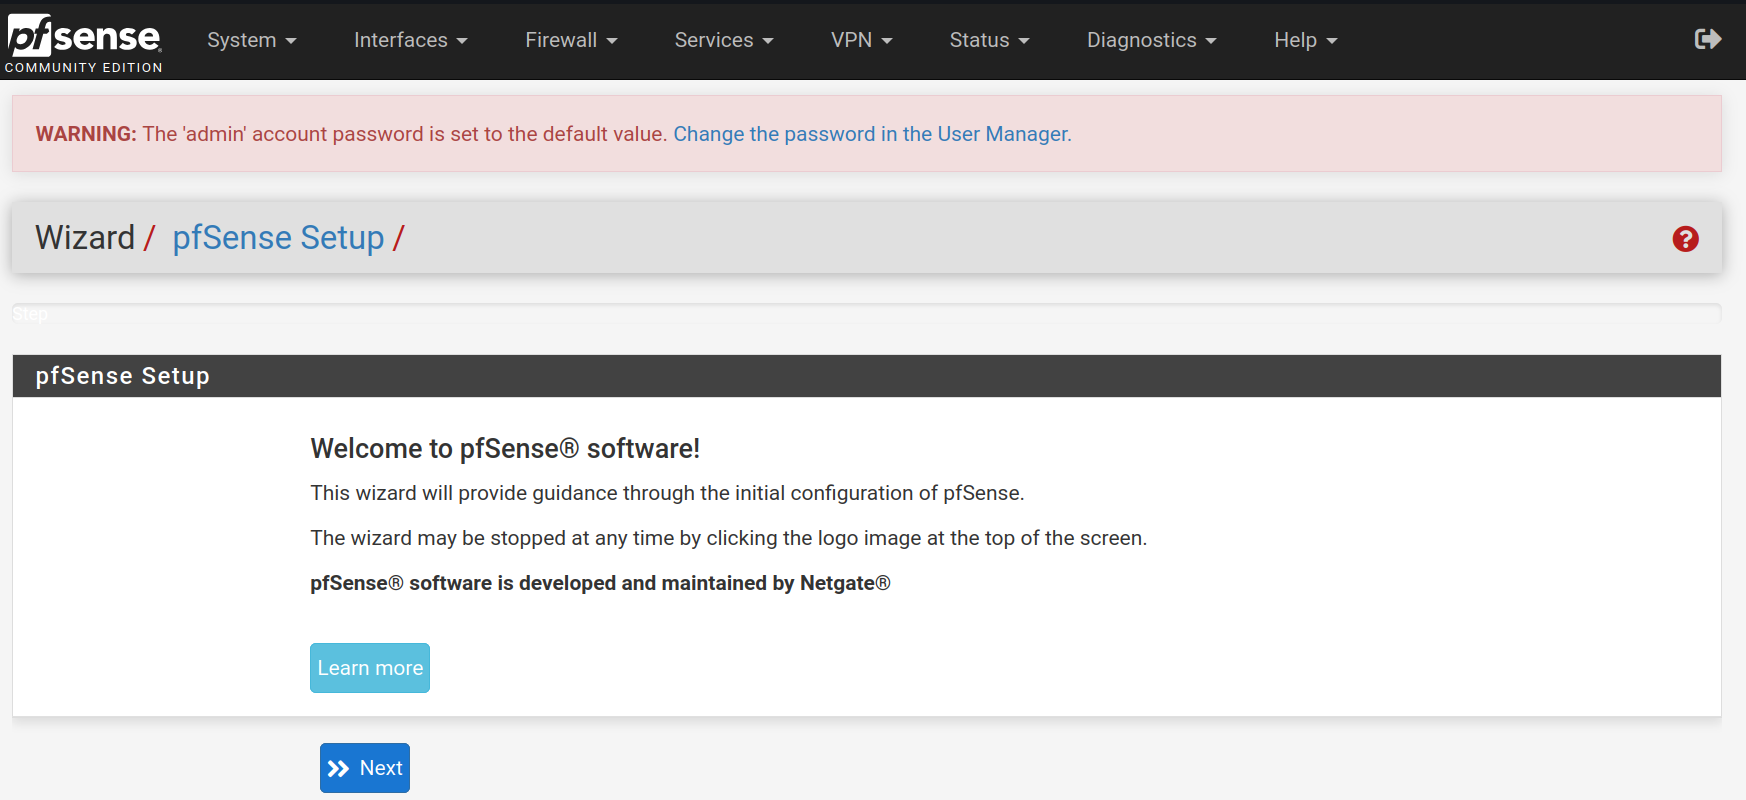
The first thing to do when signing in the web configurator is to follow a setup wizard. Click on `Next`
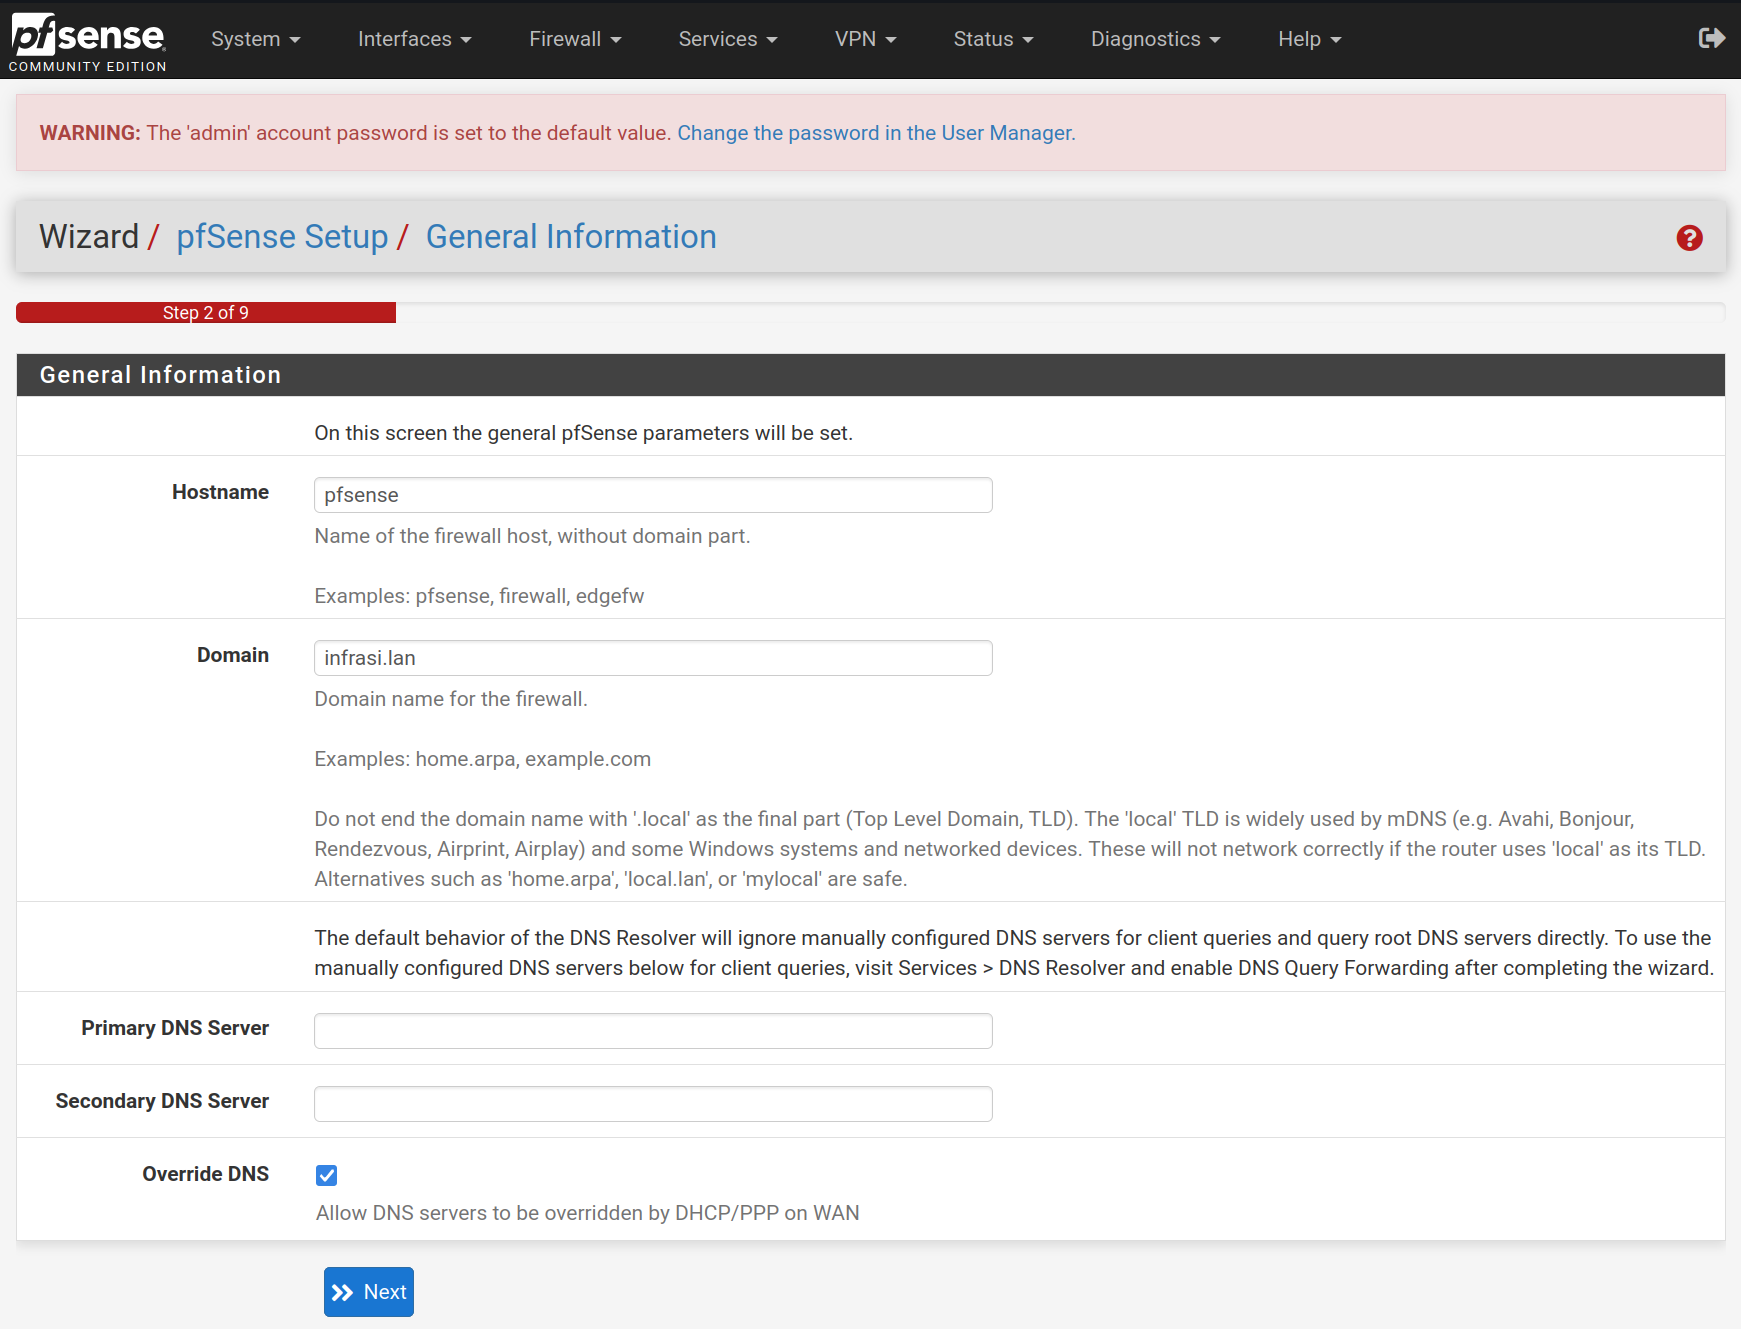
Type `pfsense` in lowercase for the hostname and `infrasi.lan` for the domain name, then click on `Next`
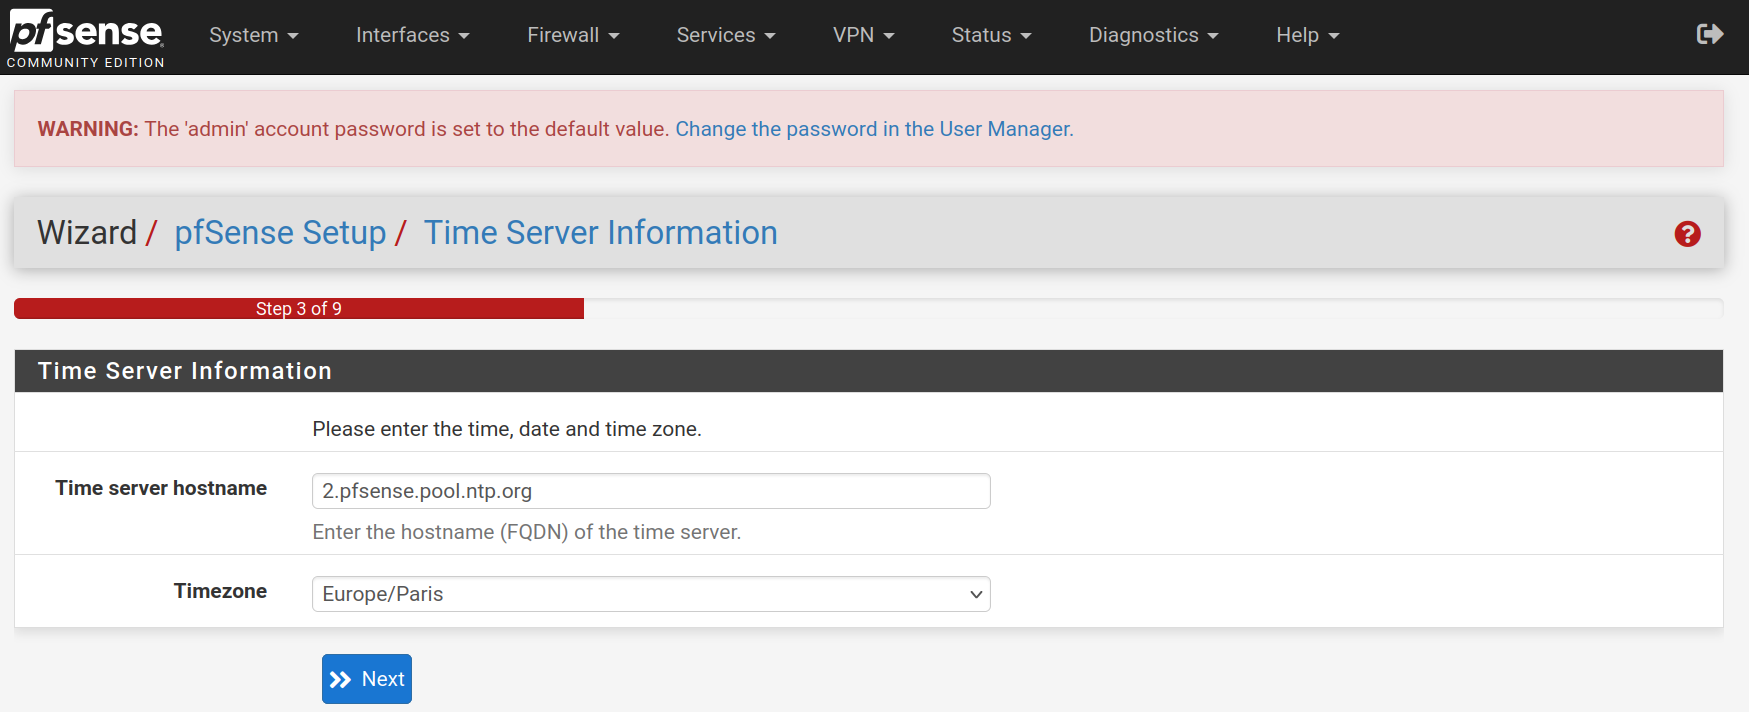
Select the timezone `Europe/Paris` for the **NTP** configuration
Keep the **WAN** interface set on `DHCP` and uncheck the `Block RFC1918 Private Networks` and `Block bogon networks` rules and click on `Next`


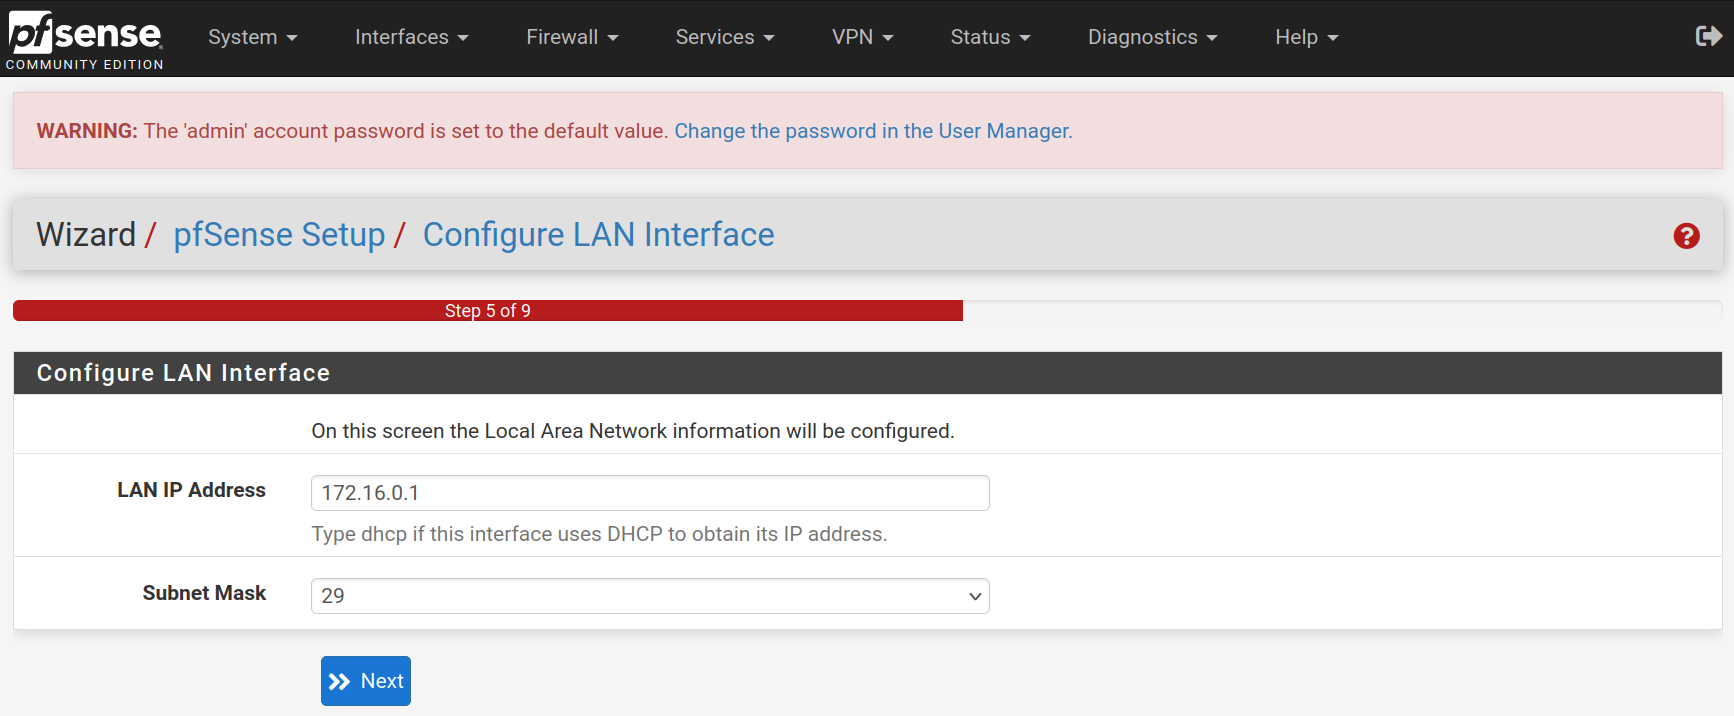
For the **LAN** interface, type the static IP address `172.16.0.1` and the subnet mask `29` to allow 6 hosts for the moment. It will be easily upscaled afterwards. Then click on `Next`
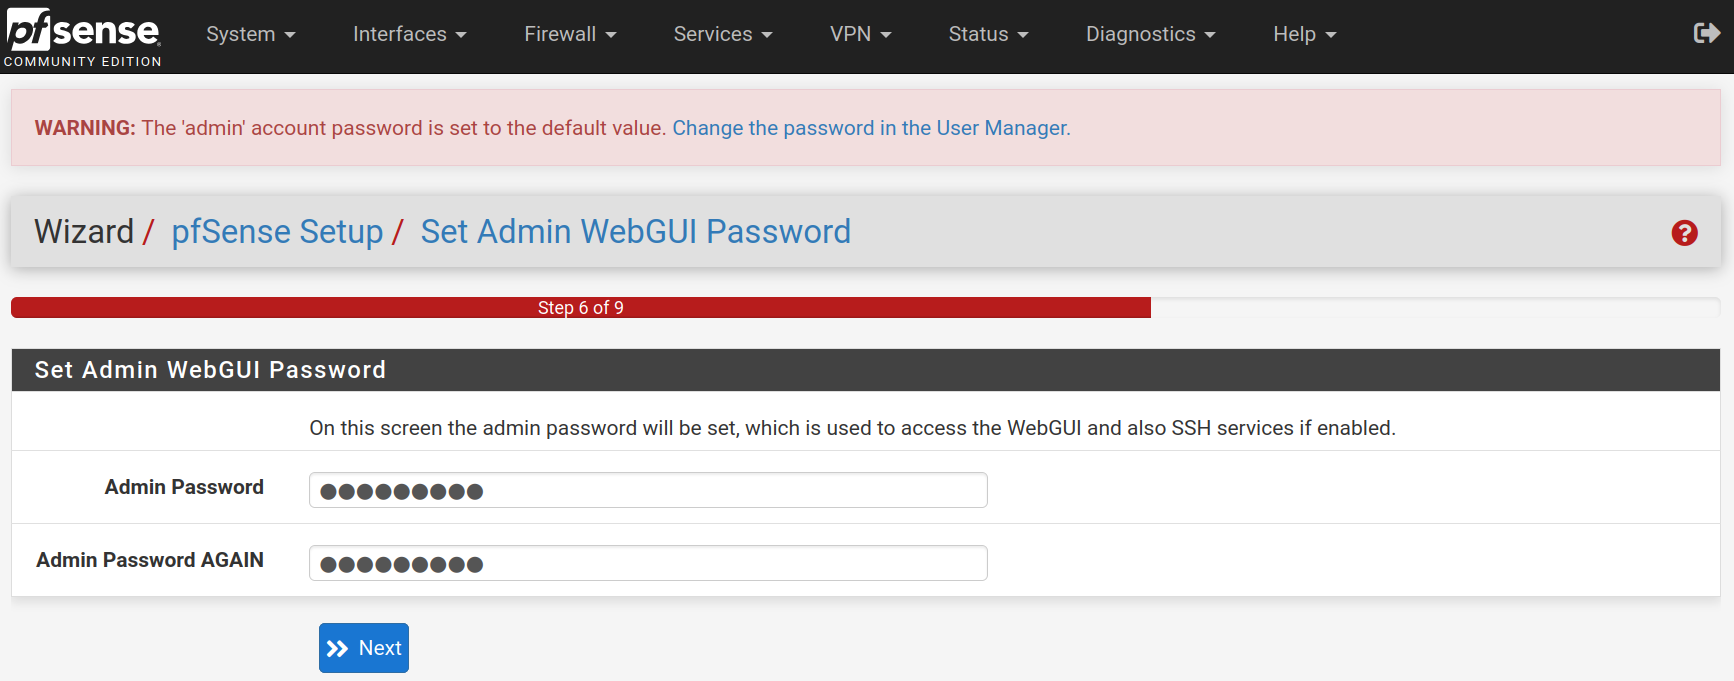
Type a new password and confirm it. Click on `Next`
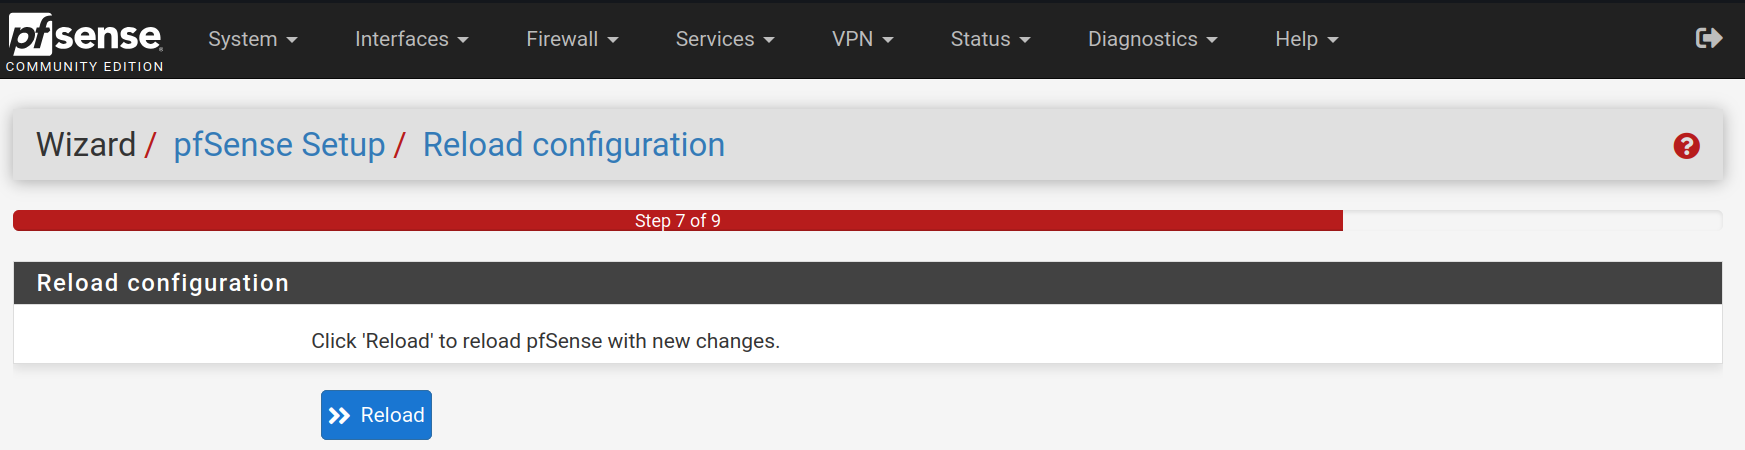
Click on `Reload` to accept and apply the new configurations.
Click on `Finish`

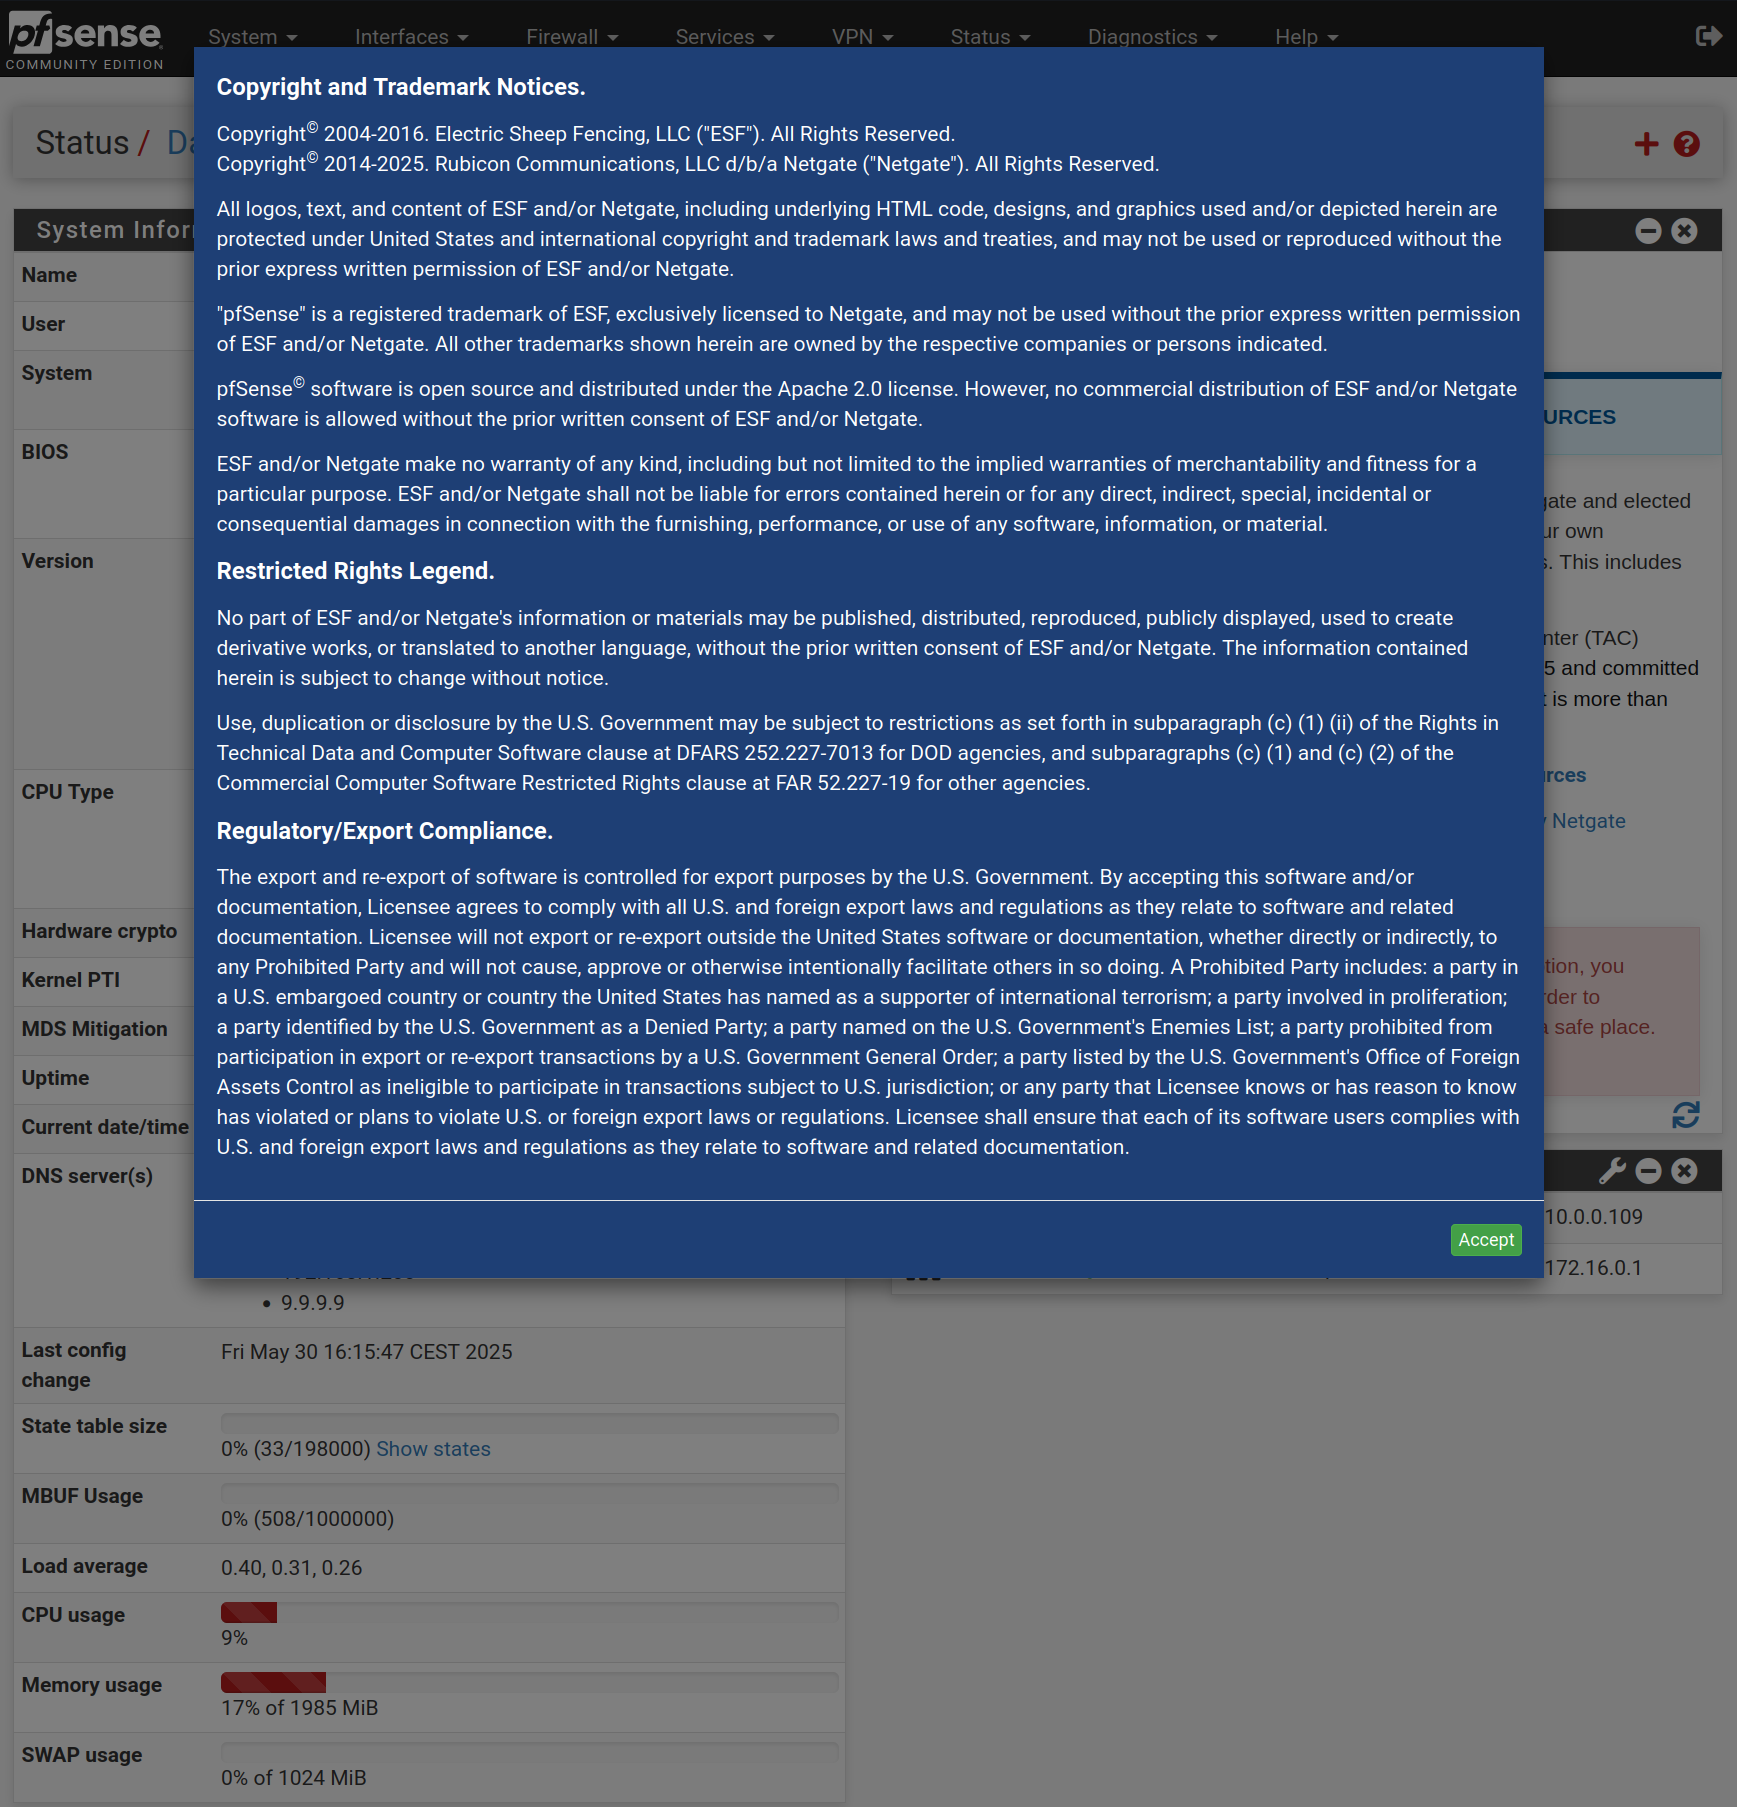
Accept the license and right.
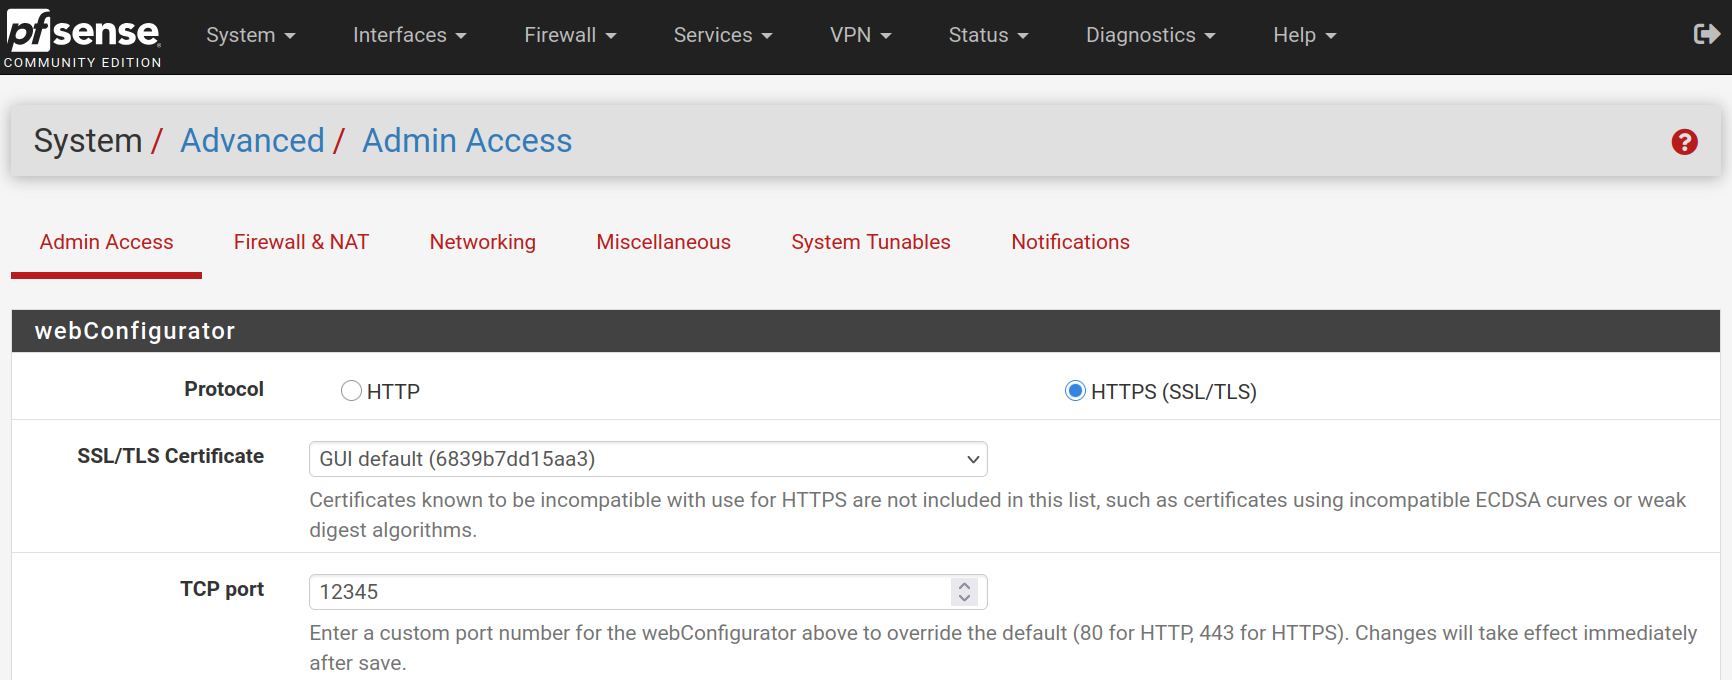
Go to **System > Advanced** and change the web configurator port to `12345` to free the **HTTPS** port.
If you want, you can go to **System > General Setup** to change the CSS theme of the web configurator

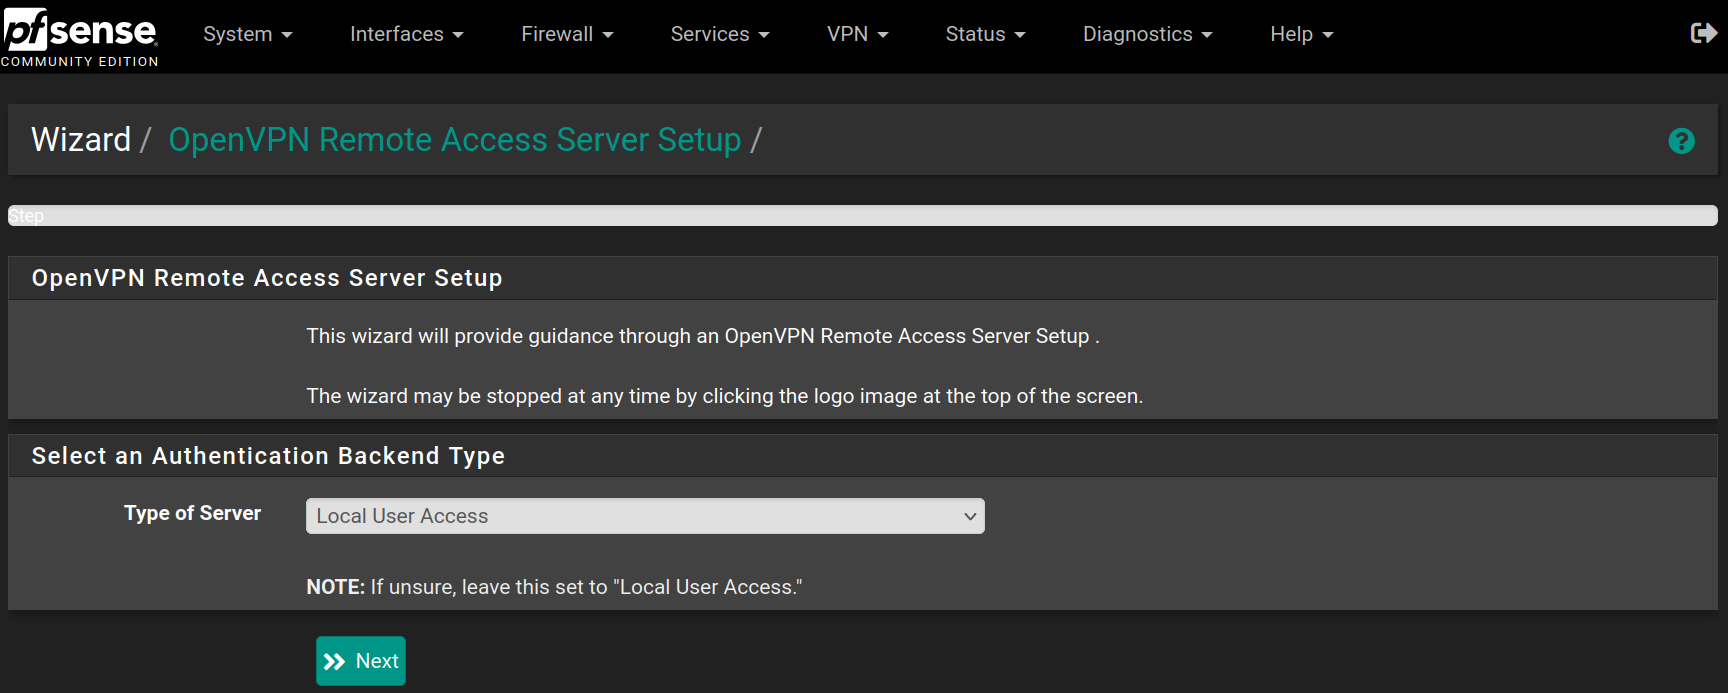
Go to **VPN > OpenVPN** in the **Wizard** tab and click `Next`
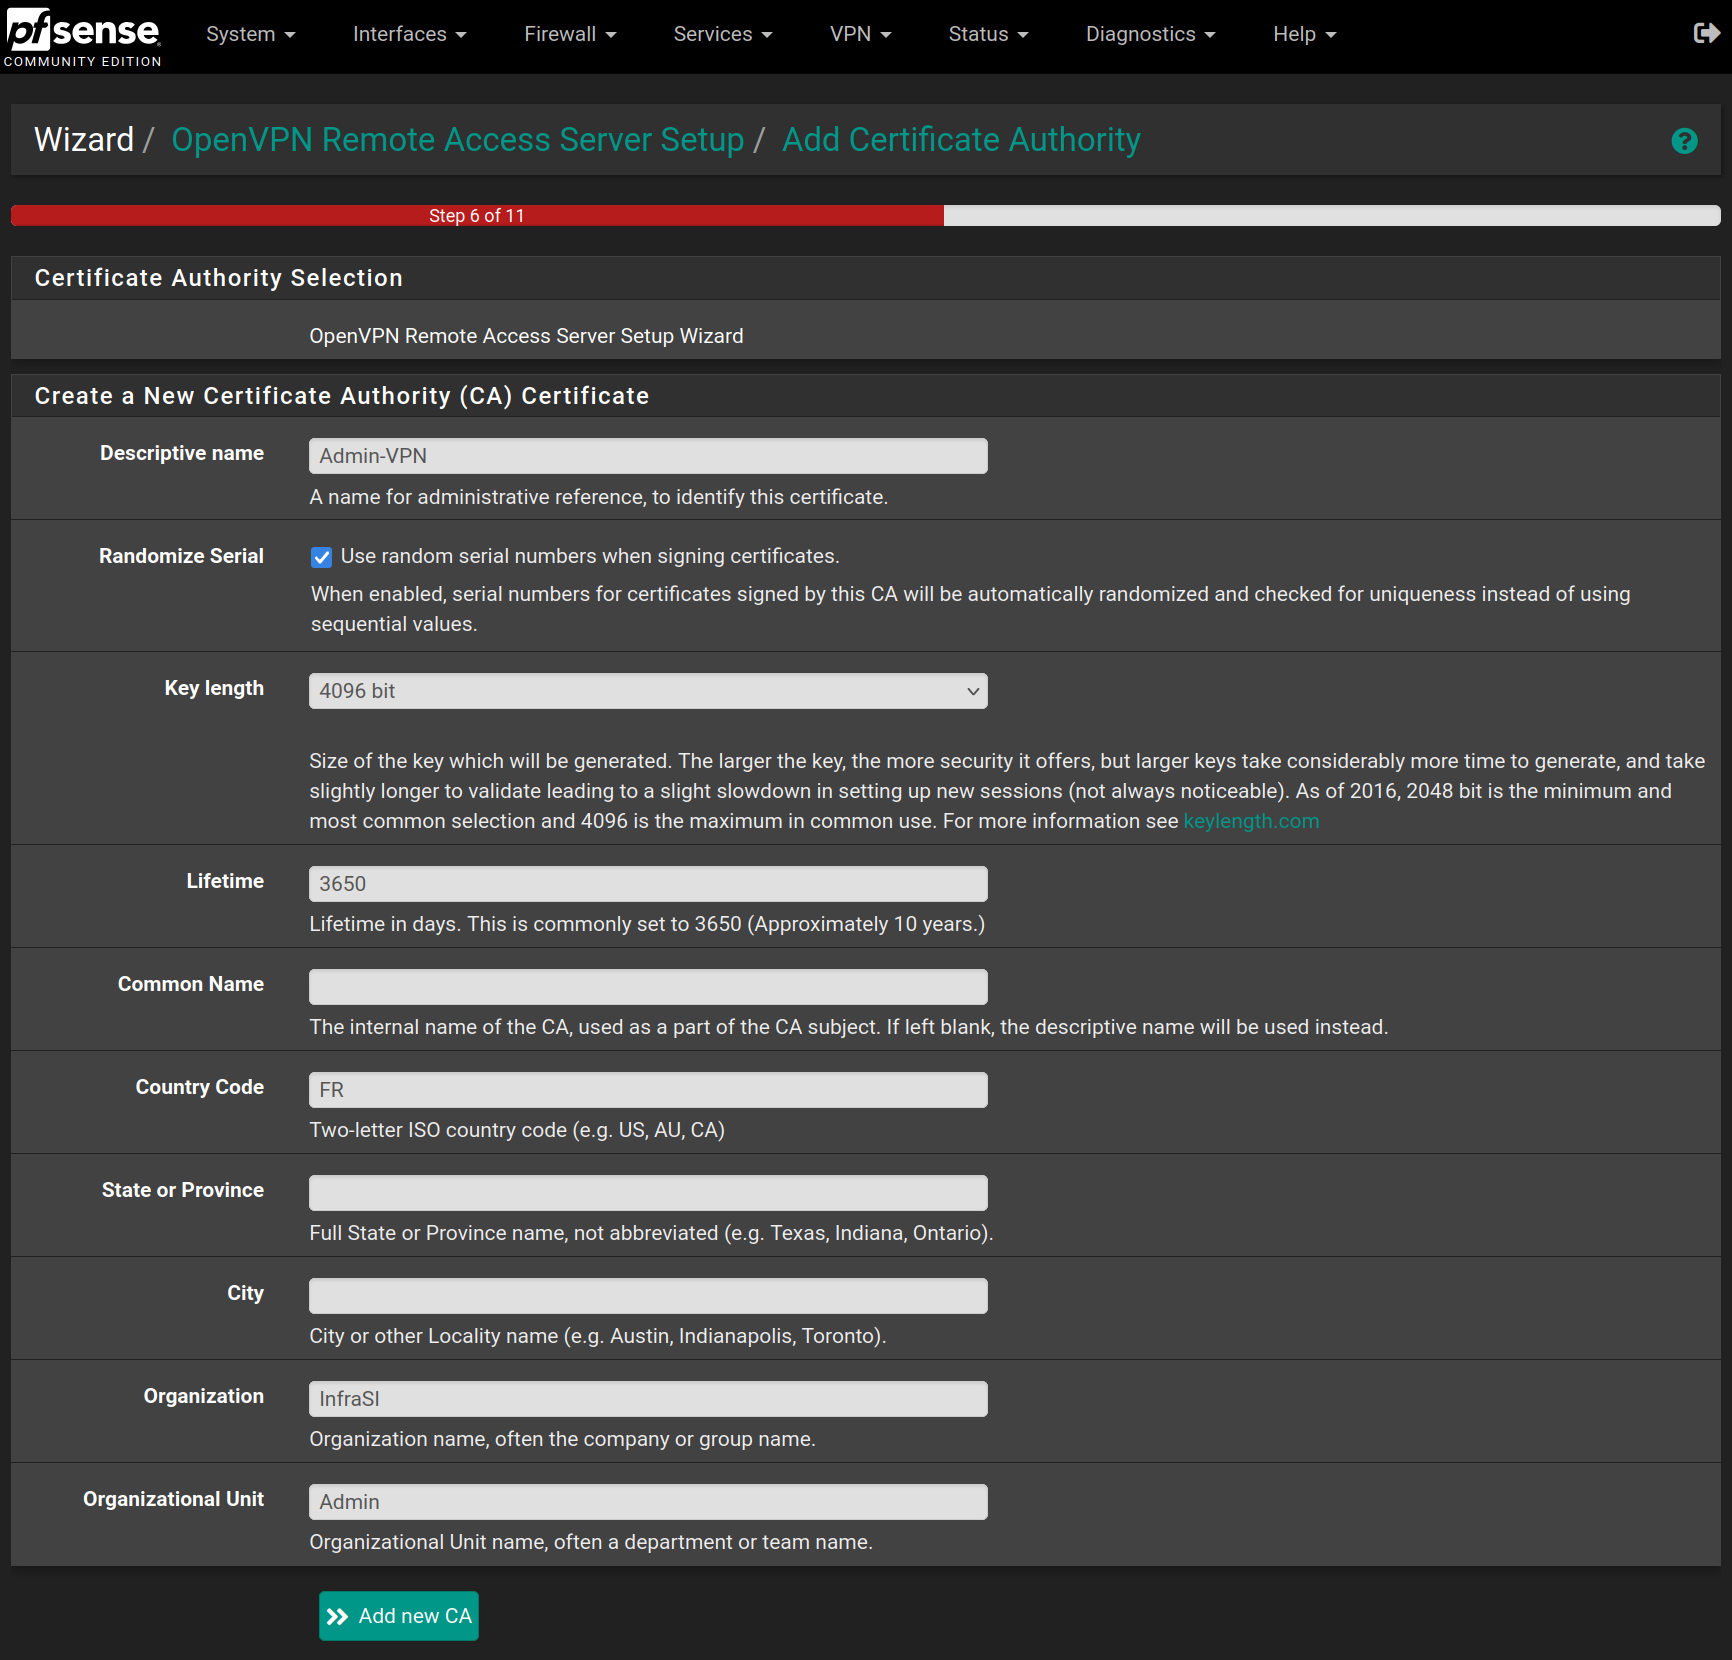
Fill the form with the following values and click on `Add new CA`
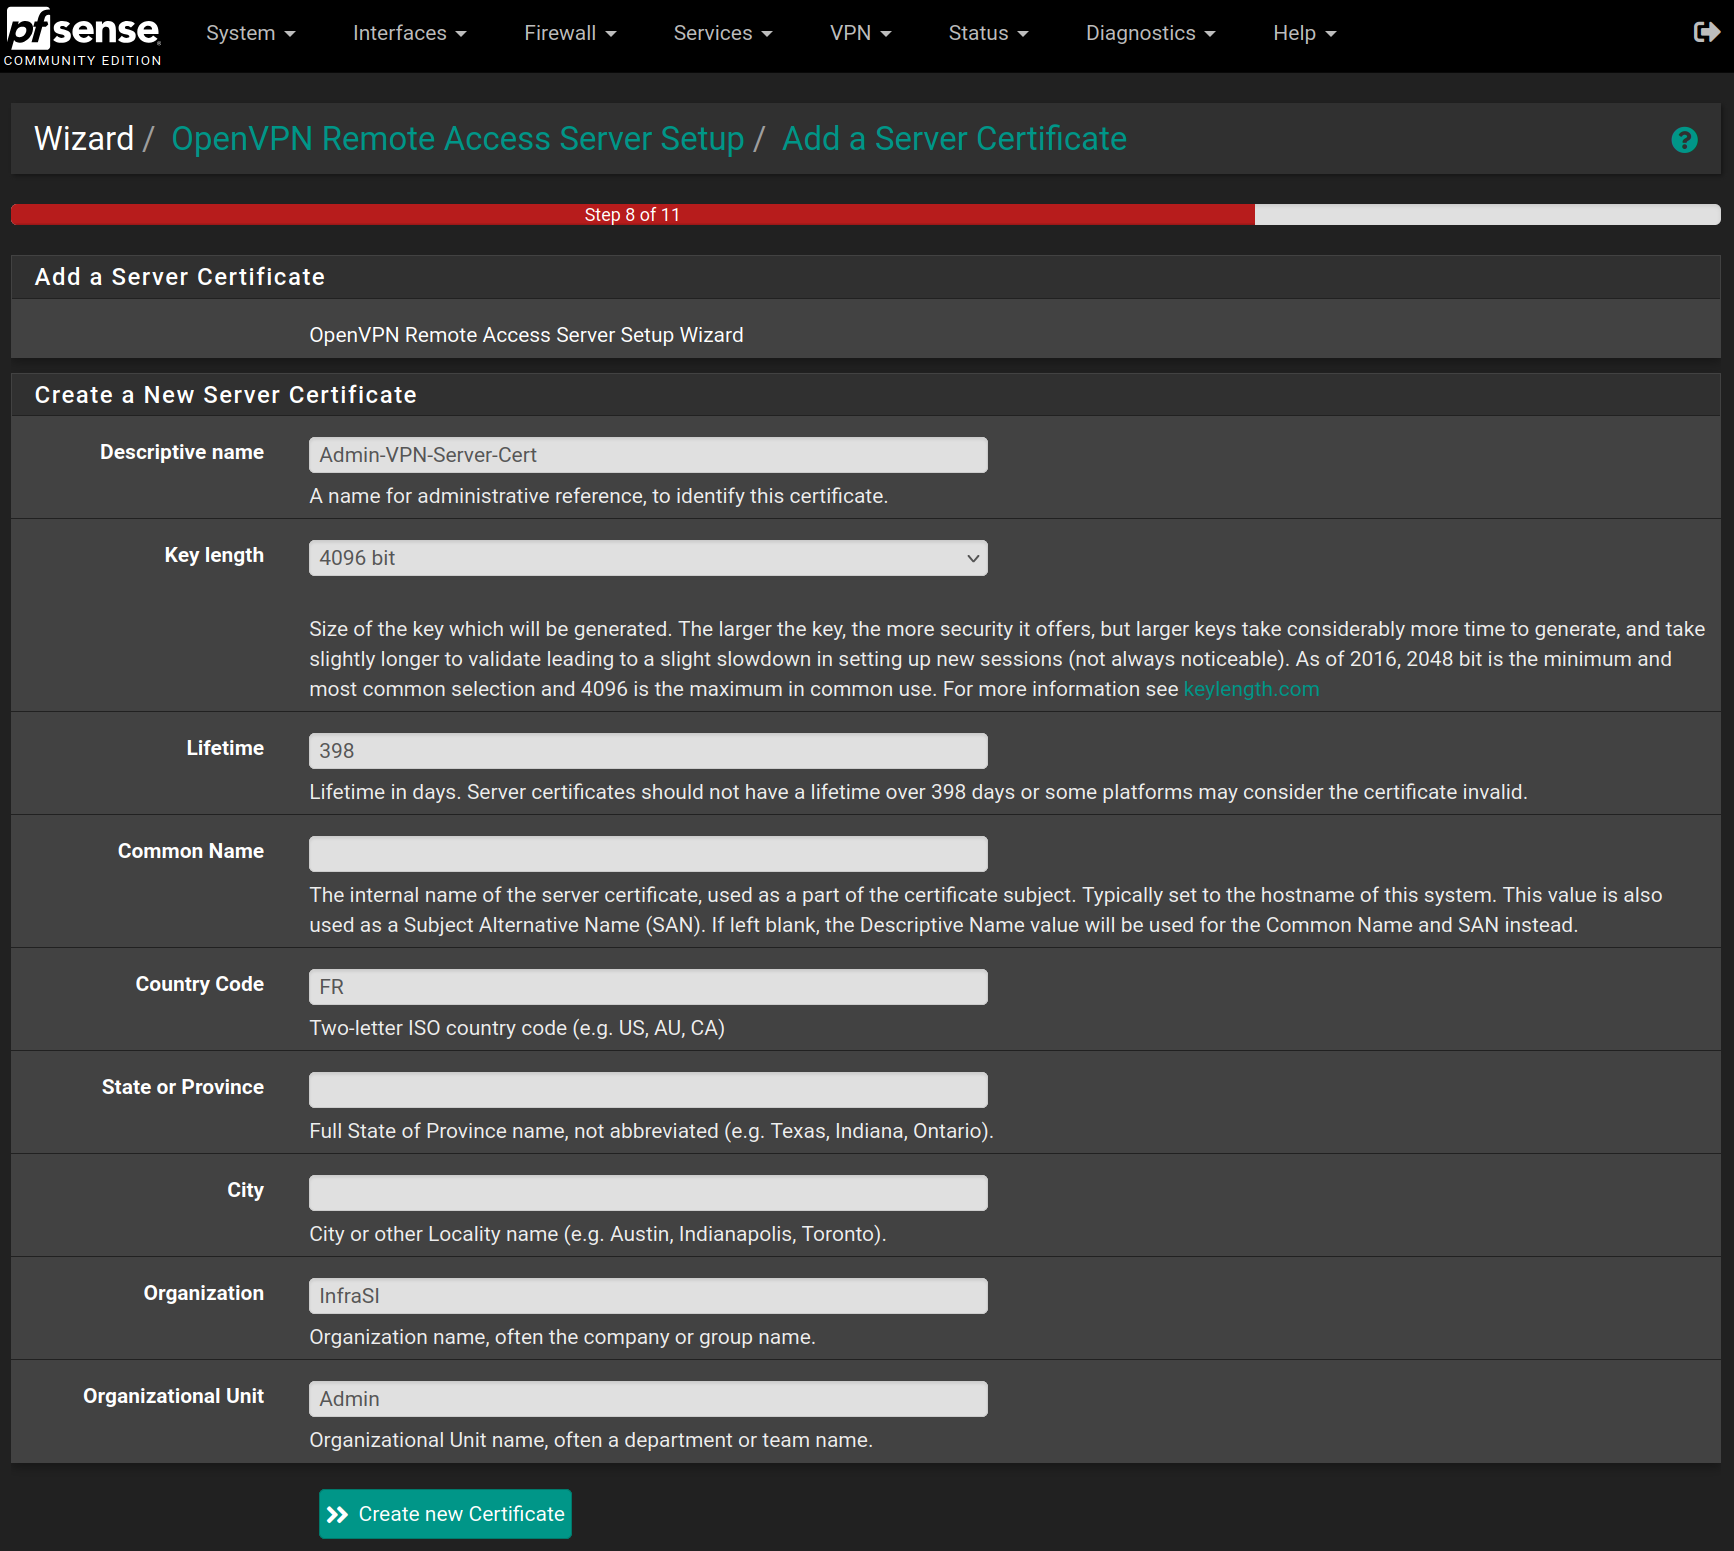
Then click on Add new Certificate

Fill the form with the following values and click on `Create new Certificate`
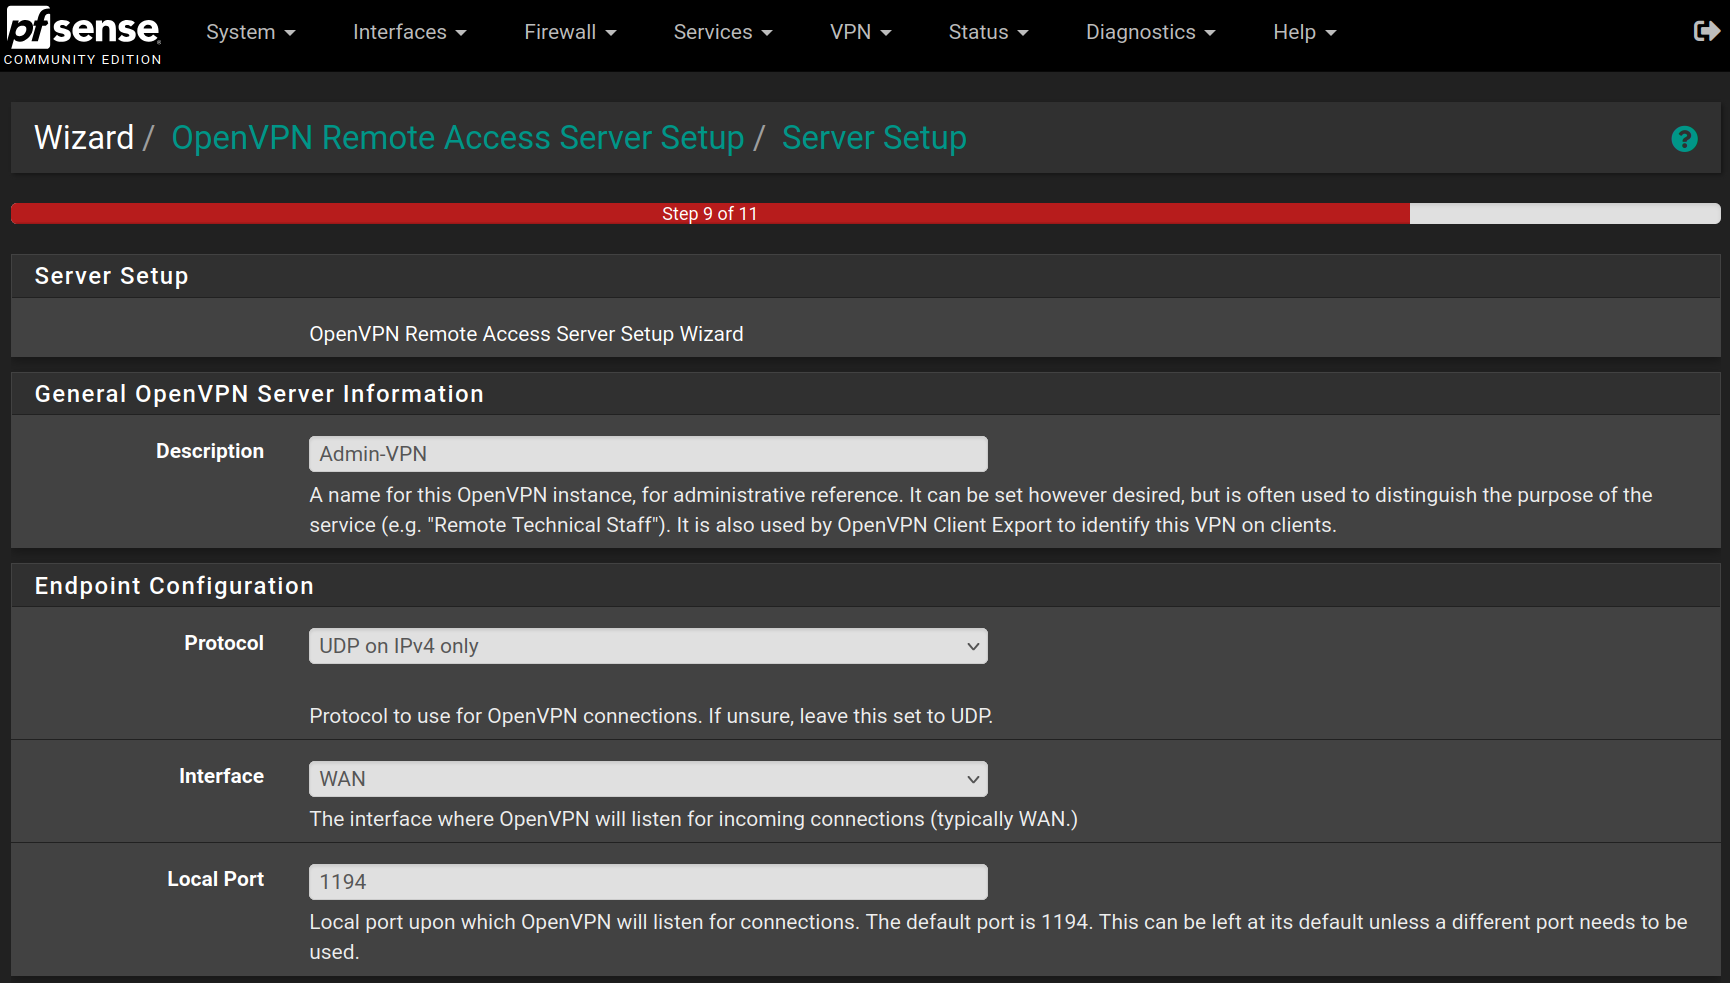
Fill the form with the following values and click on `Next`
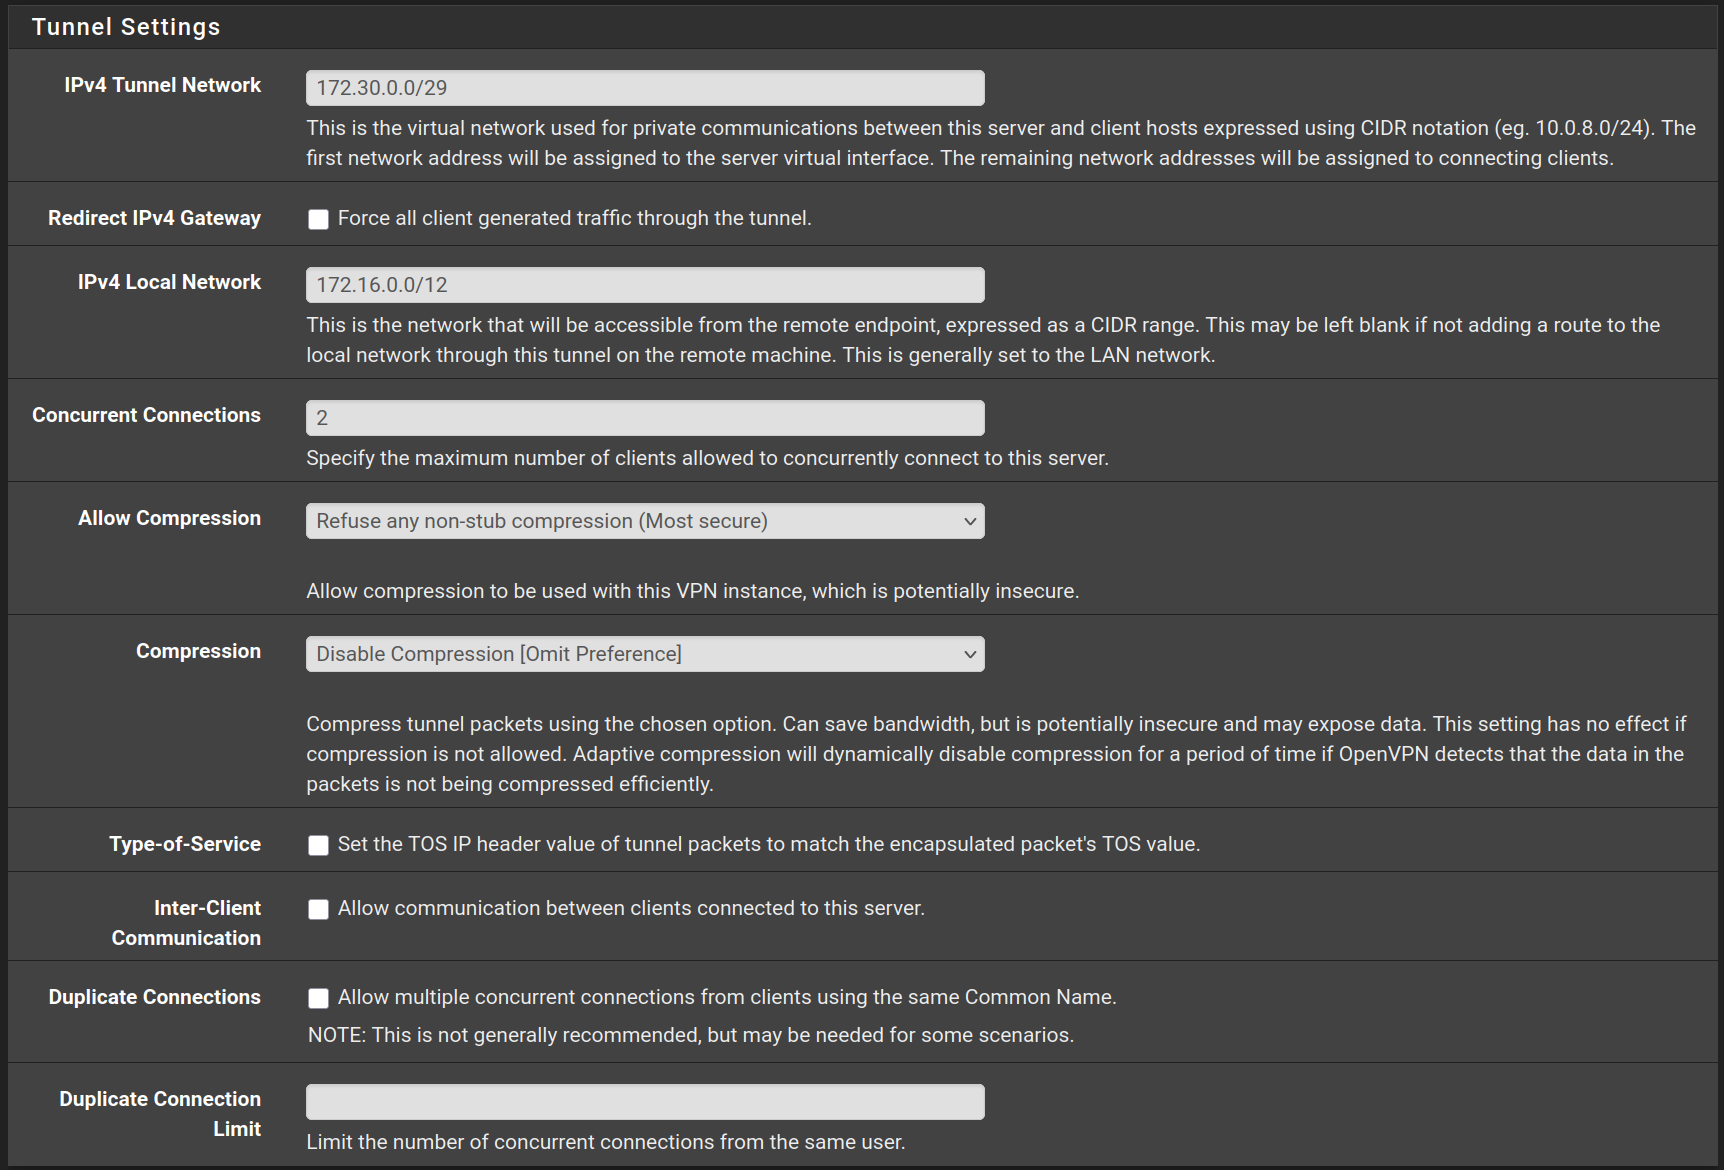

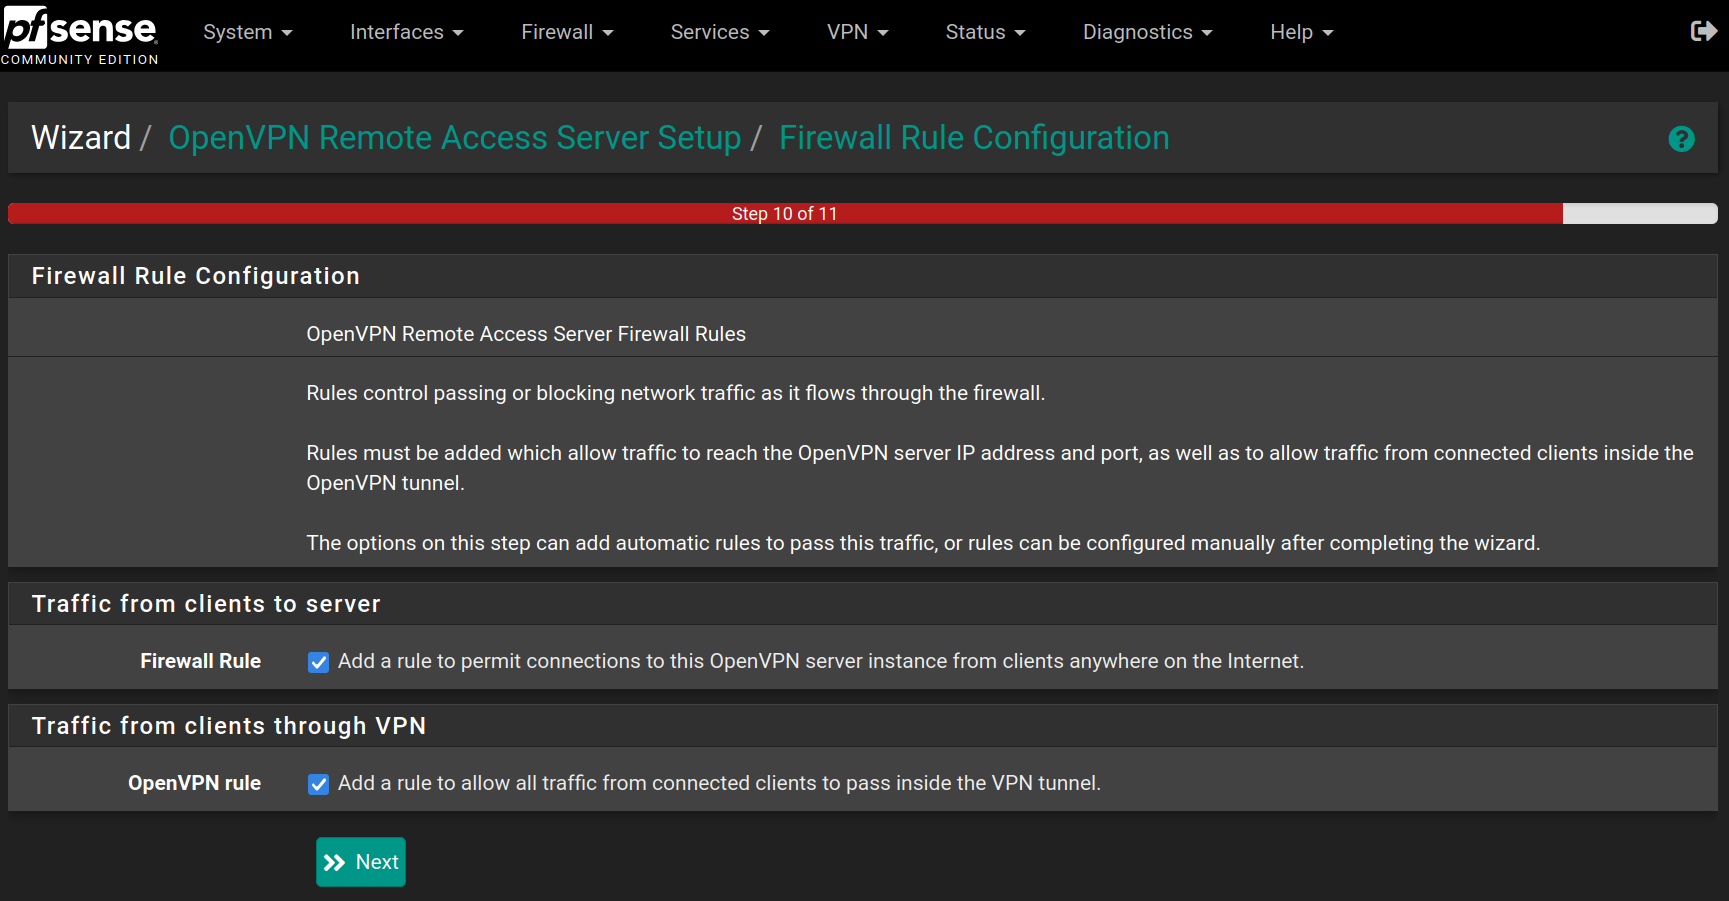
Check the two rules to allow access from wherever to pass through the VPN tunnel and click on `Next`
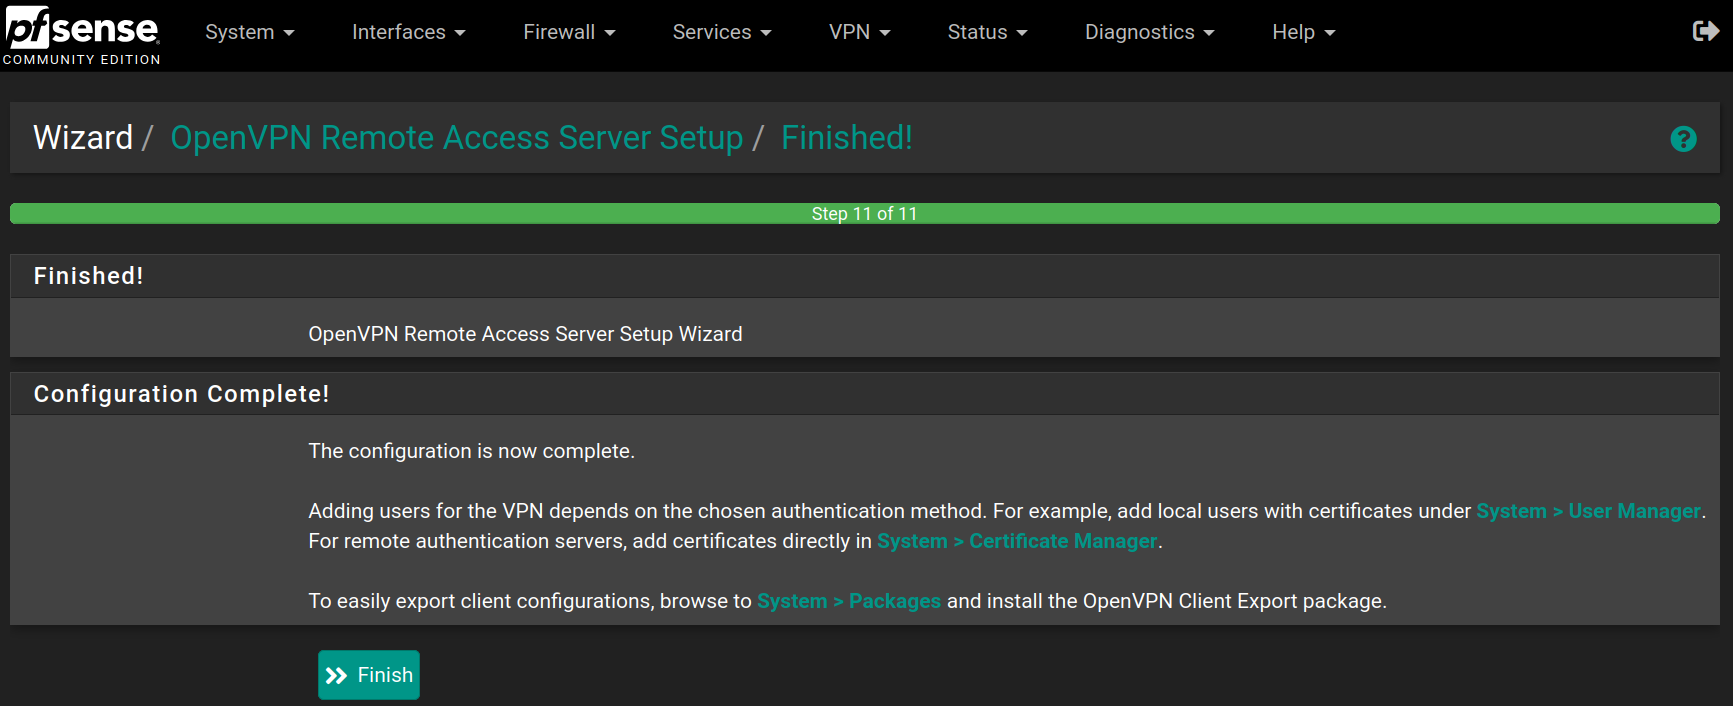
Click on `Finish` to save and apply the OpenVPN Server
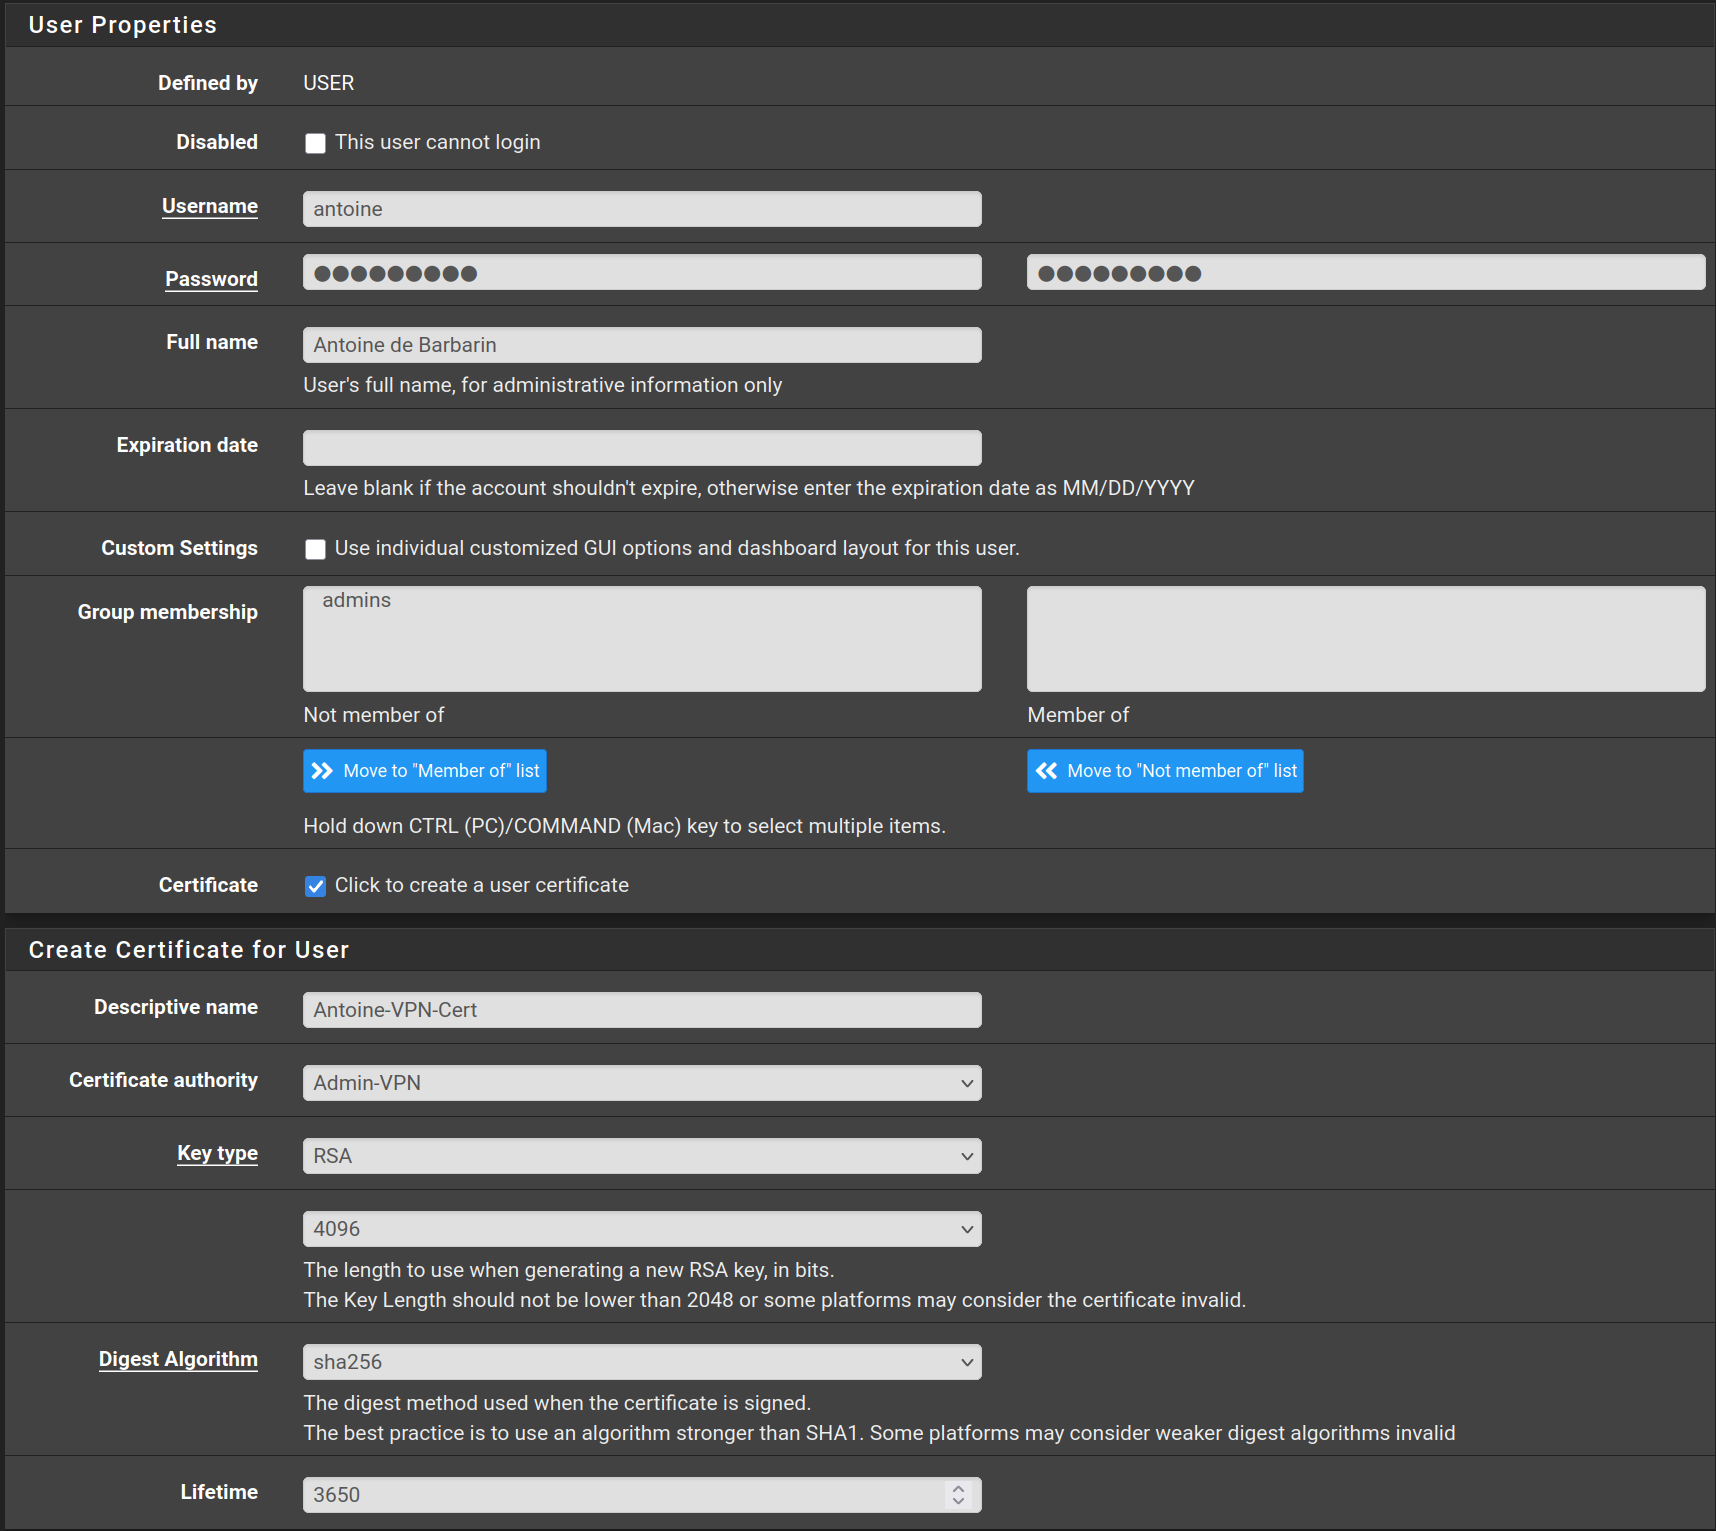
Go to **System > User Manager** and click on `Add`
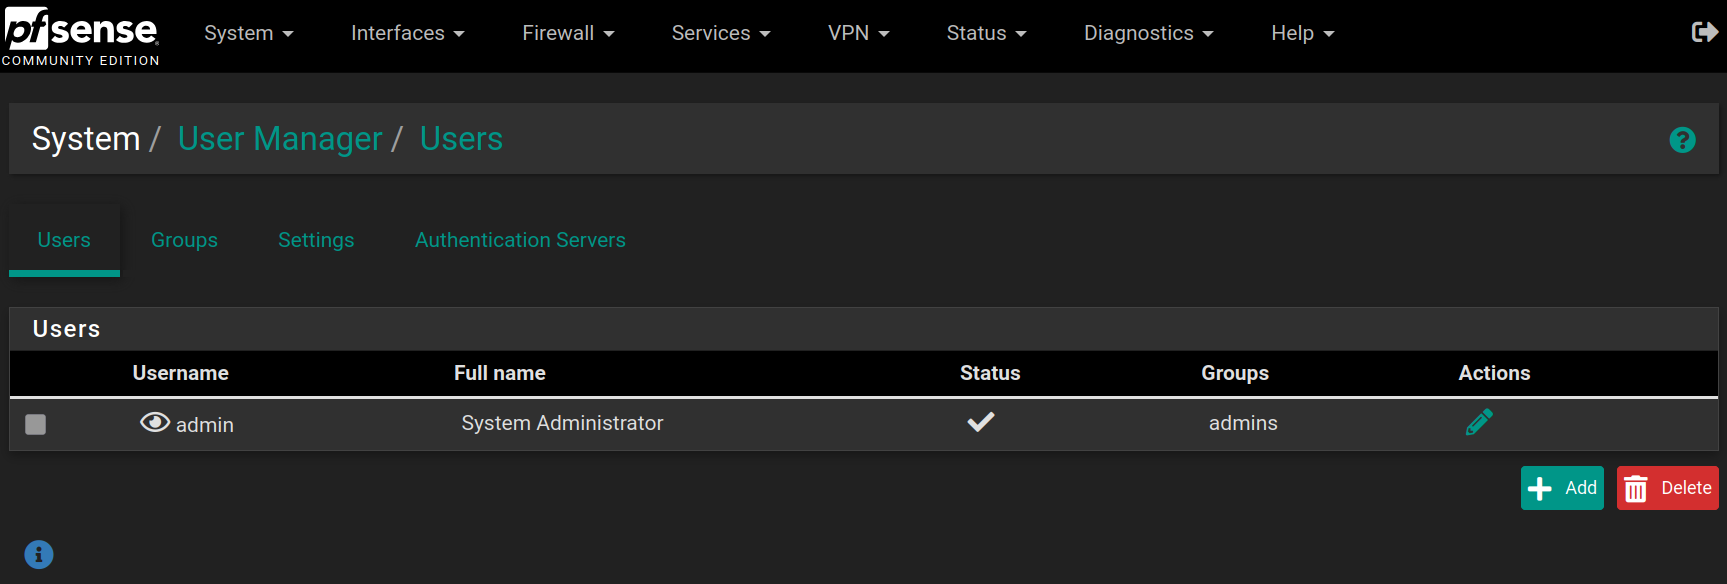
Fill the form with the following values and click on `Save`
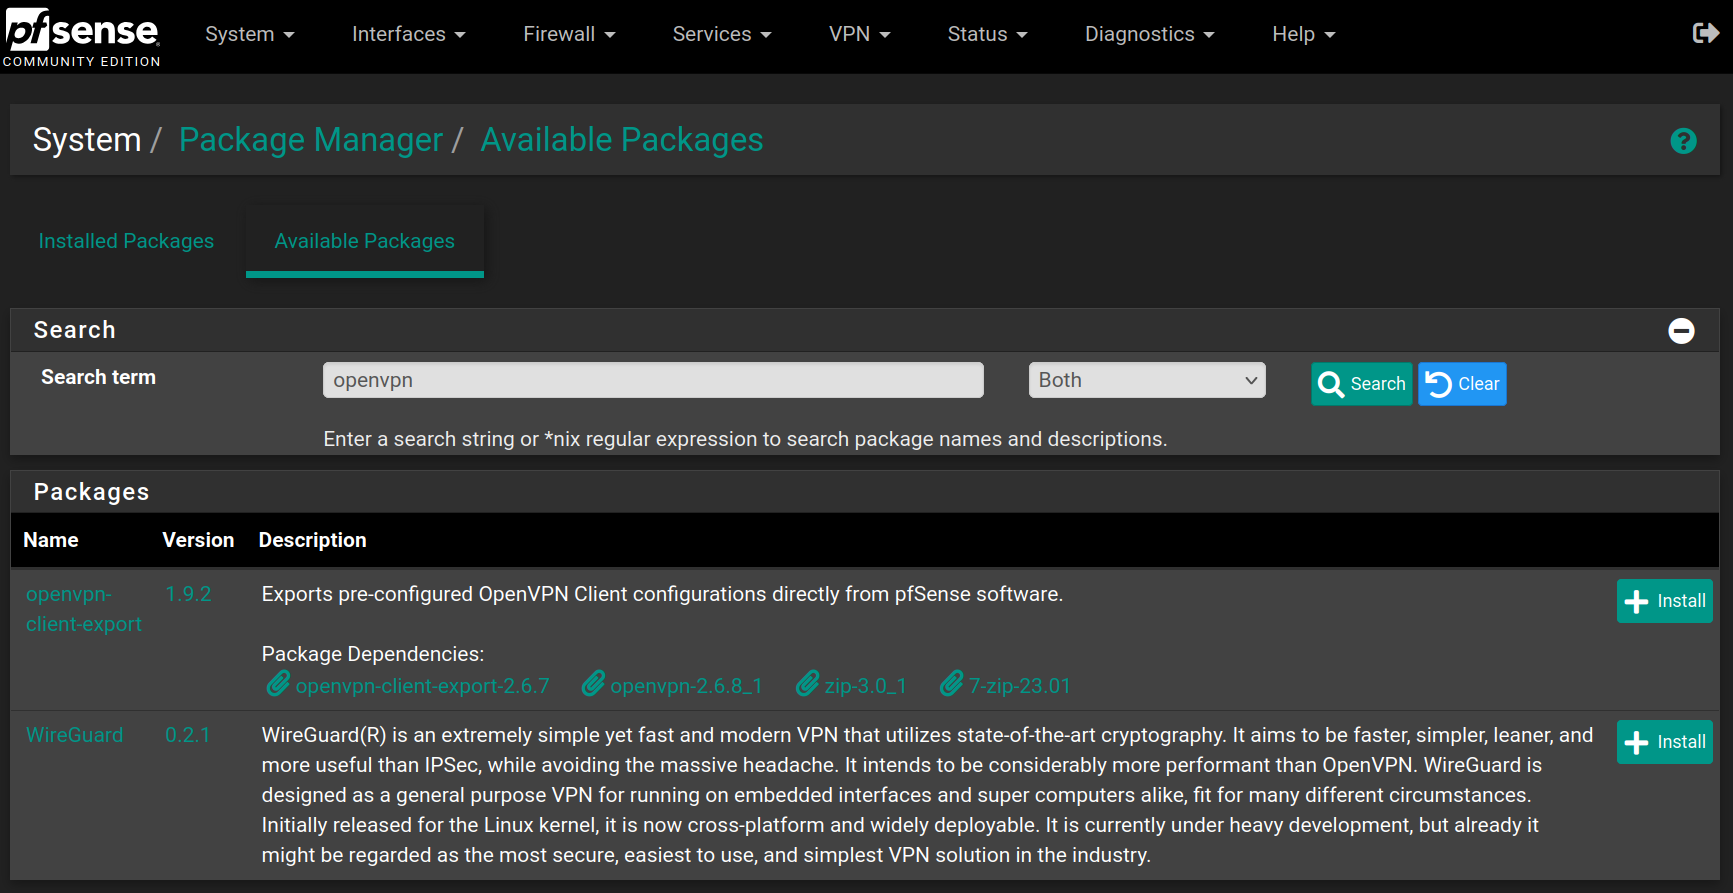
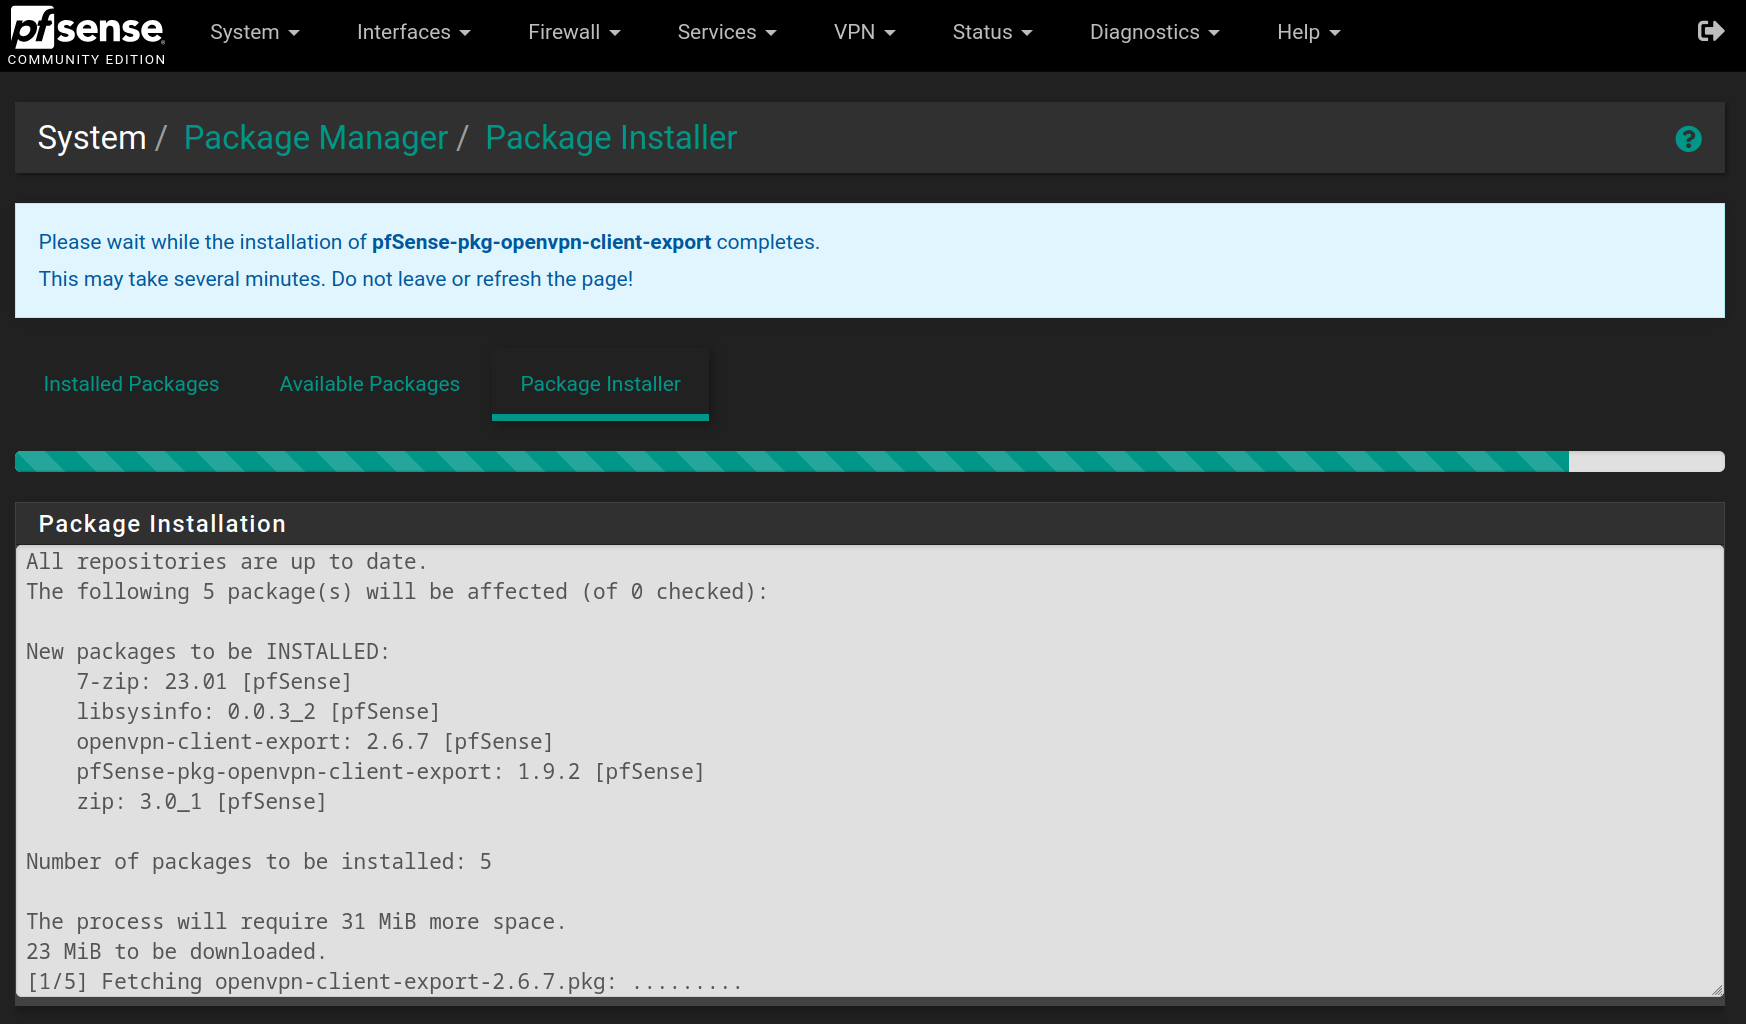
Go to **System > Package Manager > Available Packages** and search for `openvpn`, then on the package named `openvpn-client-export` click on `Install` and `Confirm`
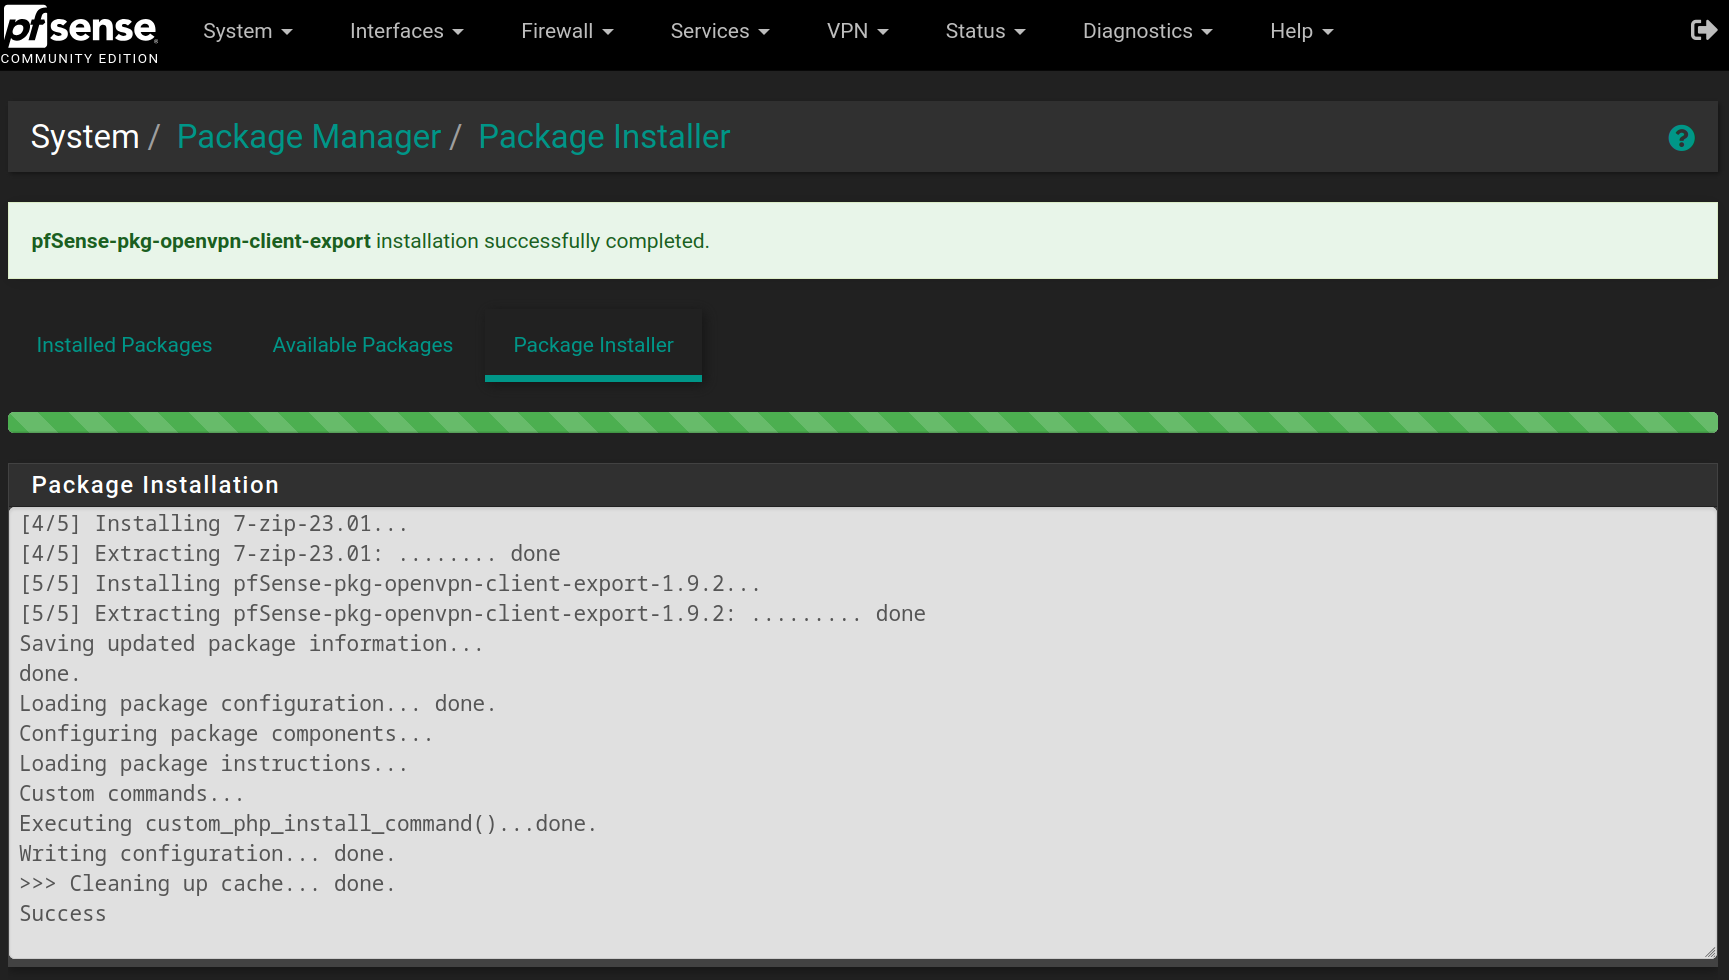
Wait for the installation to finish
Go to **VPN > OpenVPN > Client Export** and at the bottom of the page, you can download the exact configuration to connect to the Admin-VPN.
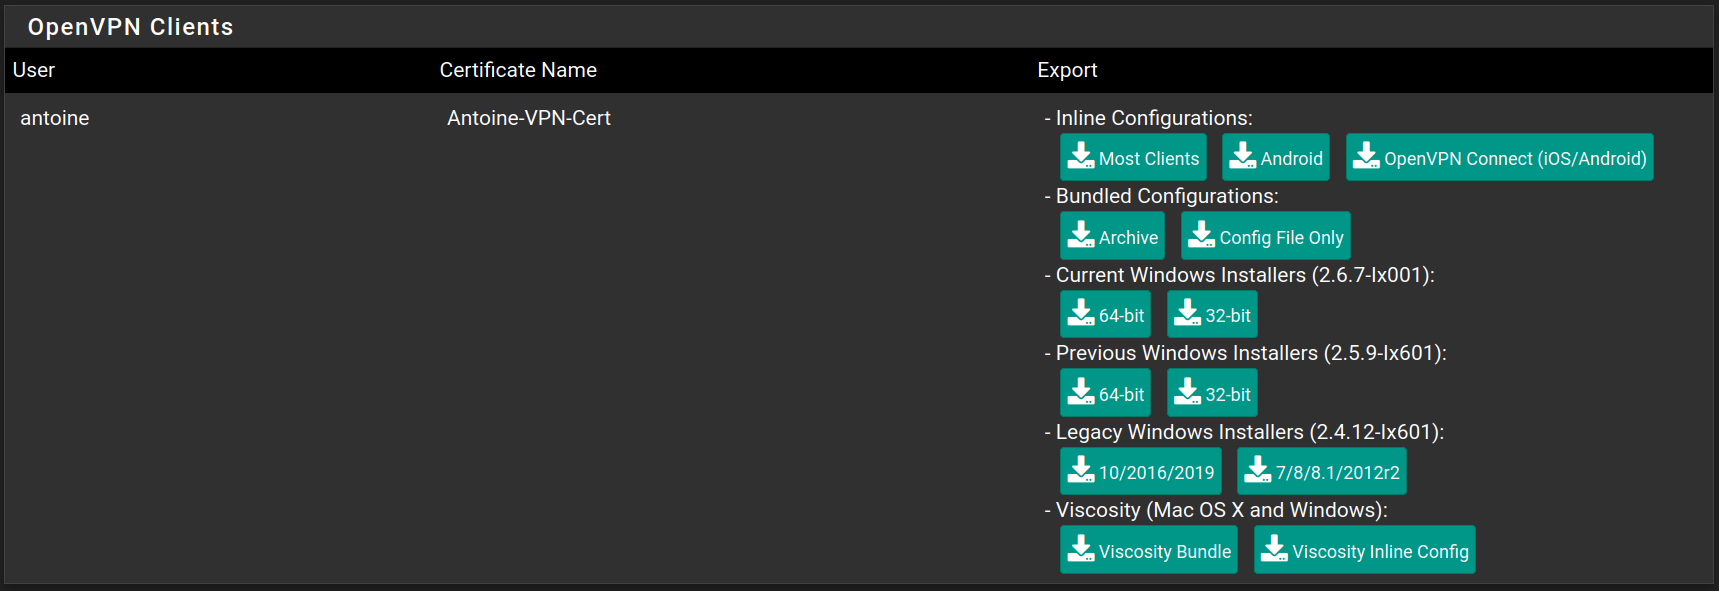
After downloading the configuration (I chose Inline Configuration > Most Clients), you can access it.
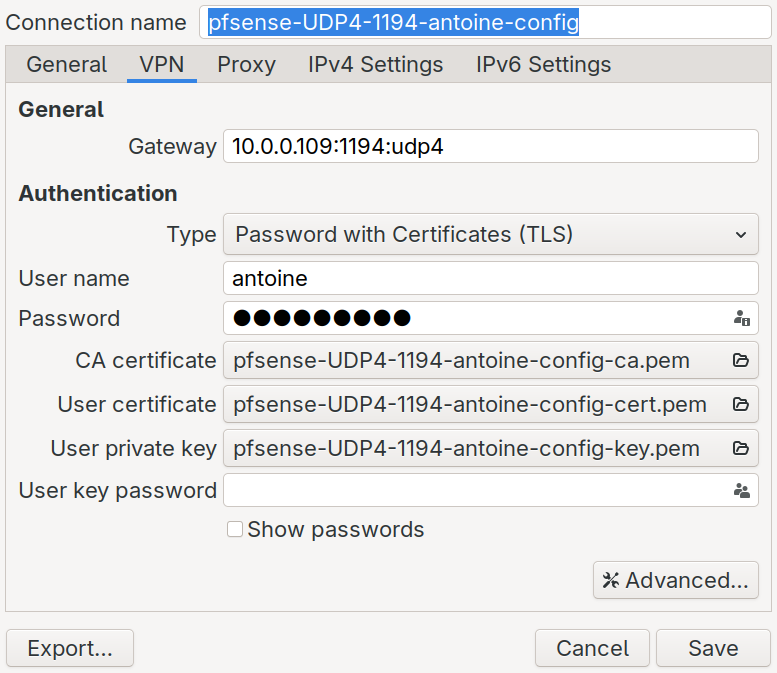
Now that the connection exists, we can easily use it with the command `nmcli`
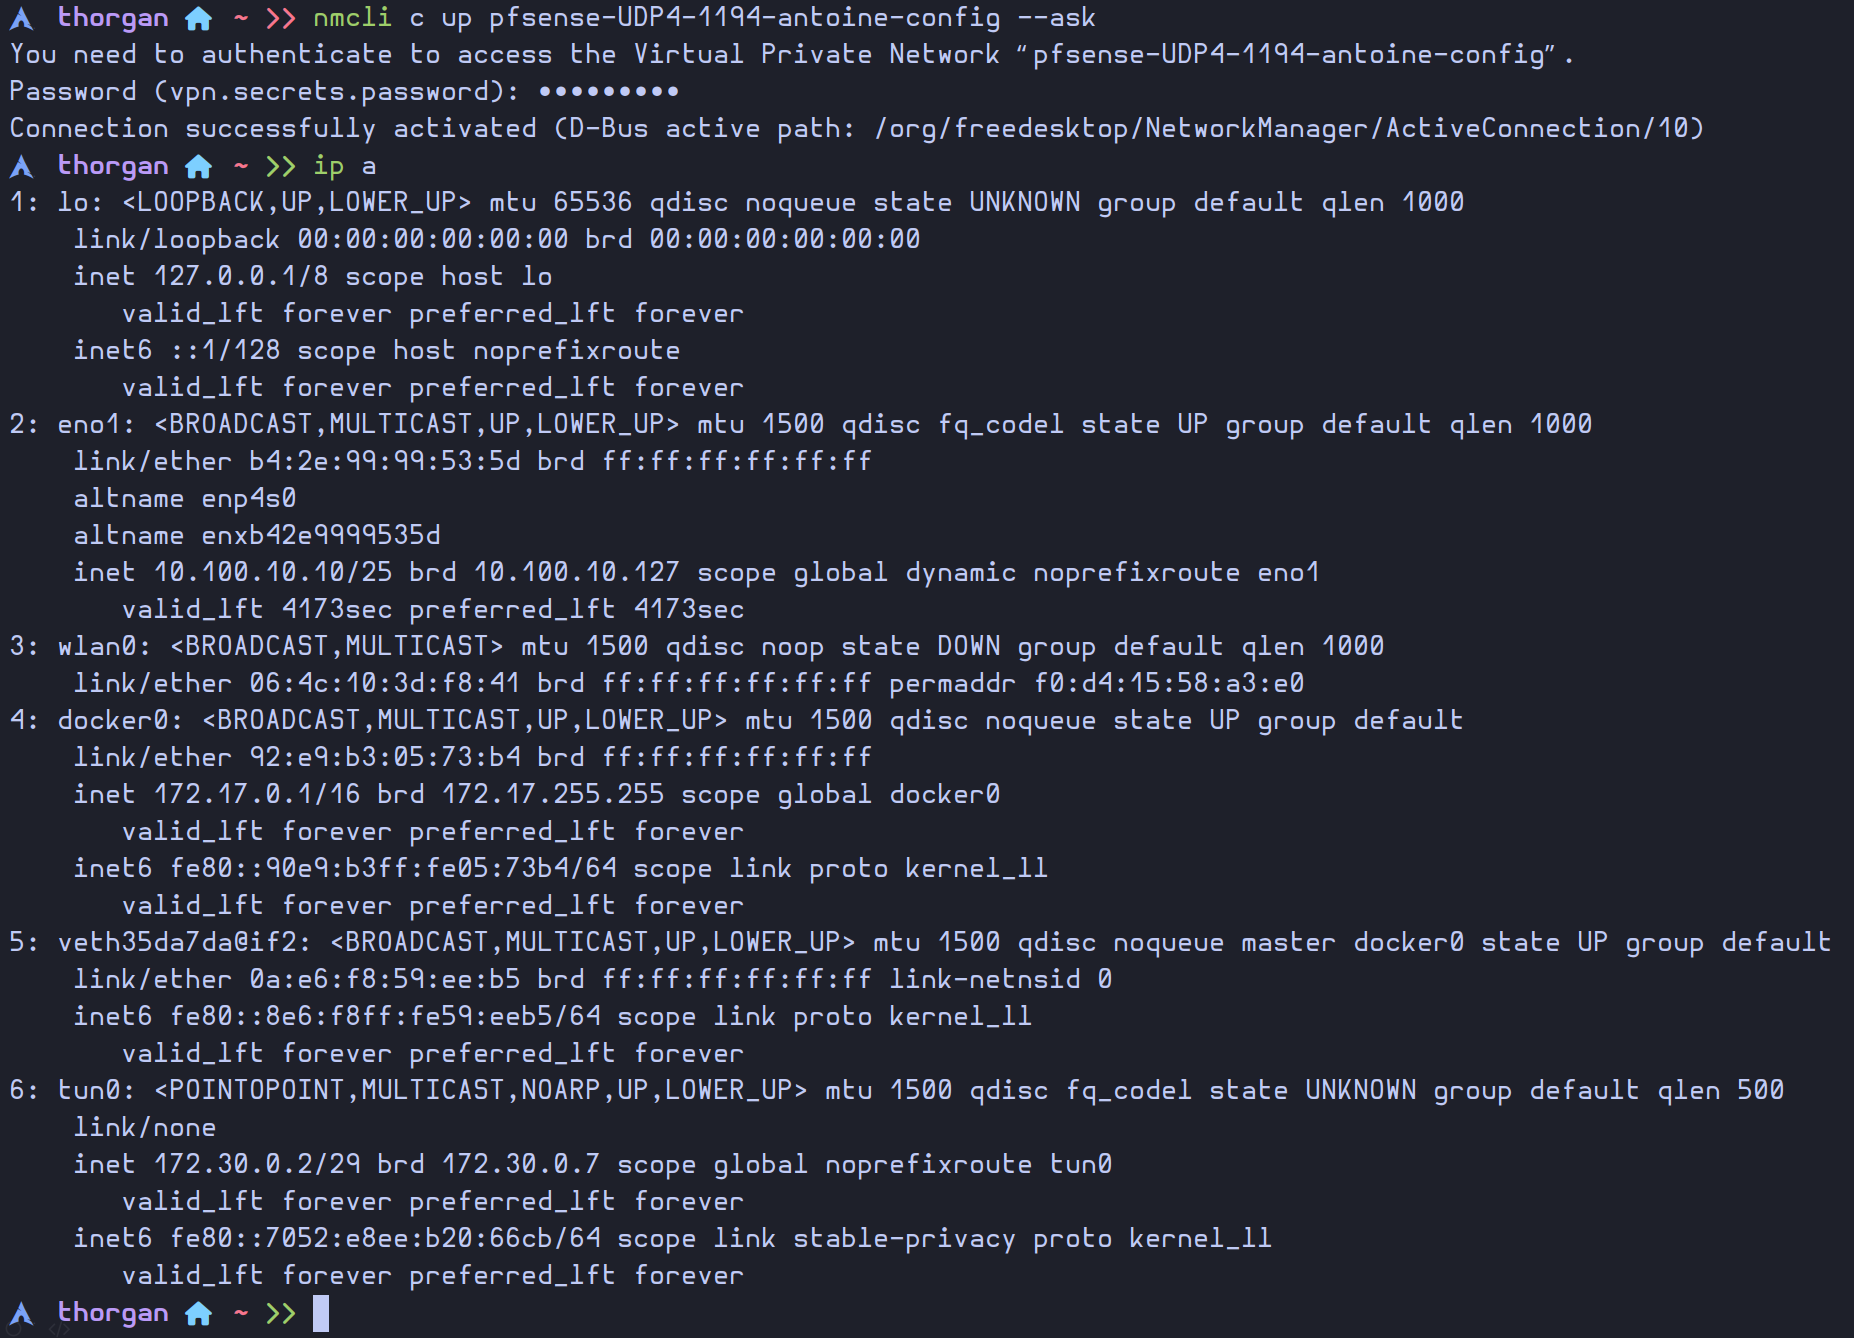
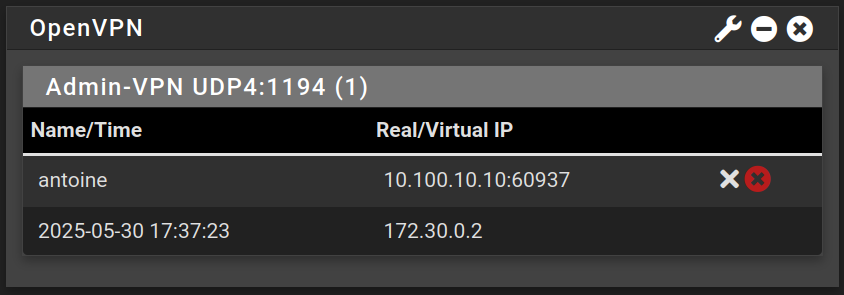
Now we can access the web configurator using the VPN, and we can see our current connection with the OpenVPN widget in the dashboard
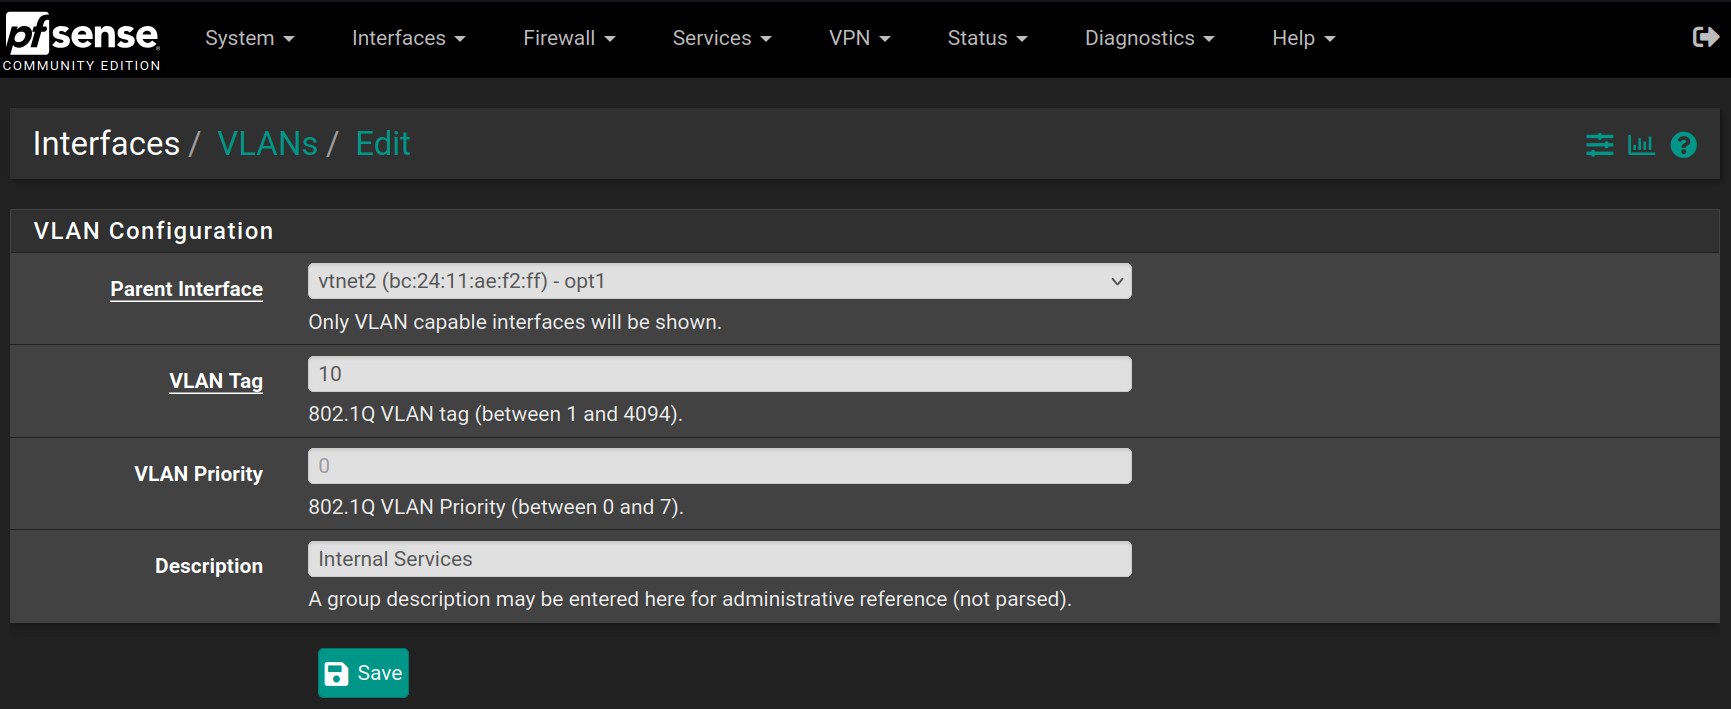
Go to **Interfaces > Assignments > VLANs** and click on `Add`

Choose the `vtnet2` interface (**OPT1**) and set the VLAN at 10 describing it as `Internal Services` and click on `Save`
Then do the same for the **Clients** VLAN, with value 20 on the same network interface

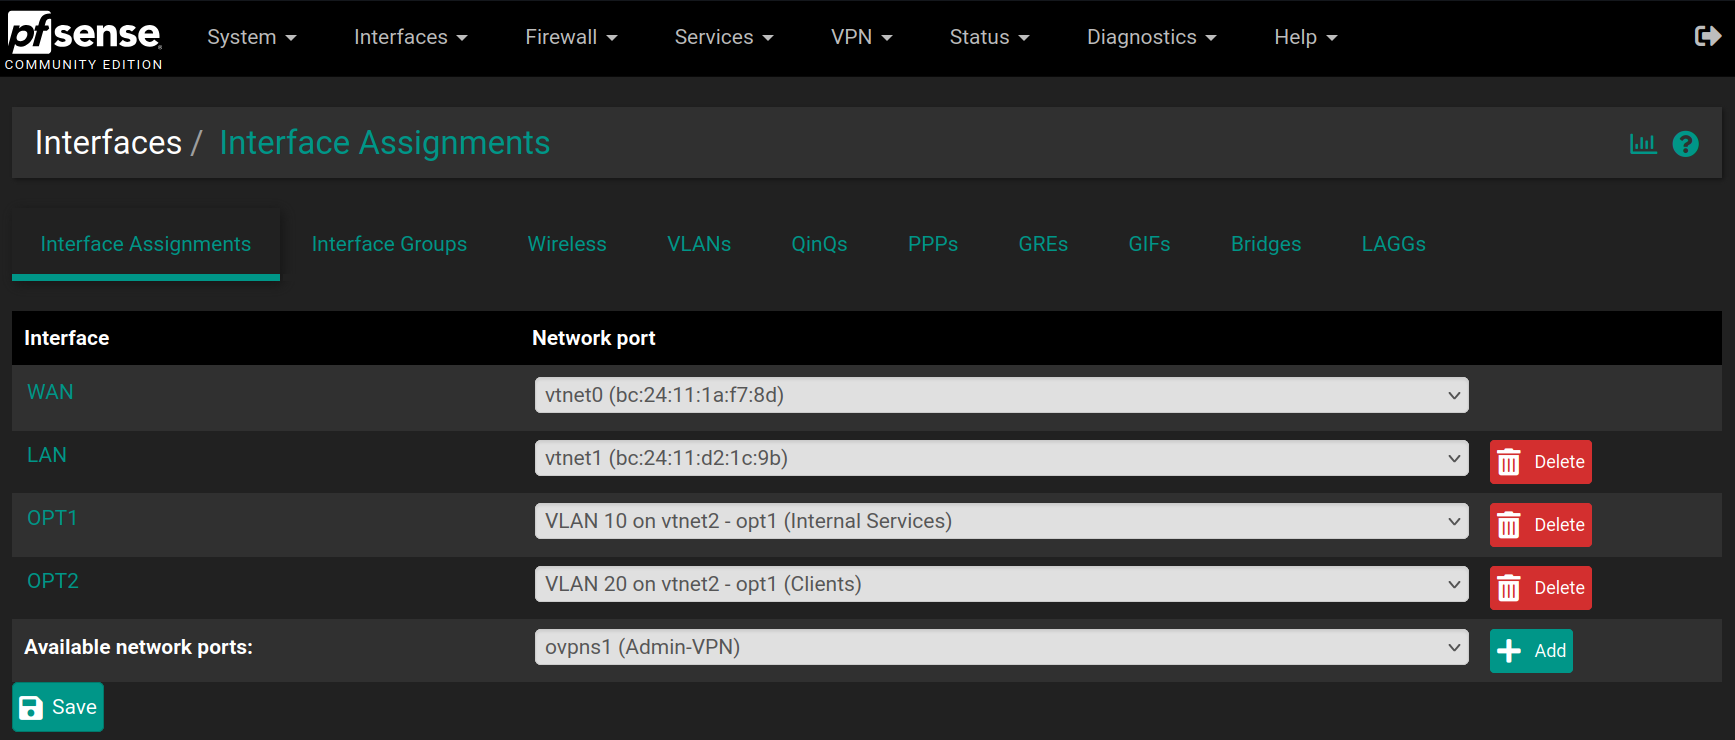
Go back to **Interfaces > Assignments** and set **OPT1** as VLAN10 and add a new **OPT2** as VLAN20 and click on `Save`
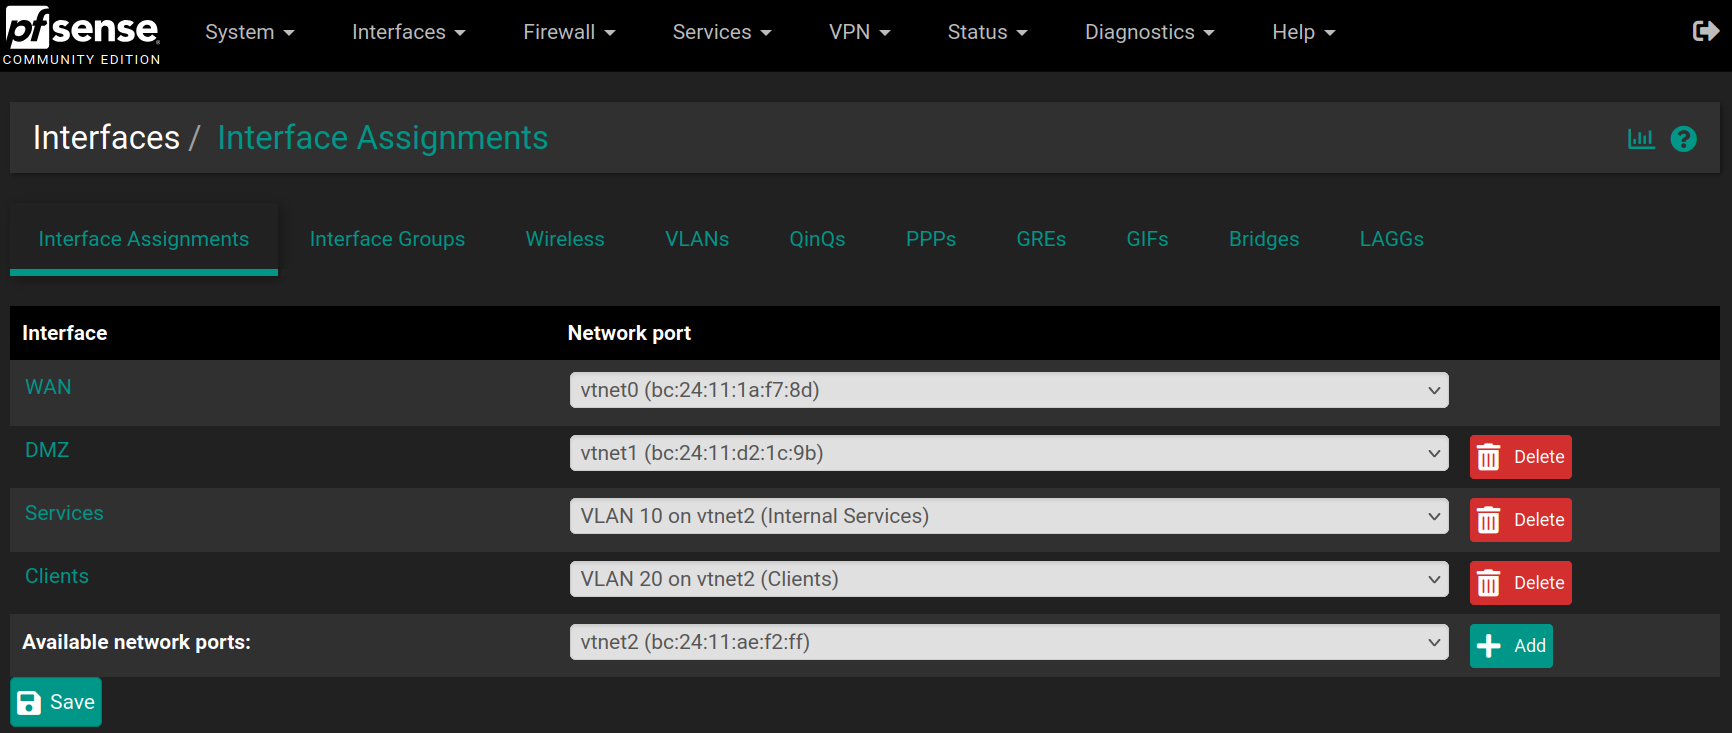
Then go to **Interfaces > LAN**, **Interfaces > OPT1** and **Interfaces > OPT2** to change their names with `DMZ`, `Services` and `Clients`, check the option **Enable interface** if it's not checked already and assign a **Static IP address** if it's not set up already.
| Interface | IP address |
|---|
| DMZ | 172.16.0.1 / 29 |
| Services (VLAN 10) | 172.17.0.1 / 28 |
| Clients (VLAN 20) | 172.18.0.1 / 27 |

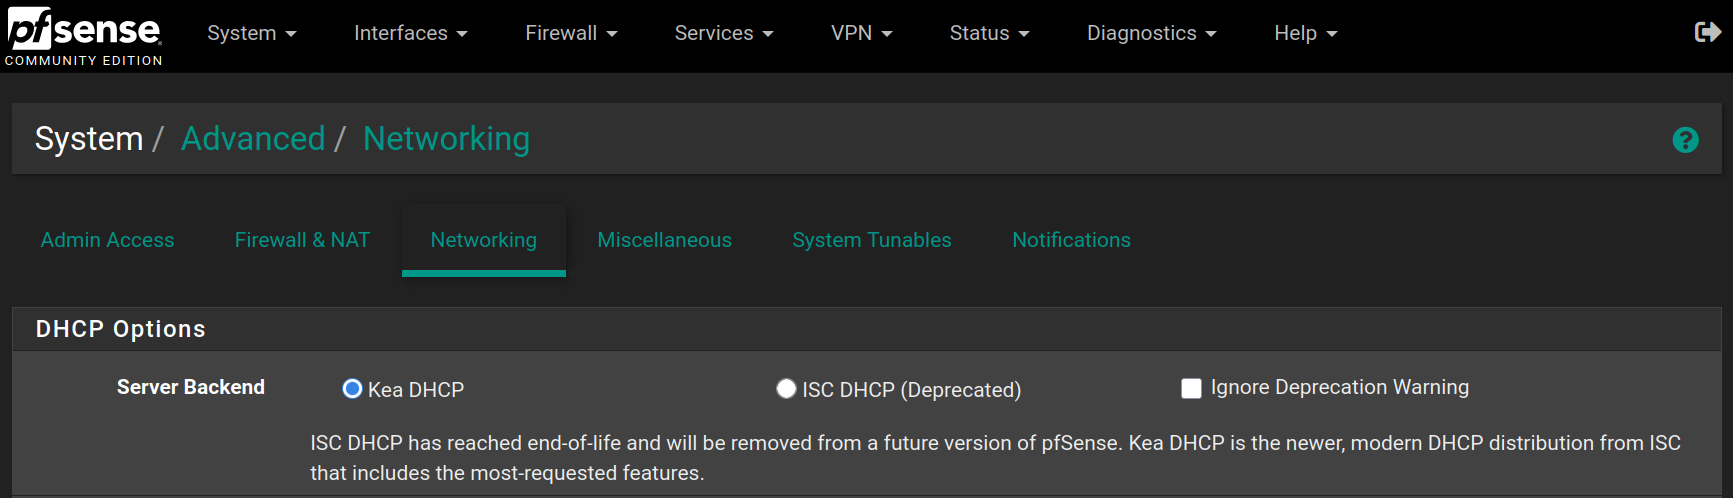
Go to **System > Advanced > Networking** to enable `KEA DHCP` instead of the deprecated `ISC DHCP`
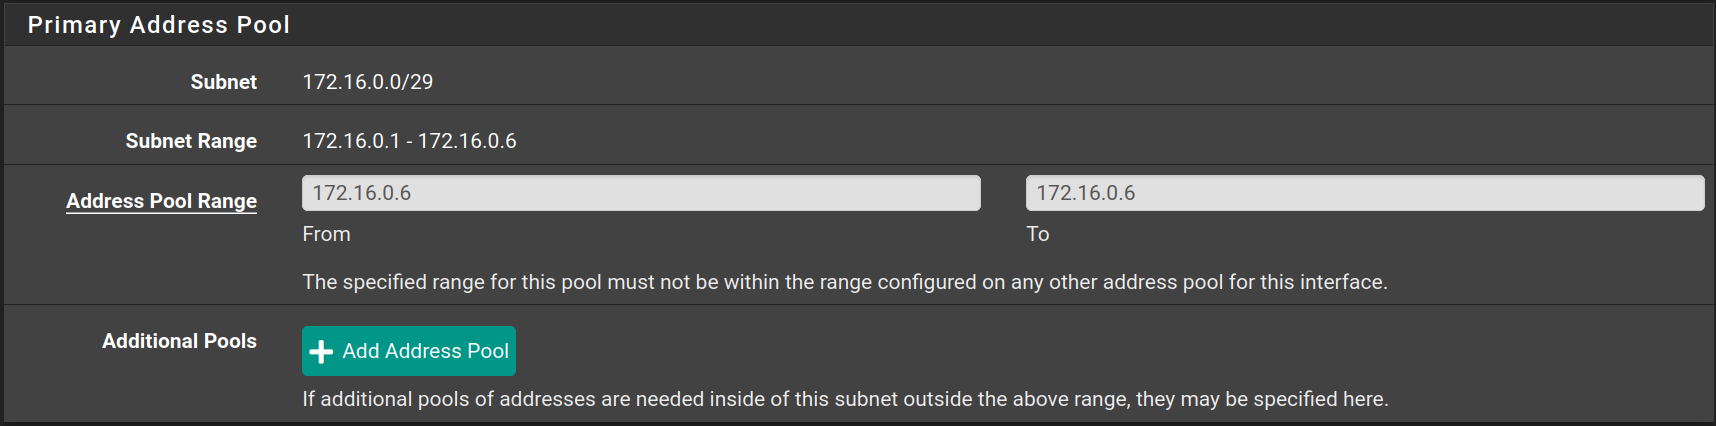
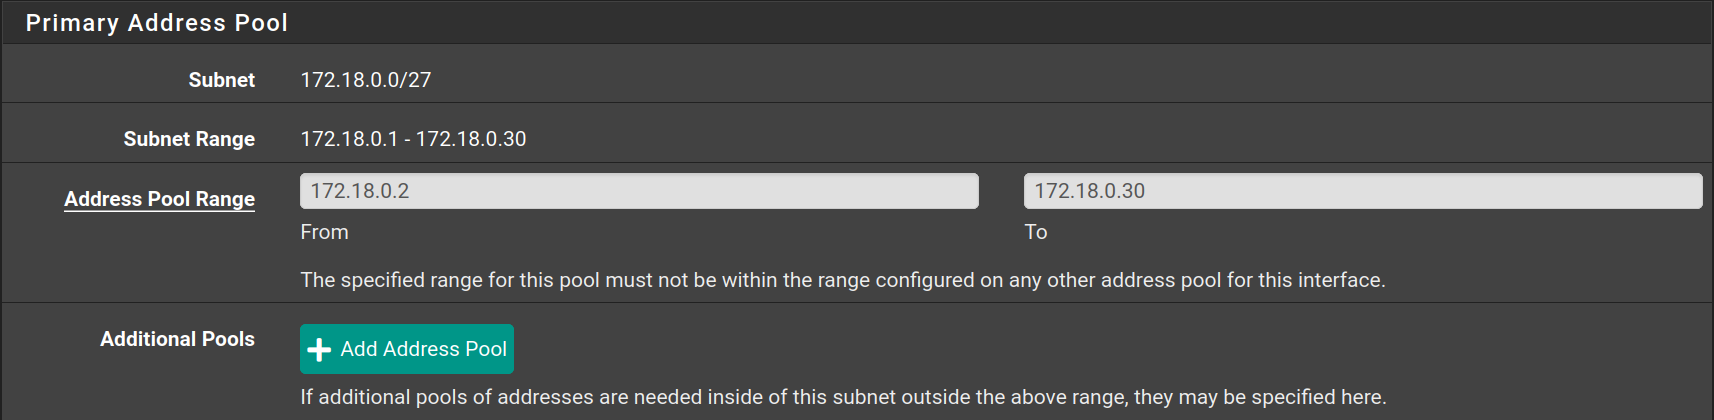
Go to **Services > DHCP Server** to configure the DHCP Server on each interface as following
| Interface | Starting IP | Ending IP |
|---|
| DMZ | 172.16.0.6 | 172.16.0.6 |
| Services | 172.17.0.14 | 172.17.0.14 |
| Clients | 172.18.0.2 | 172.18.0.30 |

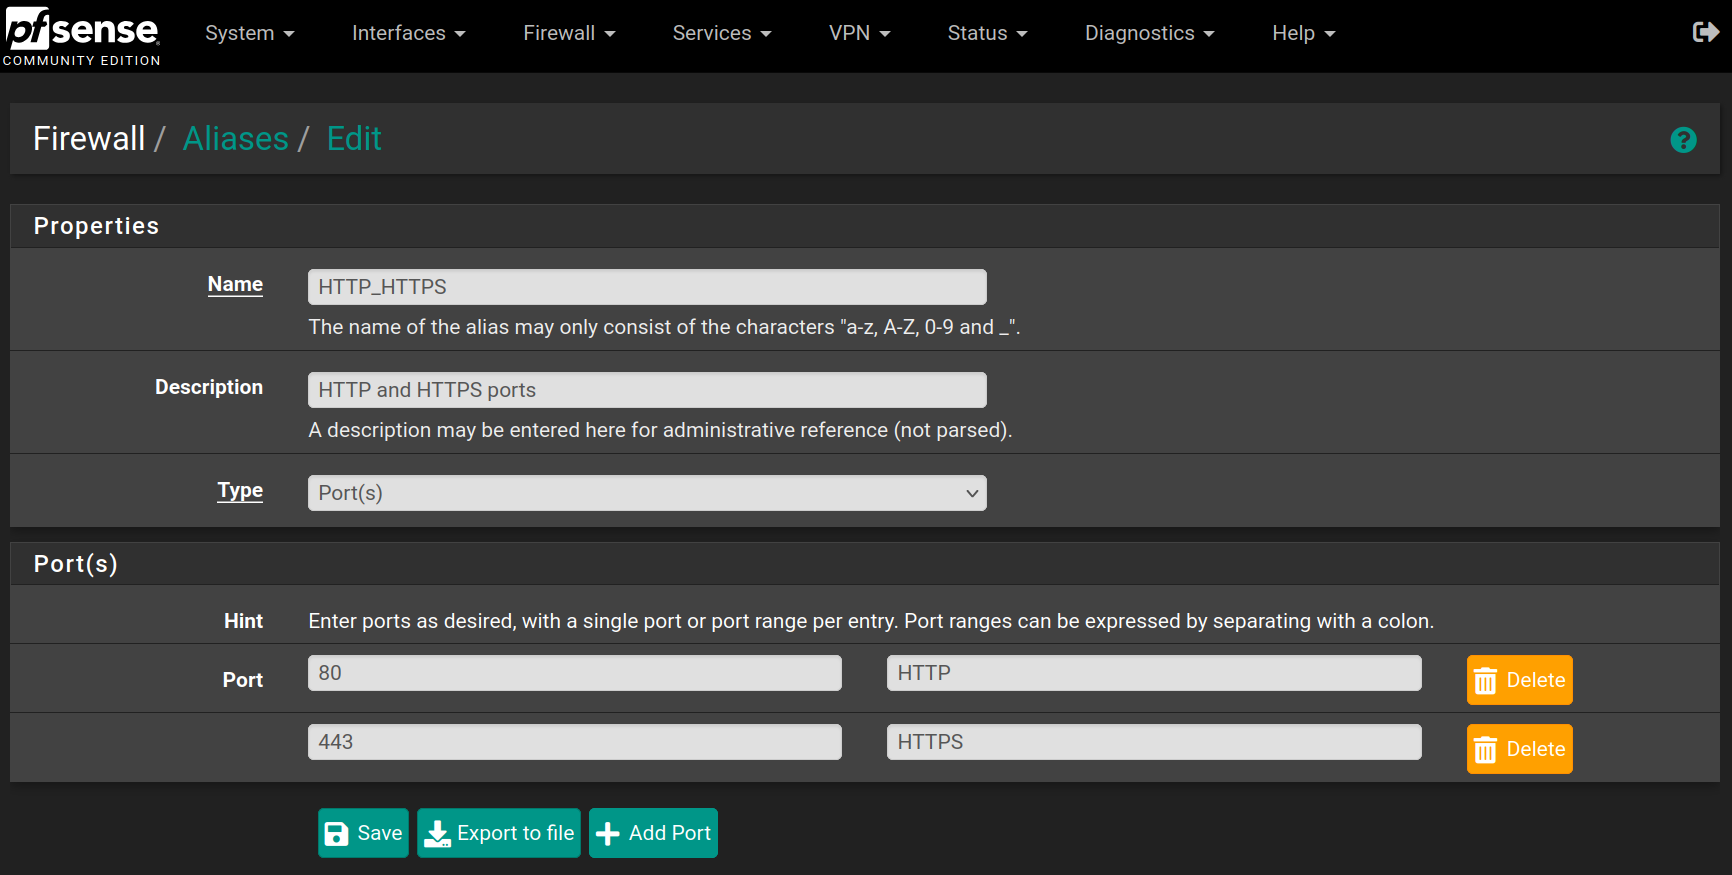
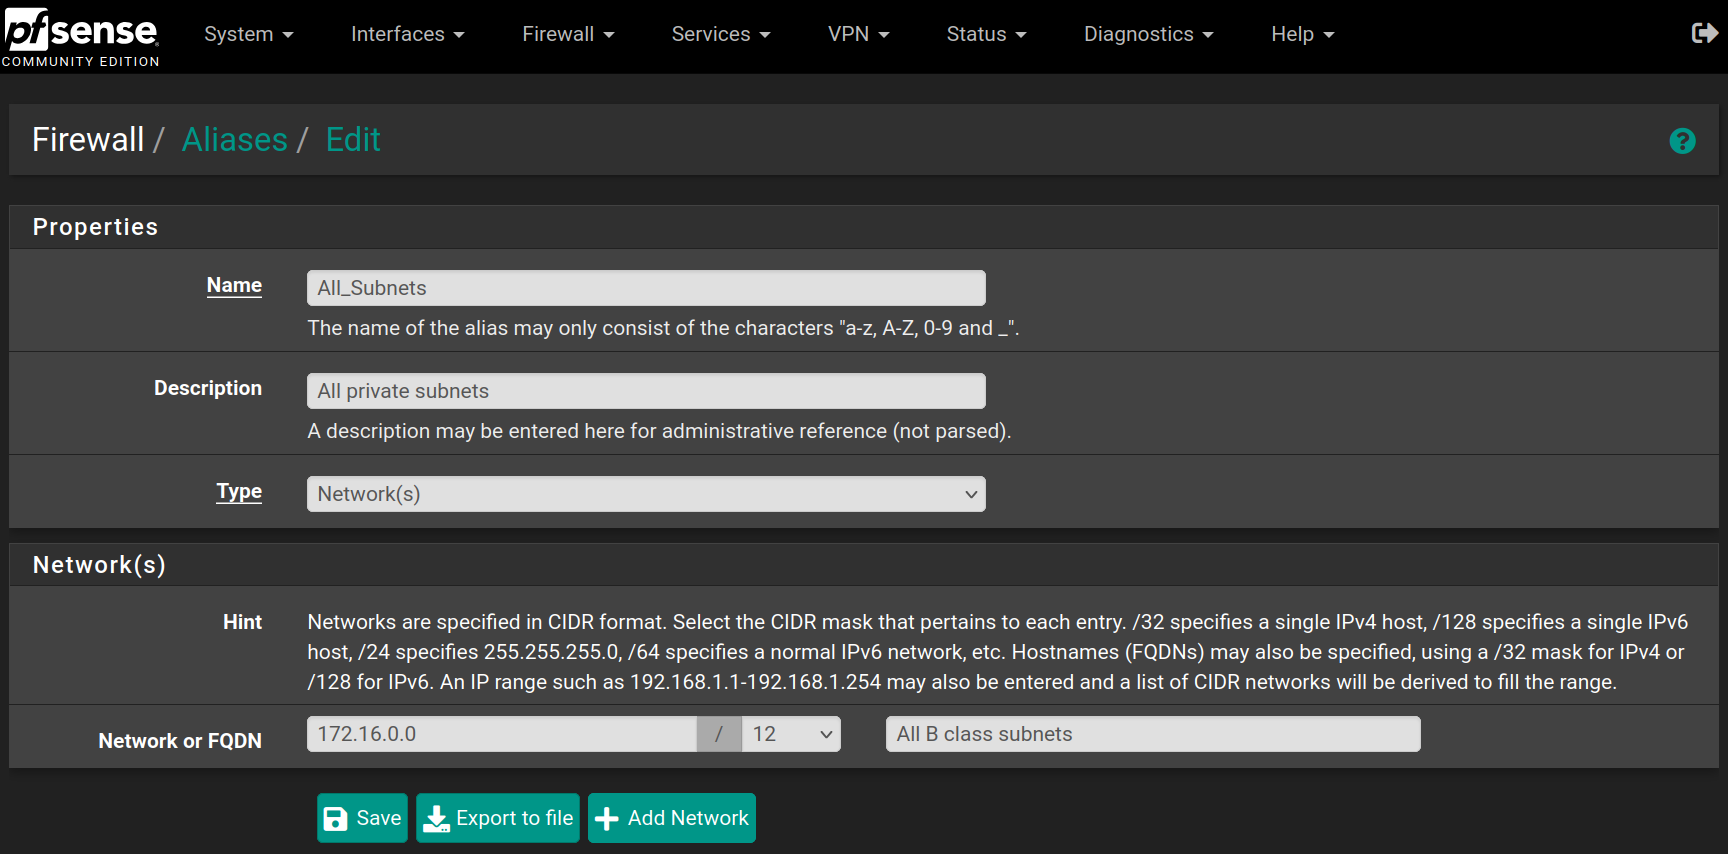
### Create aliases
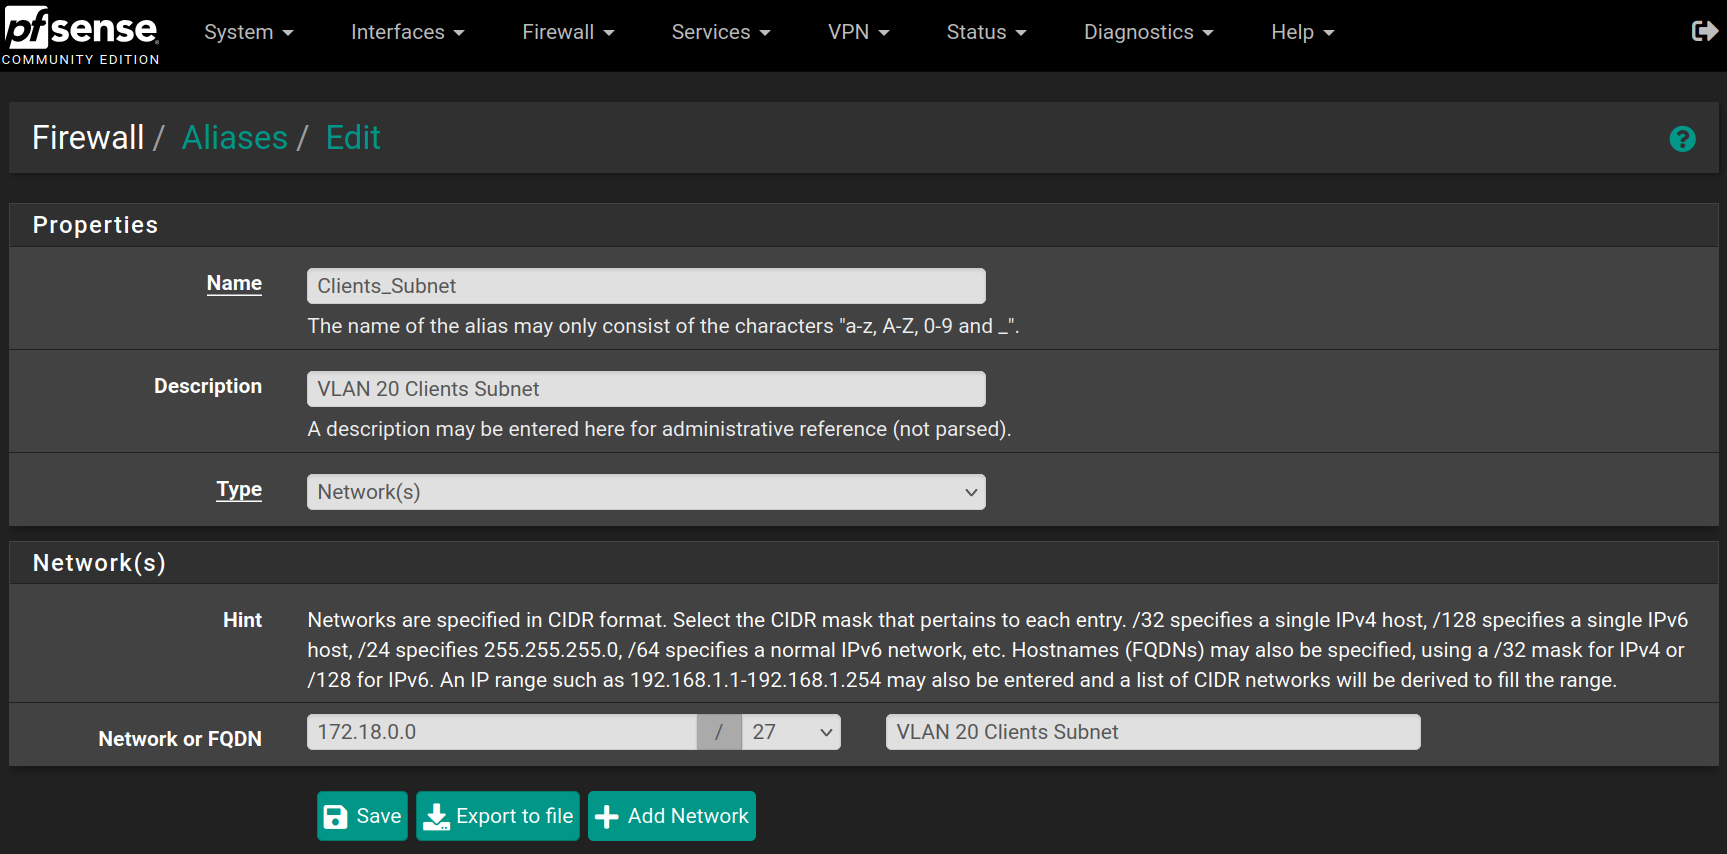
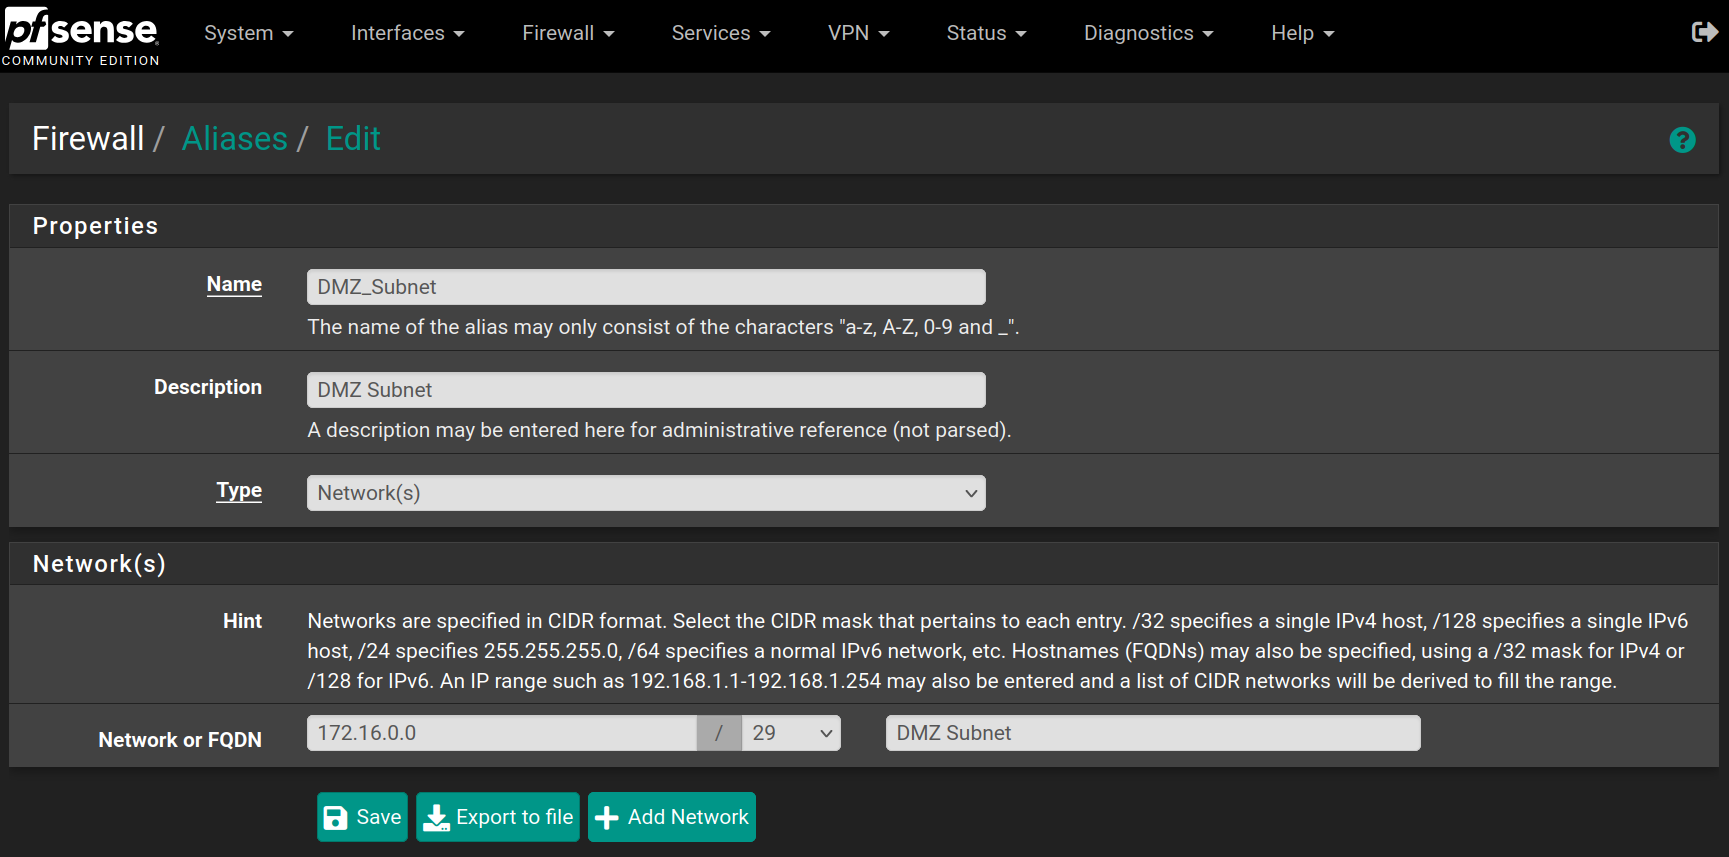
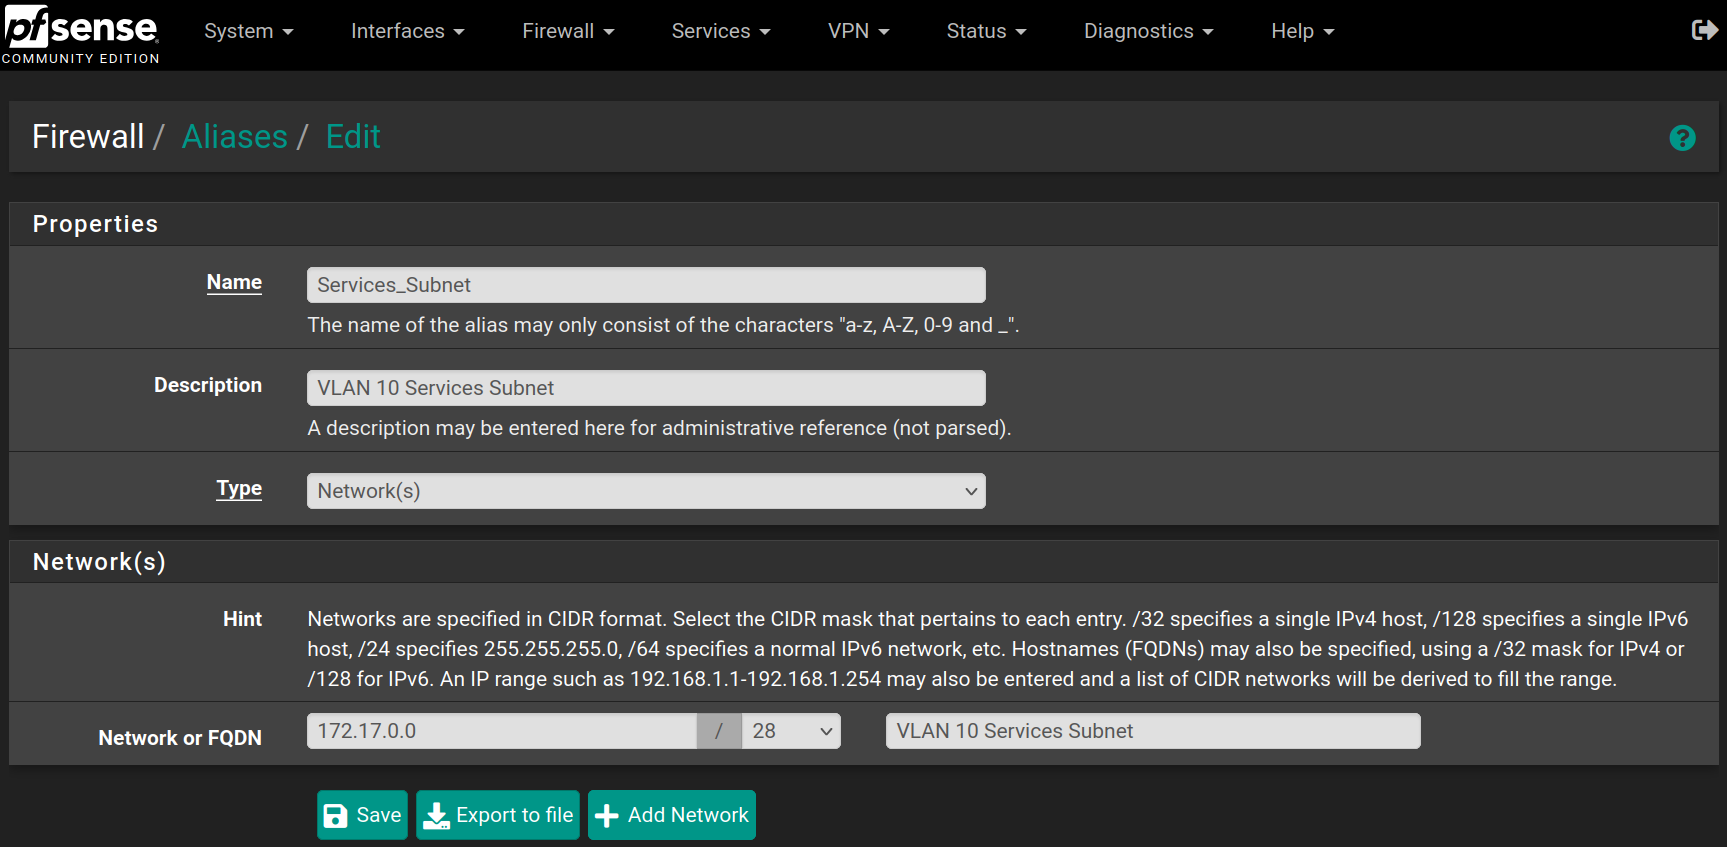
Go to **Firewall > Aliases** and click on `New`, then fill the forms with the values below and click on `Save`
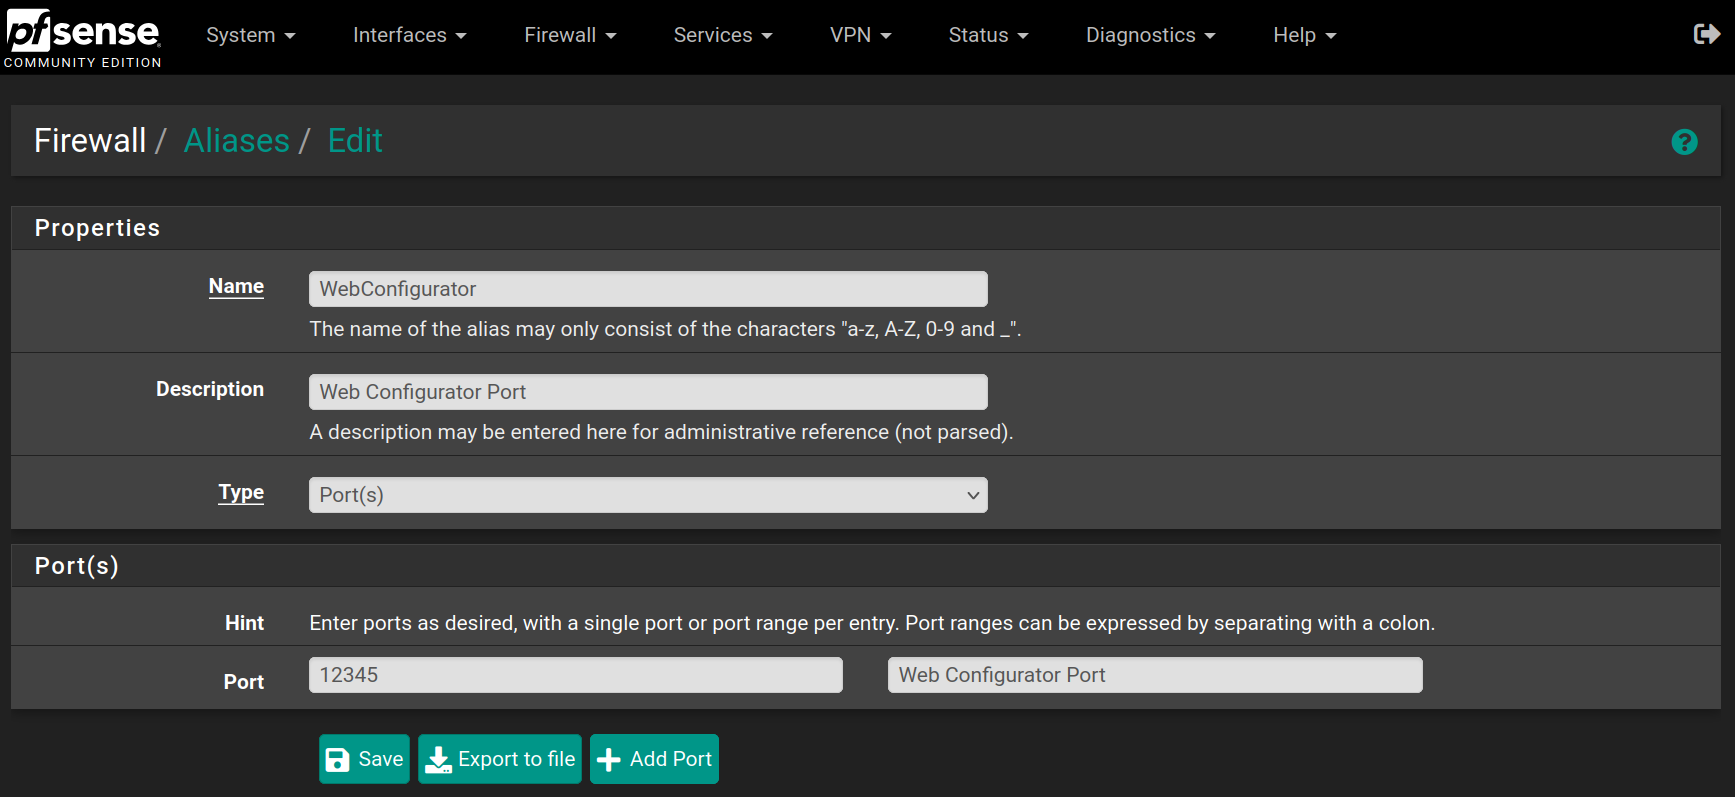
Repeat the process for the following aliases


# AlmalinuxOS LXC Installation
Antoine de Barbarin
---
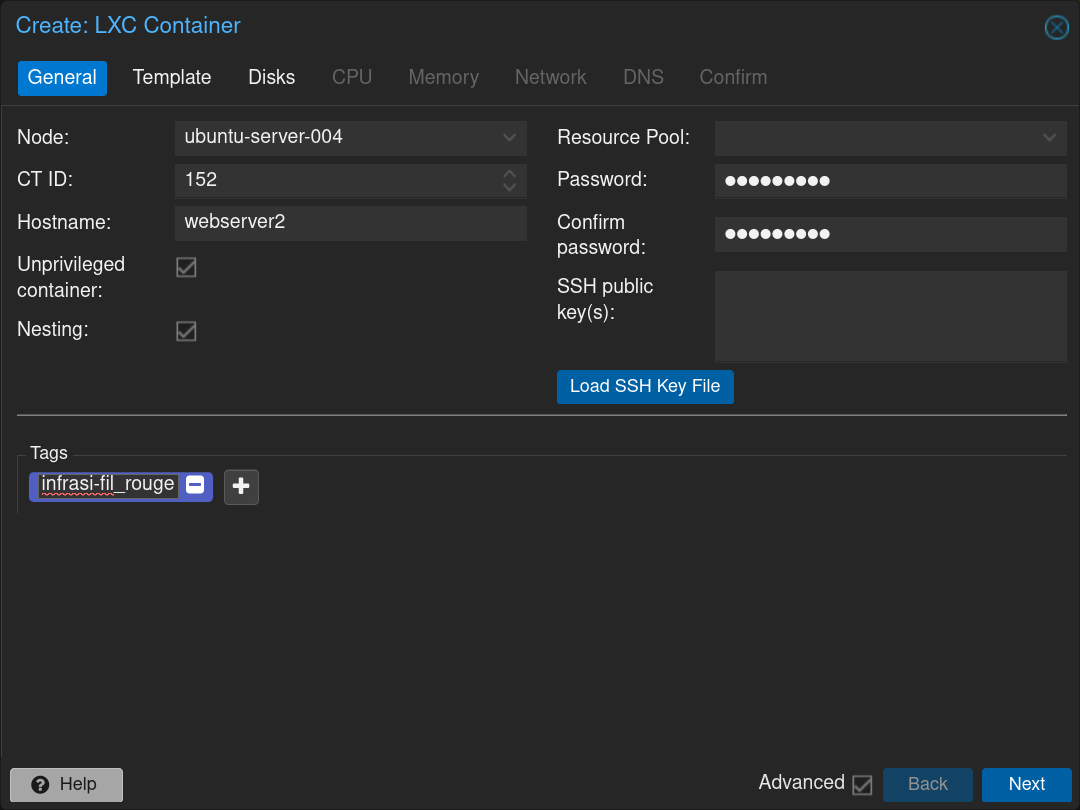
On the Proxmox web interface, click on the  button to create a new **LXC** (Linux container).

Fill the form with the hostname, passwords and the tag, then click on `Next`
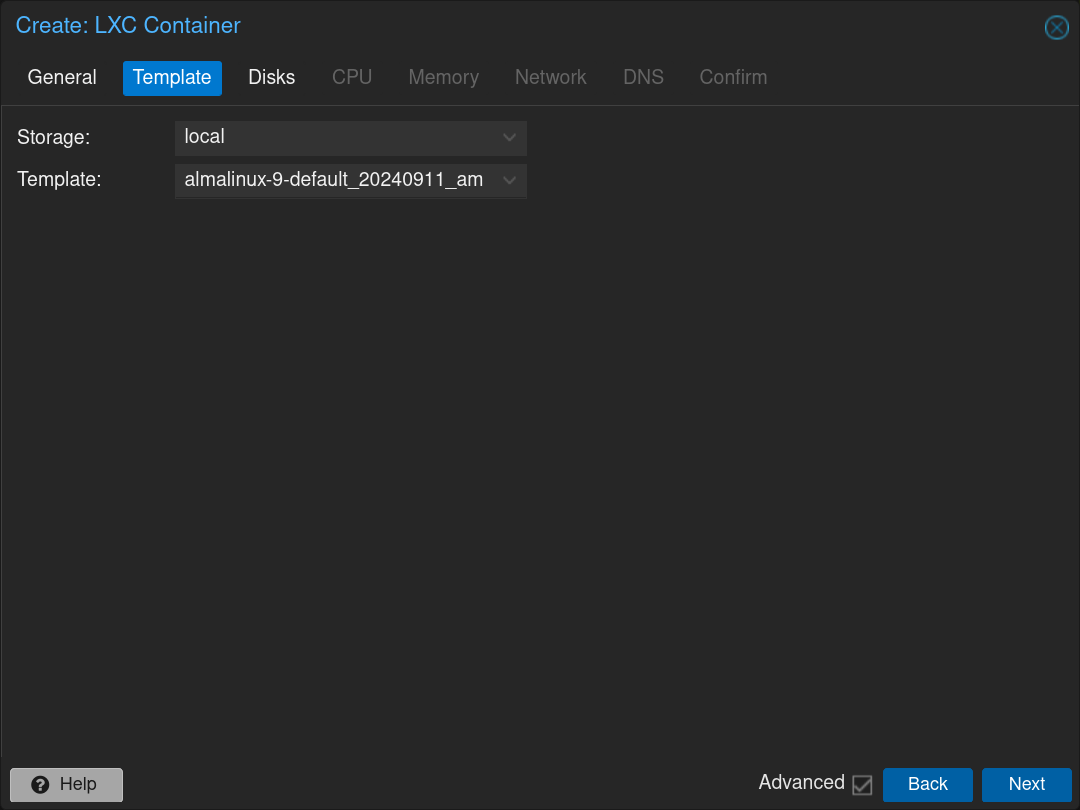
Then choose the almalinux image and click on `Next`
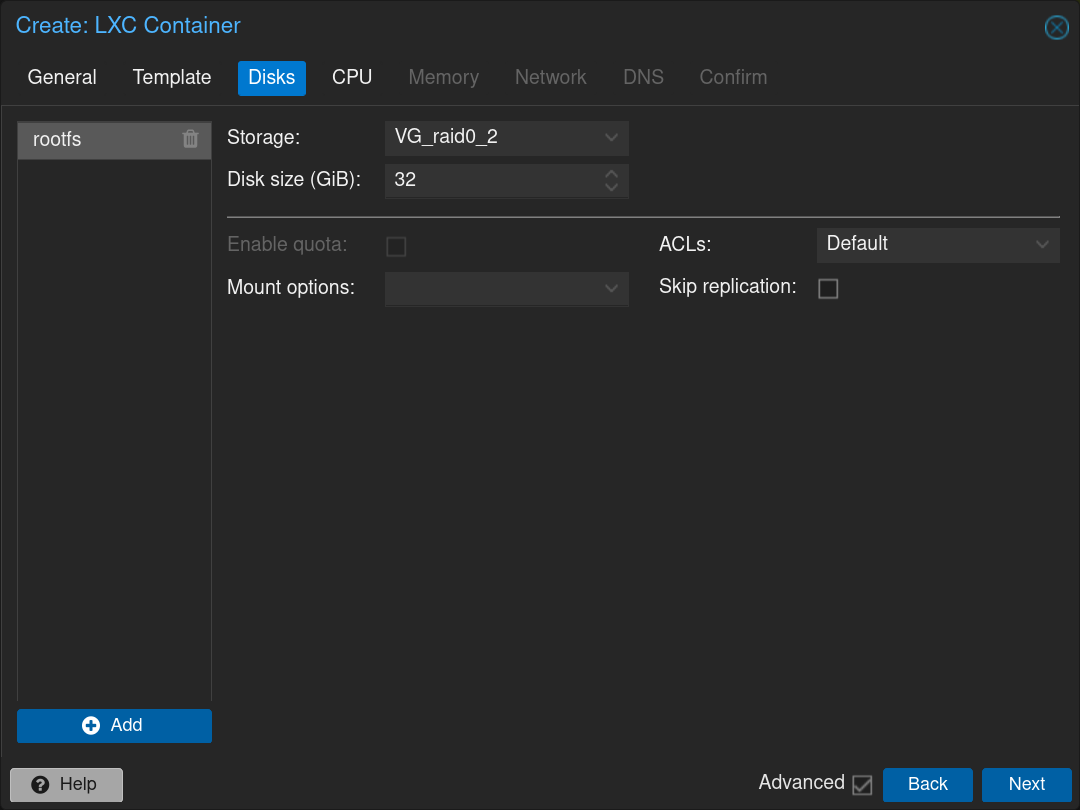
Set the disk configuration and click on `Next`
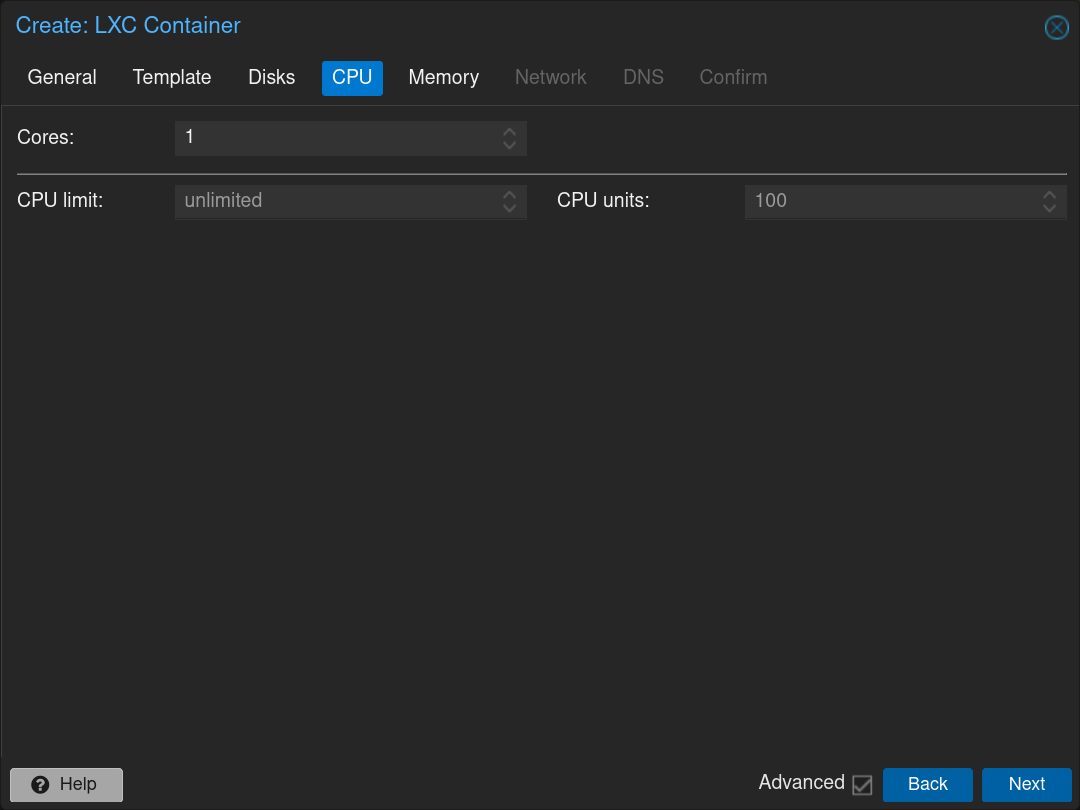
Keep a single CPU and click on `Next`
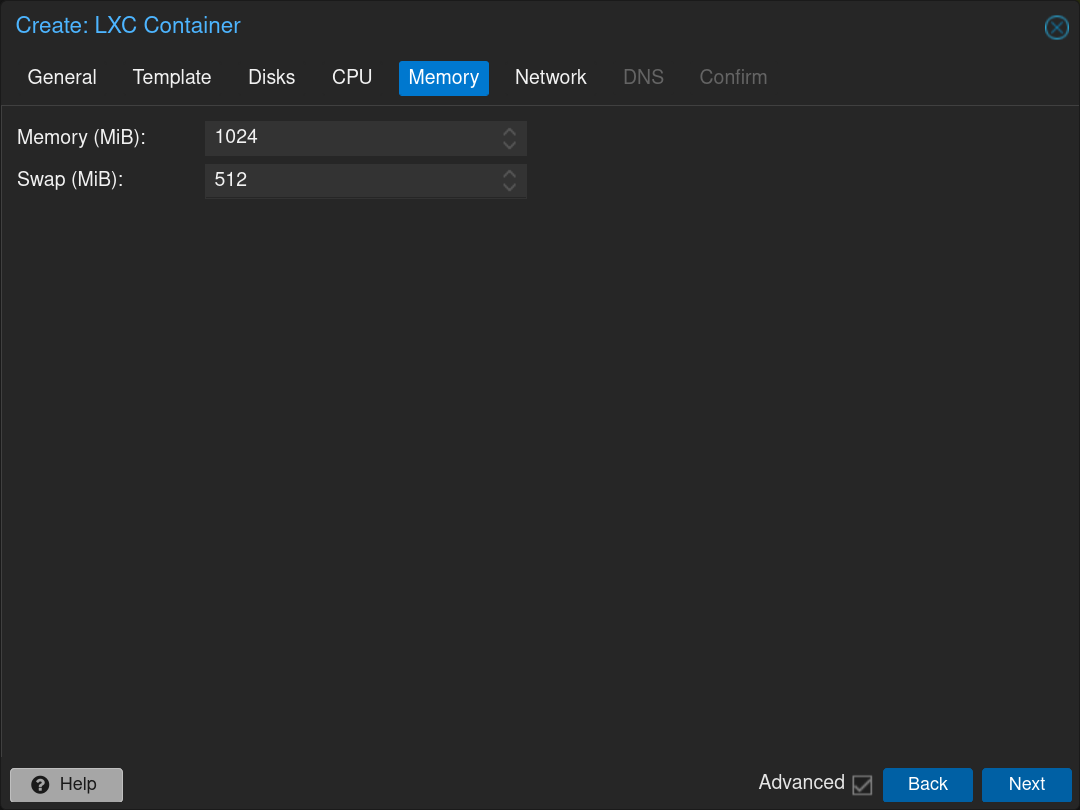
Set the **RAM** at `1024MB` and the **SWAP** at `512MB` and click on `Next`
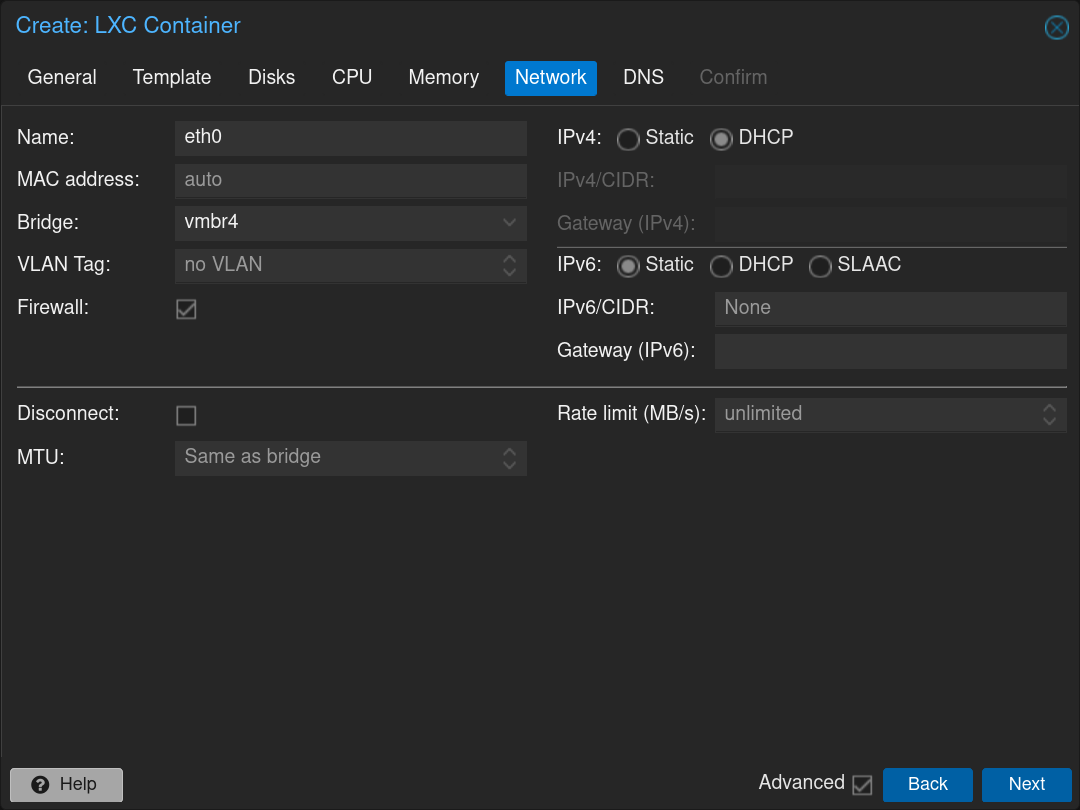
Set the network at `vmbr4` corresponding to the **DMZ** interface and check `DHCP` on **IPv4**, then click on `Next`
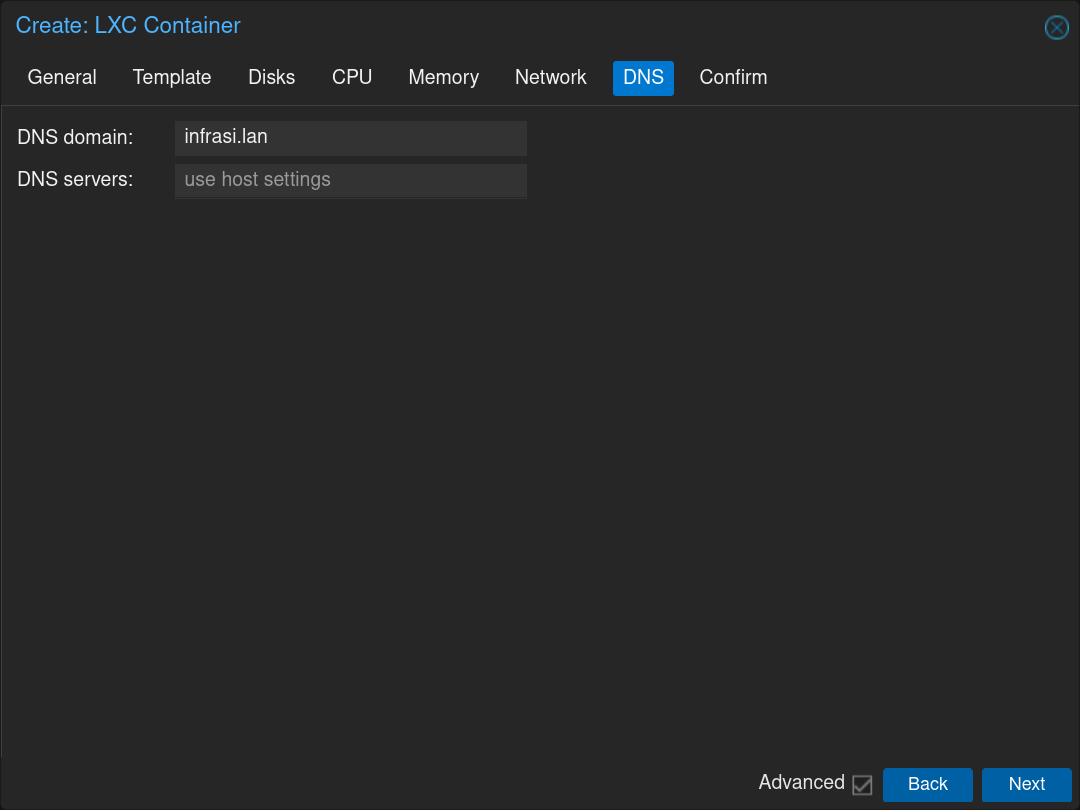
Set the **Domain** to `infrasi.lan` and keep the **DNS** to the default value, then click on `Next`
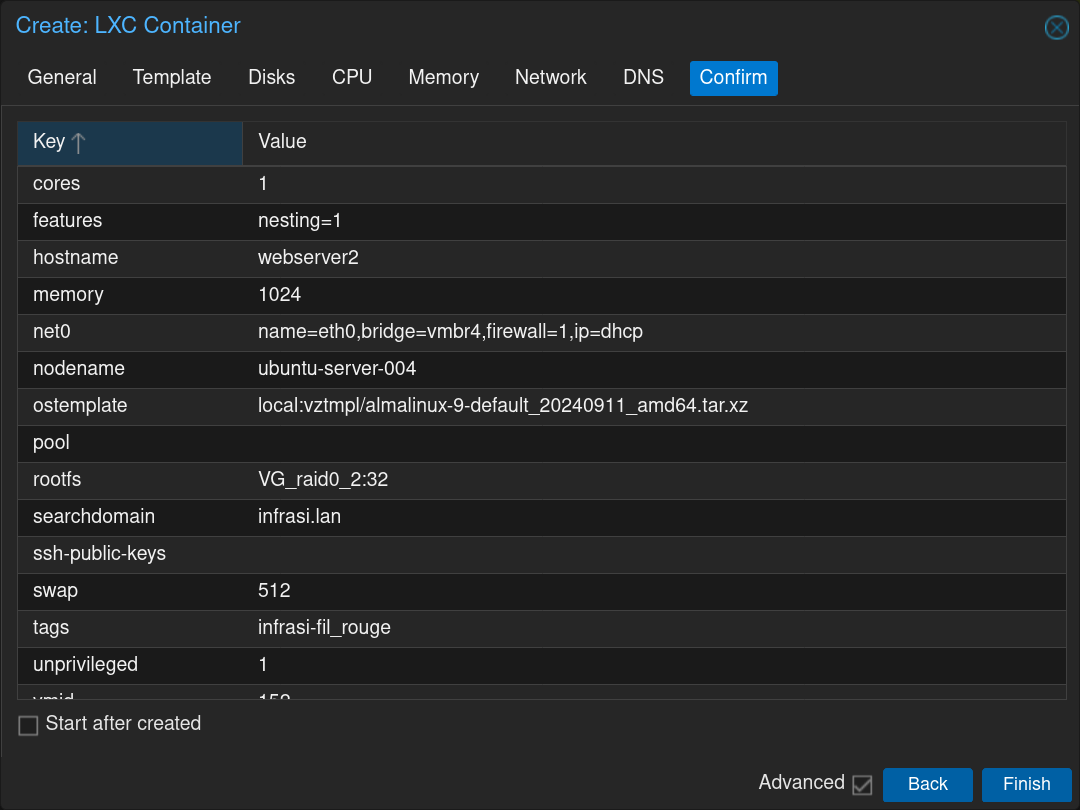
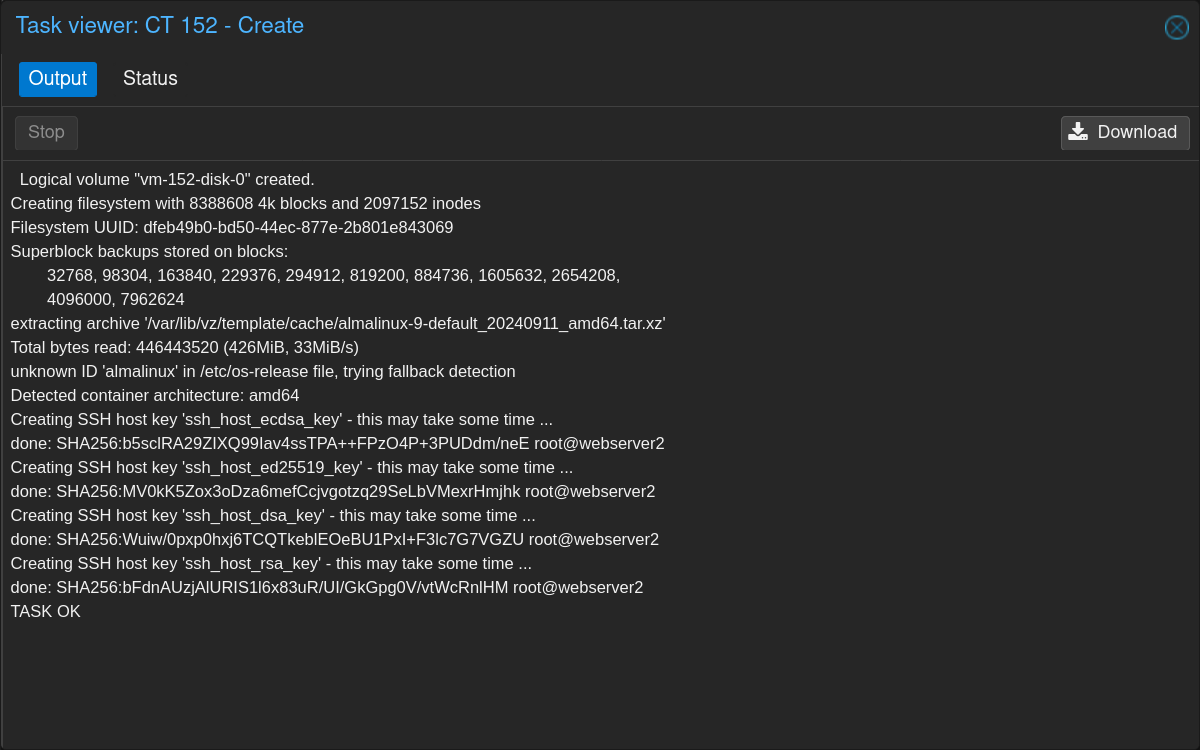
Click on `Finish` to validate the configurations and create the **LXC**
When it is finished, you can close the window
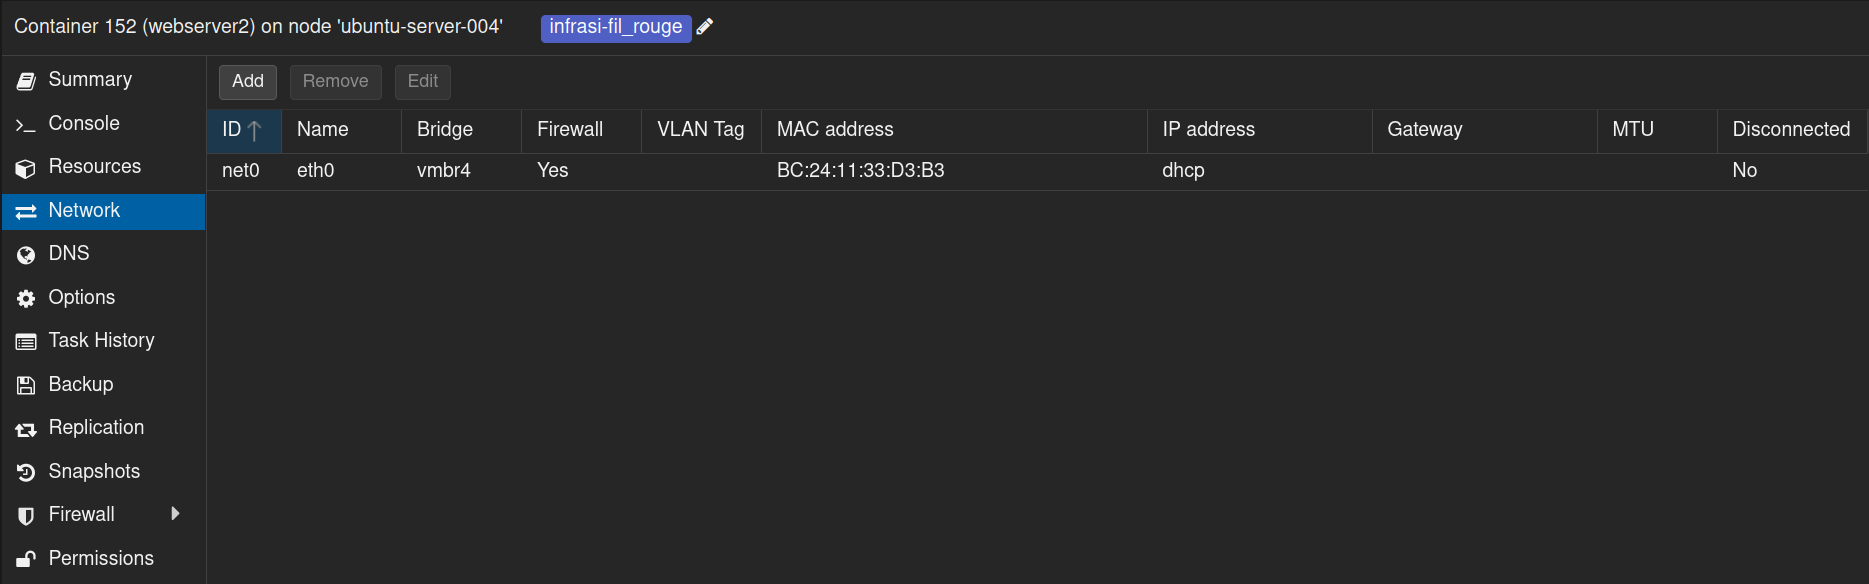
Now we can see our newly created **LXC** appear, and going to **Network**, we can take note of its **MAC address** to add it to the static leases in the **DMZ DHCP** on **pfSense**
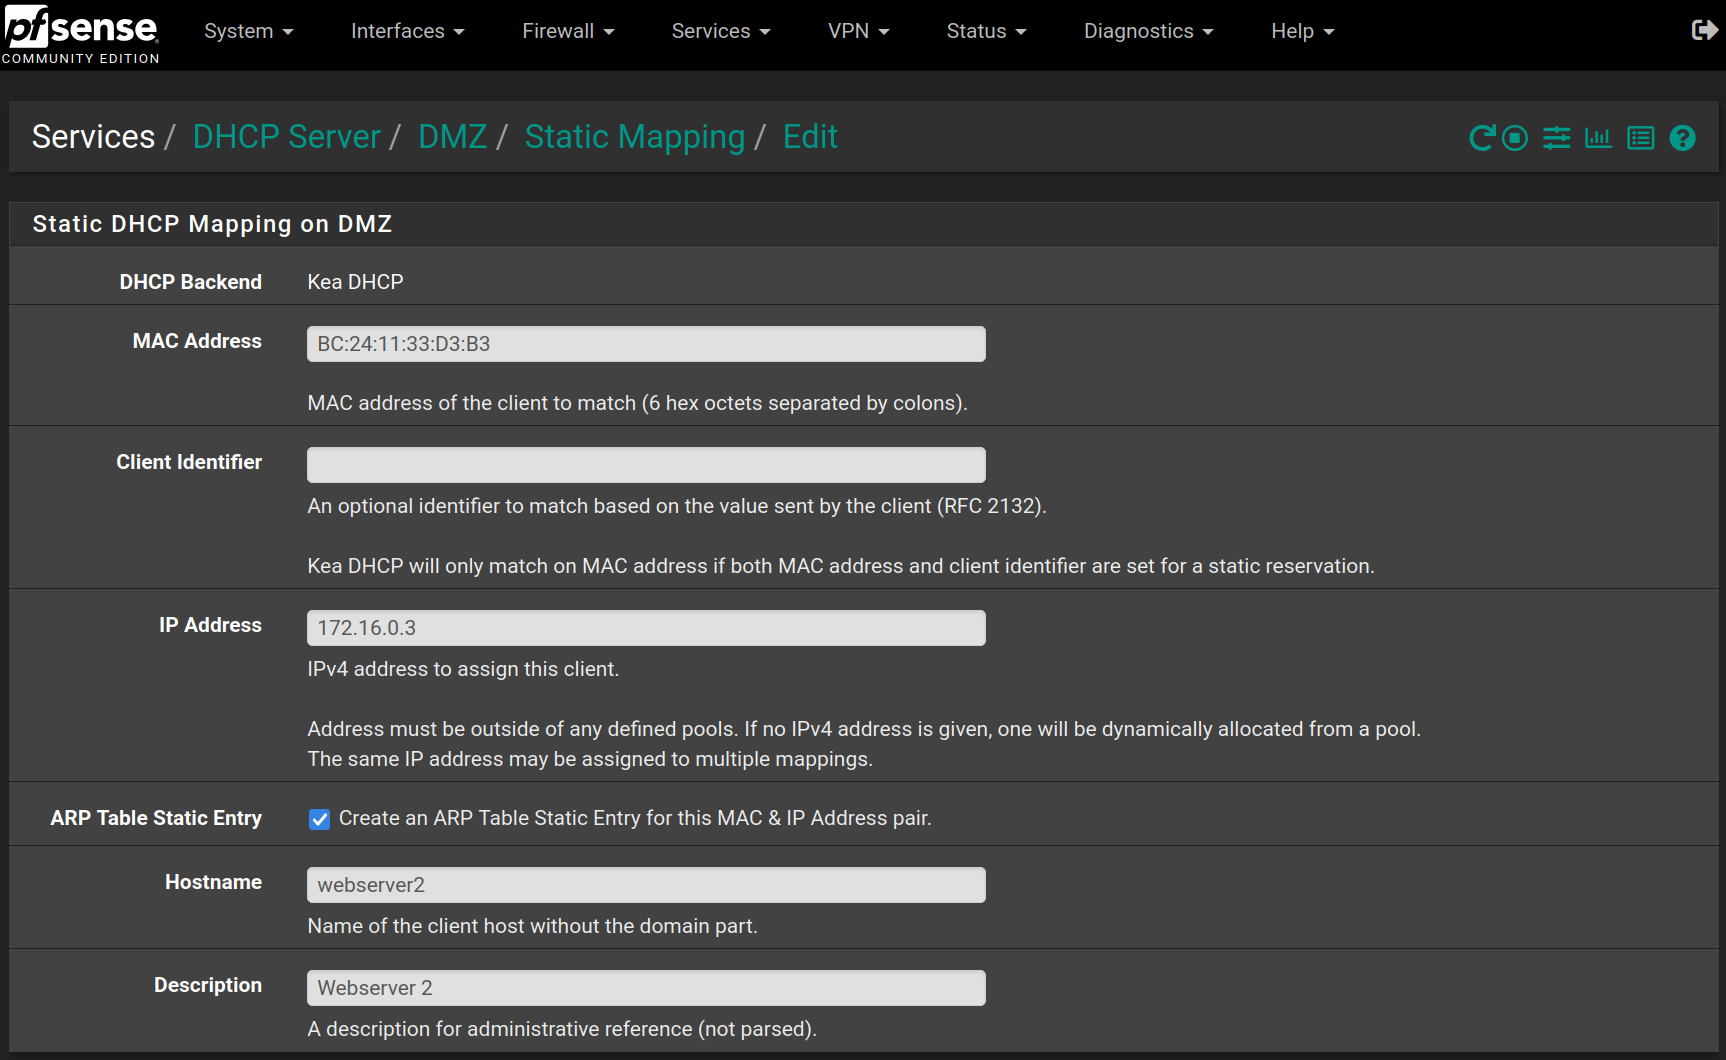
To add it to the static leases, go to **Services > DHCP Server > DMZ** and click on `Add` at the bottom of the page, then fill the form like the following image
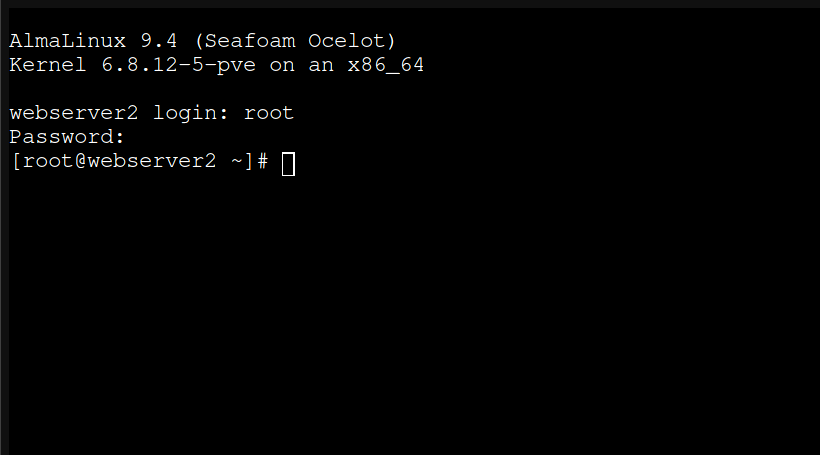
Then you can click on  and then on  to start the **LXC**. When the system has booted, log in as `root` with the password provided in the creation form.
Now that we are logged in, we can run the initial setup script:
```bash
#!/bin/bash
# update all packages and upgrade system
dnf update -y && dnf upgrade -y
# install basic and usefull packages
dnf install -y vim tar git wget bind-utils net-tools openssh-server
# add manager user with sudo privileges and modify the password
adduser manager
usermod -aG wheel manager
passwd manager
# start SSH server and enable it at boot
service sshd start && systemctl enable sshd
```
The only thing to do will be to type the manager's password when asked. All the rest is automatic.
After the upgrade from Almalinux 9.4 to Almalinux 9.6, reboot the **LXC** with the `reboot` command.
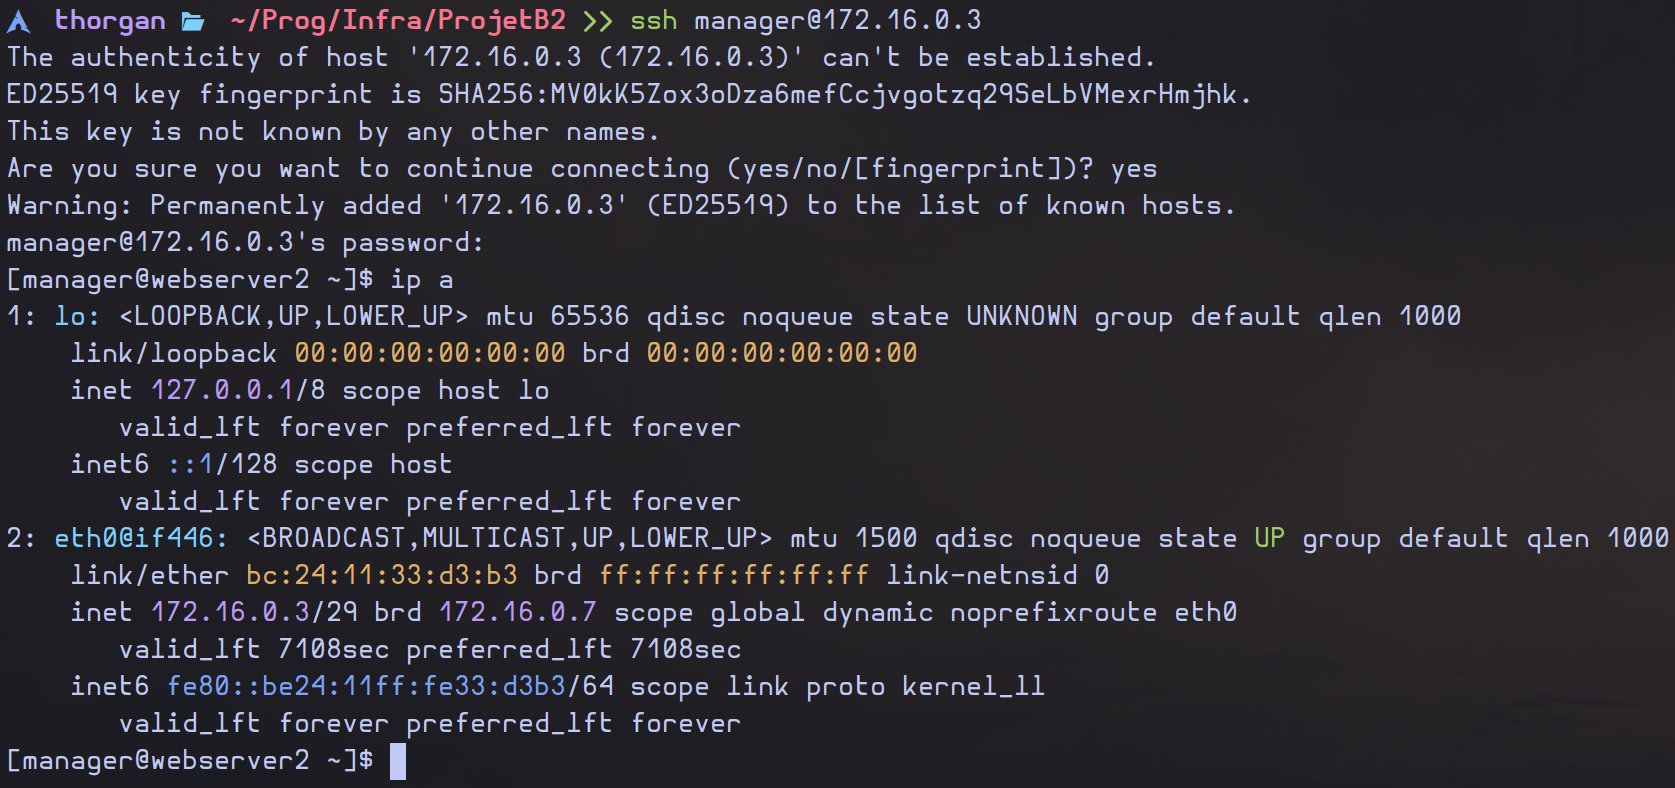
Now the **LXC** is setup and accessible via **SSH** using the **IP address** specified in **pfSense**.
# Wiki.js Setup
Antoine de Barbarin
---
## Install *nodejs*
Enable **nodejs v22** in the **dnf** repository:
```bash
dnf module enable nodejs:22
```
The result should be like that (type `y` when asked for confirmation):
```bash
Last metadata expiration check: 2:29:44 ago on Sun 01 Jun 2025 07:37:42 AM UTC.
Dependencies resolved.
==================================================================================================================
Package Architecture Version Repository Size
==================================================================================================================
Enabling module streams:
nodejs 22
Transaction Summary
==================================================================================================================
Is this ok [y/N]: y
Complete!
```
Install nodejs and npm
```bash
dnf install -y nodejs npm
```
## Wiki.js Installation
Download the latest version of Wiki.js:
```bash
wget https://github.com/Requarks/wiki/releases/latest/download/wiki-js.tar.gz
```
Extract the package to a new folder `/srv/wikijs`:
```bash
mkdir /srv/wikijs
tar xzf wiki-js.tar.gz -C /srv/wikijs
cd /srv/wikijs
```
Rename the sample config file to `config.yml`:
```bash
mv config.sample.yml config.yml
```
Edit the config file and fill in your database and port settings (host: `172.17.0.6`, port: `5432`, user: `wikijs`, database: `wikijs`) and set `ha`to true:
```bash
vim config.yml
```
On the **PostgreSQL** Server, give access to the user `wikijs` on the database `wikijs` from both web servers. Add the following text in the file `/var/lib/pgsql/17/data/pg_hba.conf`
```
host wikijs wikijs 172.16.0.2/32 scram-sha-256
host wikijs wikijs 172.16.0.3/32 scram-sha-256
```
Back to our webserver, run Wiki.js with the command
```bash
node server
```
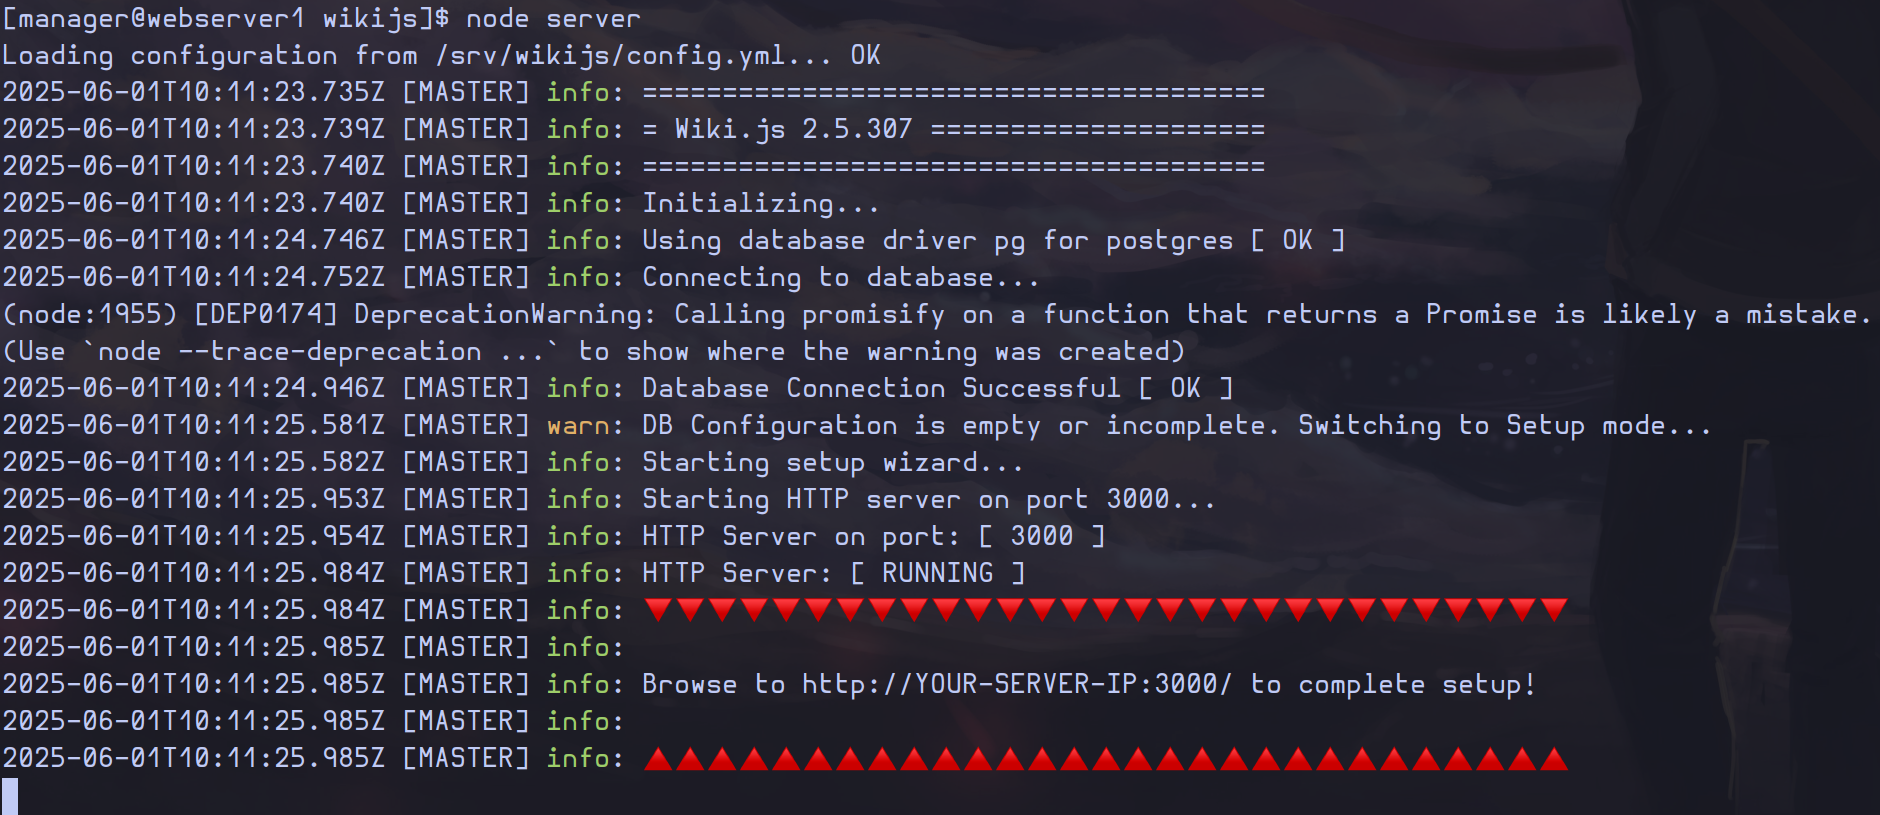
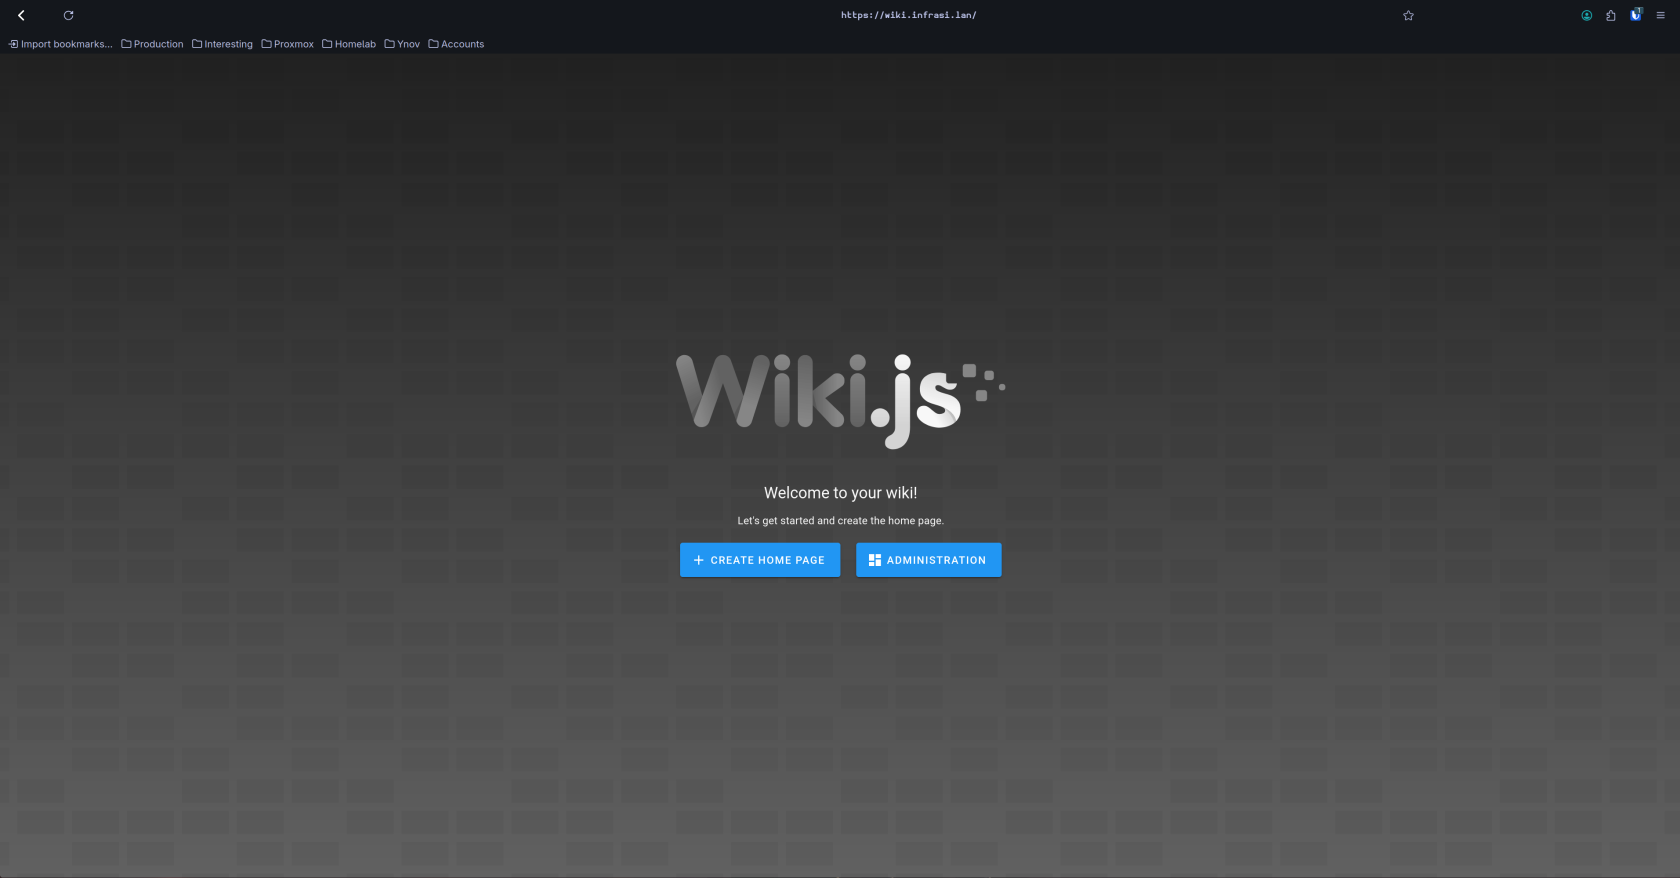
Open the browser with the **URL** `http://172.16.0.2:3000/` and fill the form

When the installation is complete, you will be redirected to the login page. The setup is complete, you can log in with the administrator account.

## Run as service
Create a new system user to run wikijs and give complete ownership of `/srv/wikijs` to it
```bash
useradd -r wikijs -s /bin/false -d /srv/wikijs
chown -R wikijs:wikijs /srv/wikijs
```
Running the command `cat /etc/passwd | grep wikijs`, you should see something similar
```bash
wikijs:x:998:995::/srv/wikijs:/bin/false
```
And running `ll /srv & ll /srv/wikijs`, you should also see
```bash
total 4
drwxr-xr-x 6 wikijs wikijs 4096 Jun 1 09:56 wikijs
total 104
drwxr-xr-x 8 wikijs wikijs 4096 Mar 24 01:36 assets
-rw-r--r-- 1 wikijs wikijs 4974 Jun 1 09:56 config.yml
drwxr-xr-x 5 wikijs wikijs 4096 Jun 1 10:26 data
-rw-r--r-- 1 wikijs wikijs 34520 Mar 24 01:33 LICENSE
drwxr-xr-x 953 wikijs wikijs 36864 Mar 24 01:37 node_modules
-rw-r--r-- 1 wikijs wikijs 12267 Mar 24 01:33 package.json
drwxr-xr-x 17 wikijs wikijs 4096 Mar 24 01:33 server
```
Create a new file named `wikijs.service` inside directory `/etc/systemd/system`.
```bash
vim /etc/systemd/system/wikijs.service
```
Paste the following contents (assuming your wiki is installed at `/var/wiki`):
```ini
[Unit]
Description=Wiki.js
After=network.target
[Service]
Type=simple
ExecStart=/usr/bin/node server
Restart=always
User=wikijs
Environment=NODE_ENV=production
WorkingDirectory=/srv/wikijs
[Install]
WantedBy=multi-user.target
```
Reload **systemd**:
```bash
systemctl daemon-reload
```
Run the service:
```bash
systemctl start wikijs
```
Enable the service on system boot.
```bash
systemctl enable wikijs
```
# Vikunja Setup
Antoine de Barbarin
---
Download the RPM image of Vikunja and install it using the `dnf` package manager
```bash
wget https://dl.vikunja.io/vikunja/0.24.6/vikunja-0.24.6-x86_64.rpm
dnf install ./vikunja-0.24.6-x86_64.rpm
```
In the configuration file of Vikunja, change the database to `postgres` with user `vikunja`, the correct password, the IP address and the name of the database `vikunja`.
```bash
vim /etc/vikunja/config.yml
```
#### Example:
```yaml
database:
# Database type to use. Supported values are mysql, postgres and sqlite. Vikunja is able to run with MySQL 8.0+, Mariadb 10.2+, PostgreSQL 12+, and sqlite.
type: "postgres"
# Database user which is used to connect to the database.
user: "vikunja"
# Database password
password: ""
# Database host
host: "172.17.0.6"
# Database to use
database: "vikunja"
# When using sqlite, this is the path where to store the data
#path: "./vikunja.db"
# Sets the max open connections to the database. Only used when using mysql and postgres.
maxopenconnections: 100
# Sets the maximum number of idle connections to the db.
maxidleconnections: 50
# The maximum lifetime of a single db connection in milliseconds.
maxconnectionlifetime: 10000
# Secure connection mode. Only used with postgres.
# (see https://pkg.go.dev/github.com/lib/pq?tab=doc#hdr-Connection_String_Parameters)
sslmode: disable
# The path to the client cert. Only used with postgres.
sslcert: ""
# The path to the client key. Only used with postgres.
sslkey: ""
# The path to the ca cert. Only used with postgres.
sslrootcert: ""
# Enable SSL/TLS for mysql connections. Options: false, true, skip-verify, preferred
tls: false
```
Log in the PostgreSQL Server VM and modify some configuration files (`postgresql.conf` and `pg_hba.conf`)
```bash
vim /var/lib/pgsql/17/data/postgresql.conf
vim /var/lib/pgsql/17/data/pg_hba.conf
```
In `postgresql.conf`, set `listen_addresses` to `172.17.0.6`, the IP address of the PostgreSQL server. In `pg_hba.conf`, add the two following lines at the end of the file:
```
host vikunja vikunja 172.16.0.2/32 scram-sha-256
host vikunja vikunja 172.16.0.3/32 scram-sha-256
```
That way, both webservers will be able to connect to the `vikunja` database with the `vikunja` user.
# PostgreSQL Installation
Antoine de Barbarin
---
Run the following script
```bash
#!/bin/sh
# Install the RPM repository:
sudo dnf install -y https://download.postgresql.org/pub/repos/yum/reporpms/EL-9-x86_64/pgdg-redhat-repo-latest.noarch.rpm
# Disable the built-in PostgreSQL module:
sudo dnf -qy module disable postgresql
# Install PostgreSQL:
sudo dnf install -y postgresql17-server
# Optionally initialize the database and enable automatic start:
sudo /usr/pgsql-17/bin/postgresql-17-setup initdb
sudo systemctl enable postgresql-17
sudo systemctl start postgresql-17
```